Captured in a Moment: My Latest Pencil Artwork
Hello fellow Steemians,
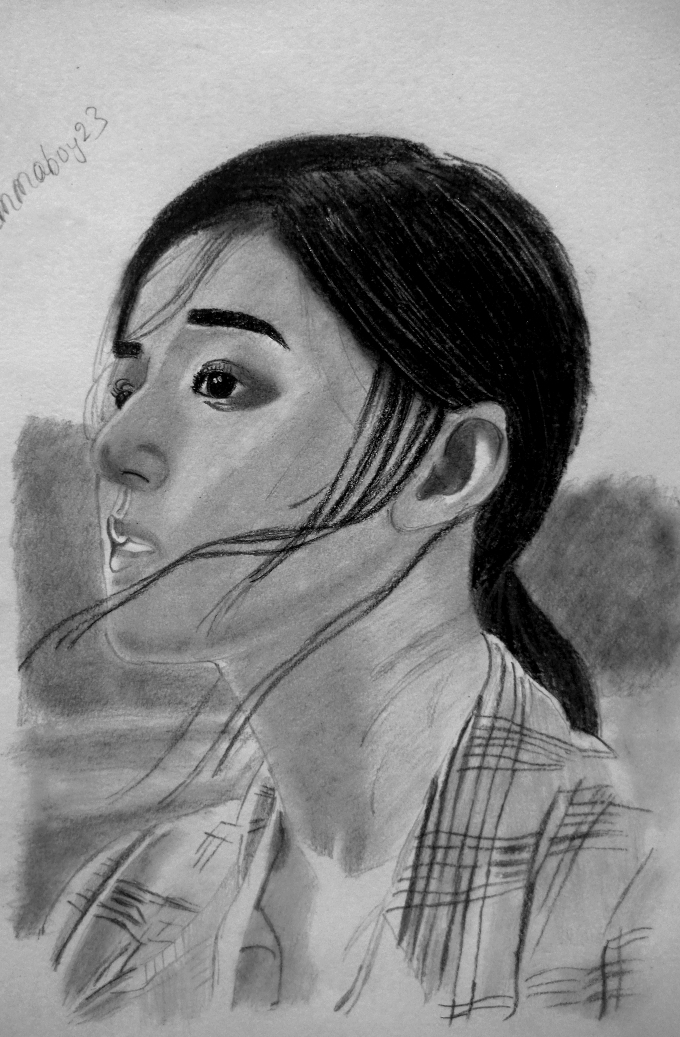
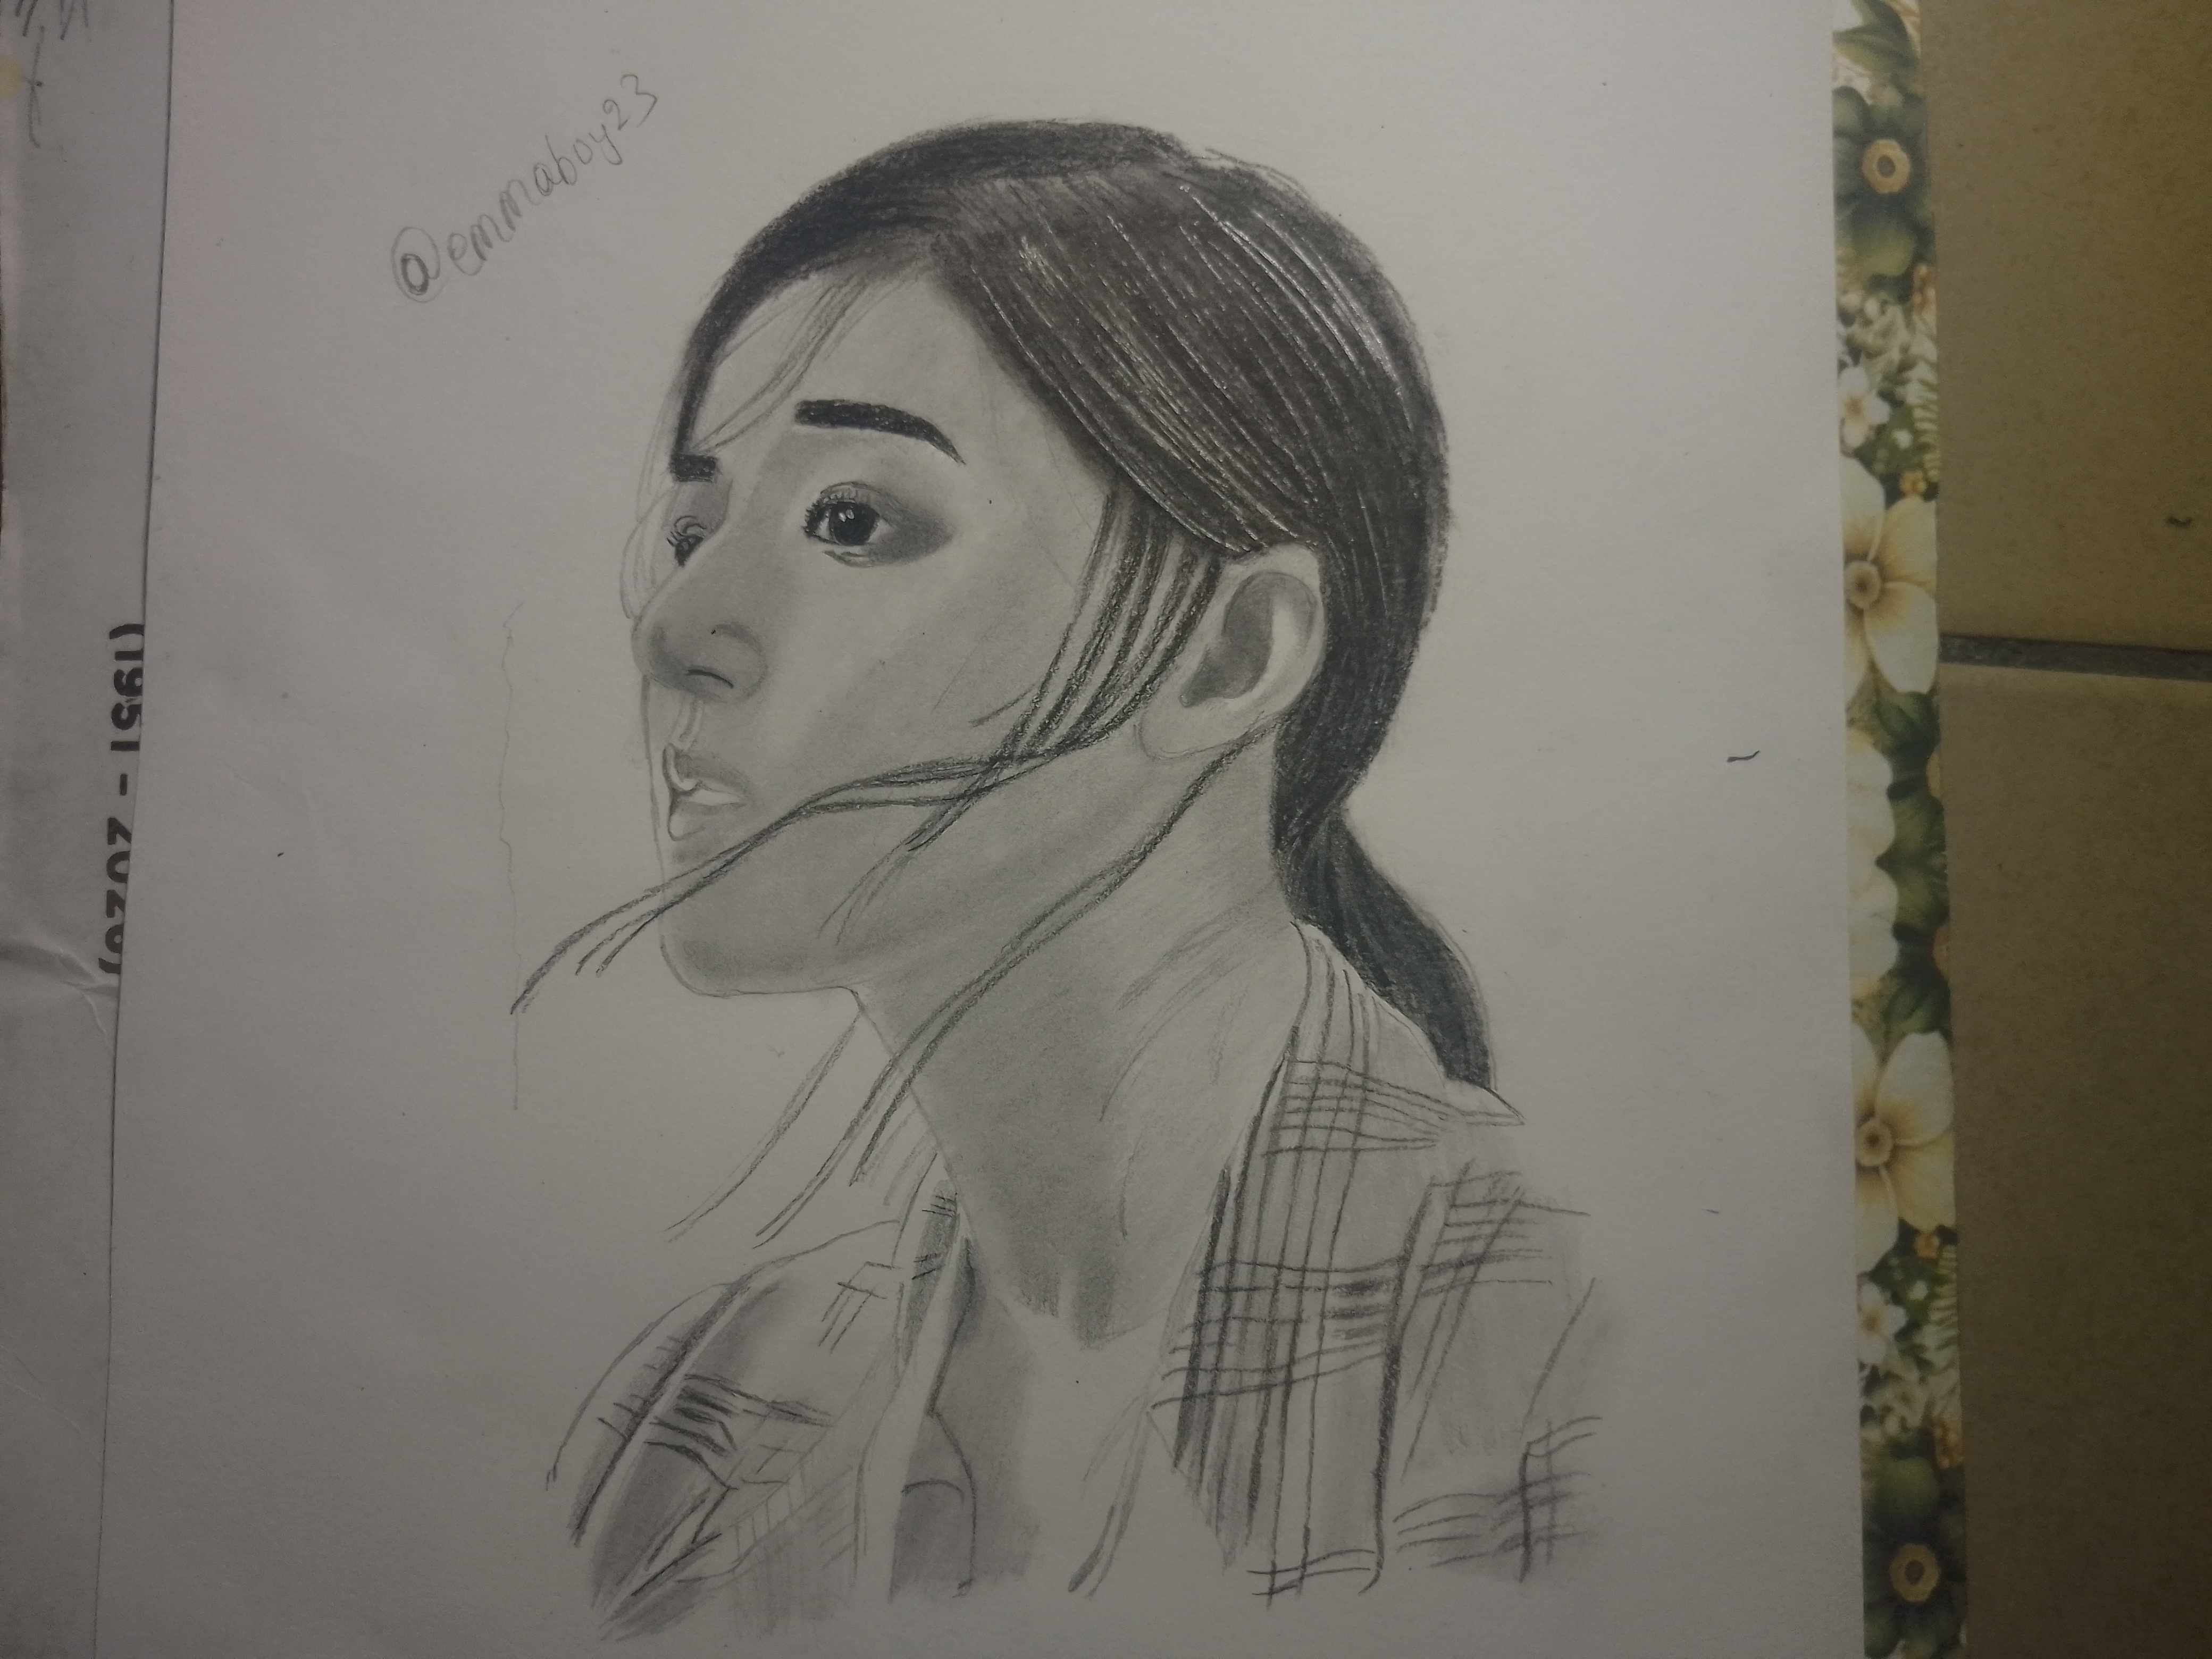
Happy new month, and welcome once again to my blog. For my post today I am very excited to share with you all my recent pencil art; I decided to work on a pencil portrait that immediately captured my interest because of its expressive pose and striking facial features. As an upcoming artist, I enjoy creating portraits because every face tells a story. A portrait is more than a drawing; it is an opportunity to capture emotions, personality, and beauty through simple graphite lines. In this post, I will share the step-by-step process I followed to complete this artwork. I hope you all like it.
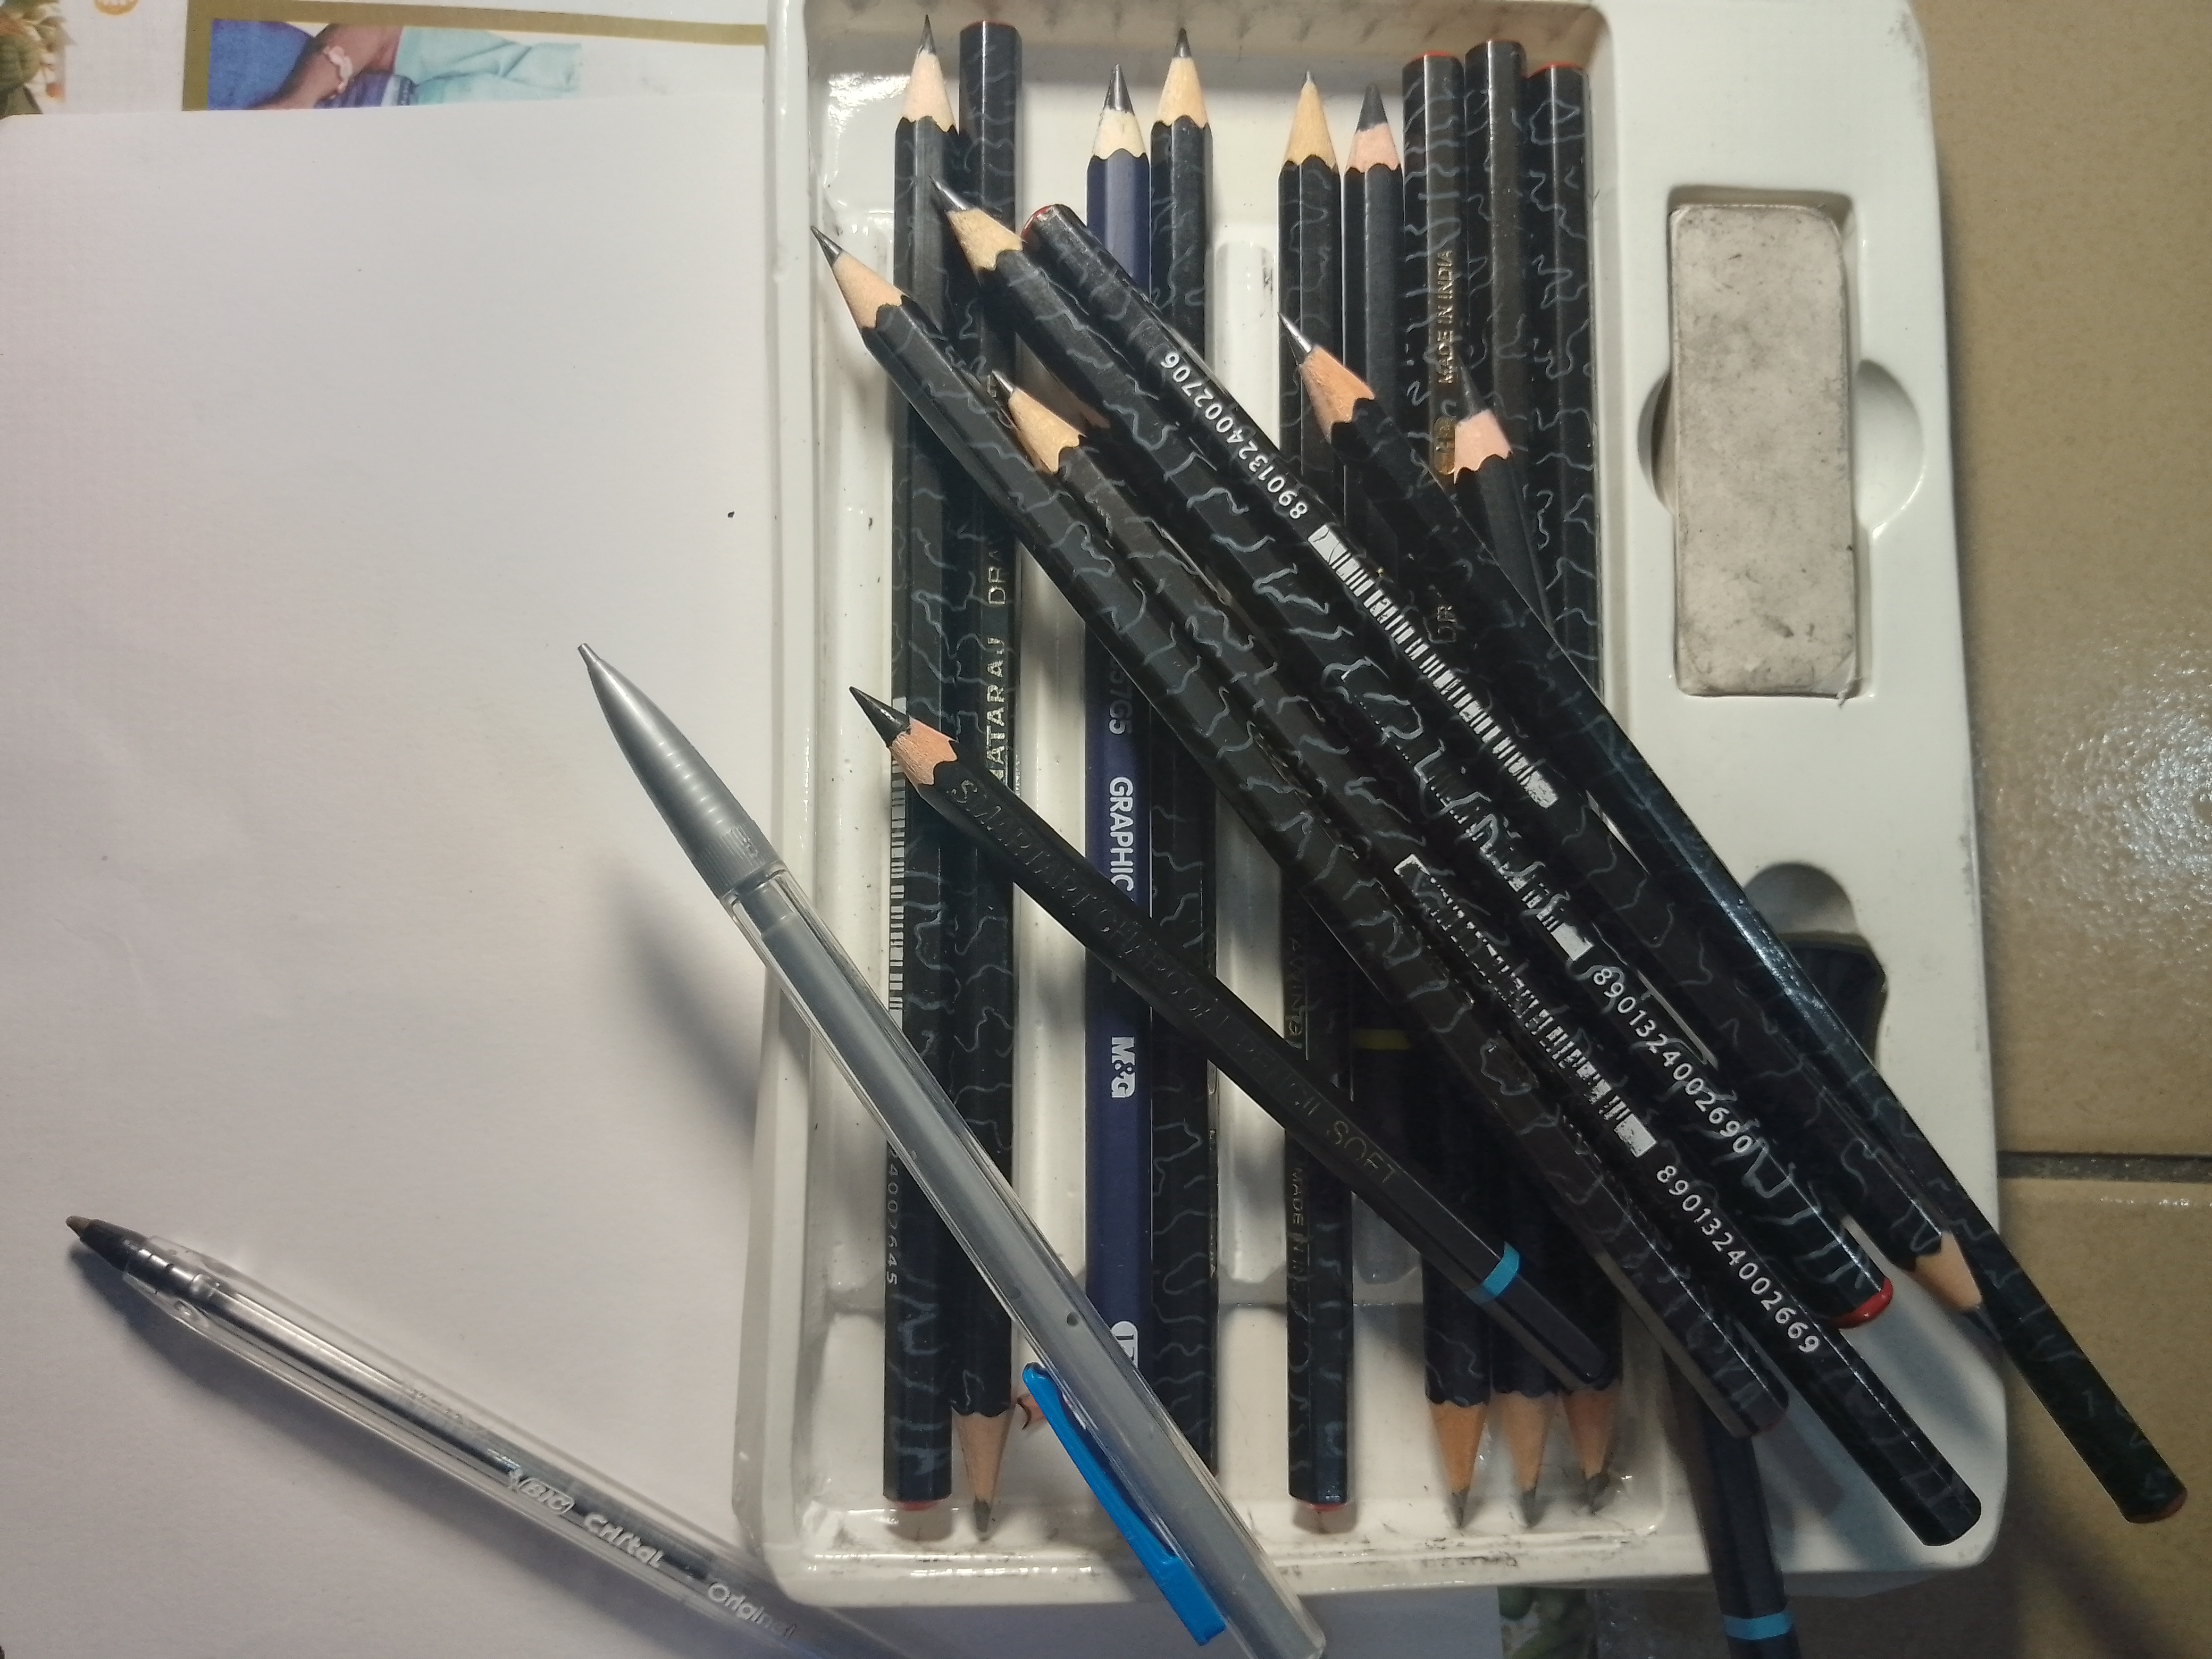
Drawing materials
• A4 paper
• mechanical pencil
• graphite pencil
• 3B and 4B pencil
• charcoal pencil
• eraser
• blending tissue
• sharpener
Step-by-step process
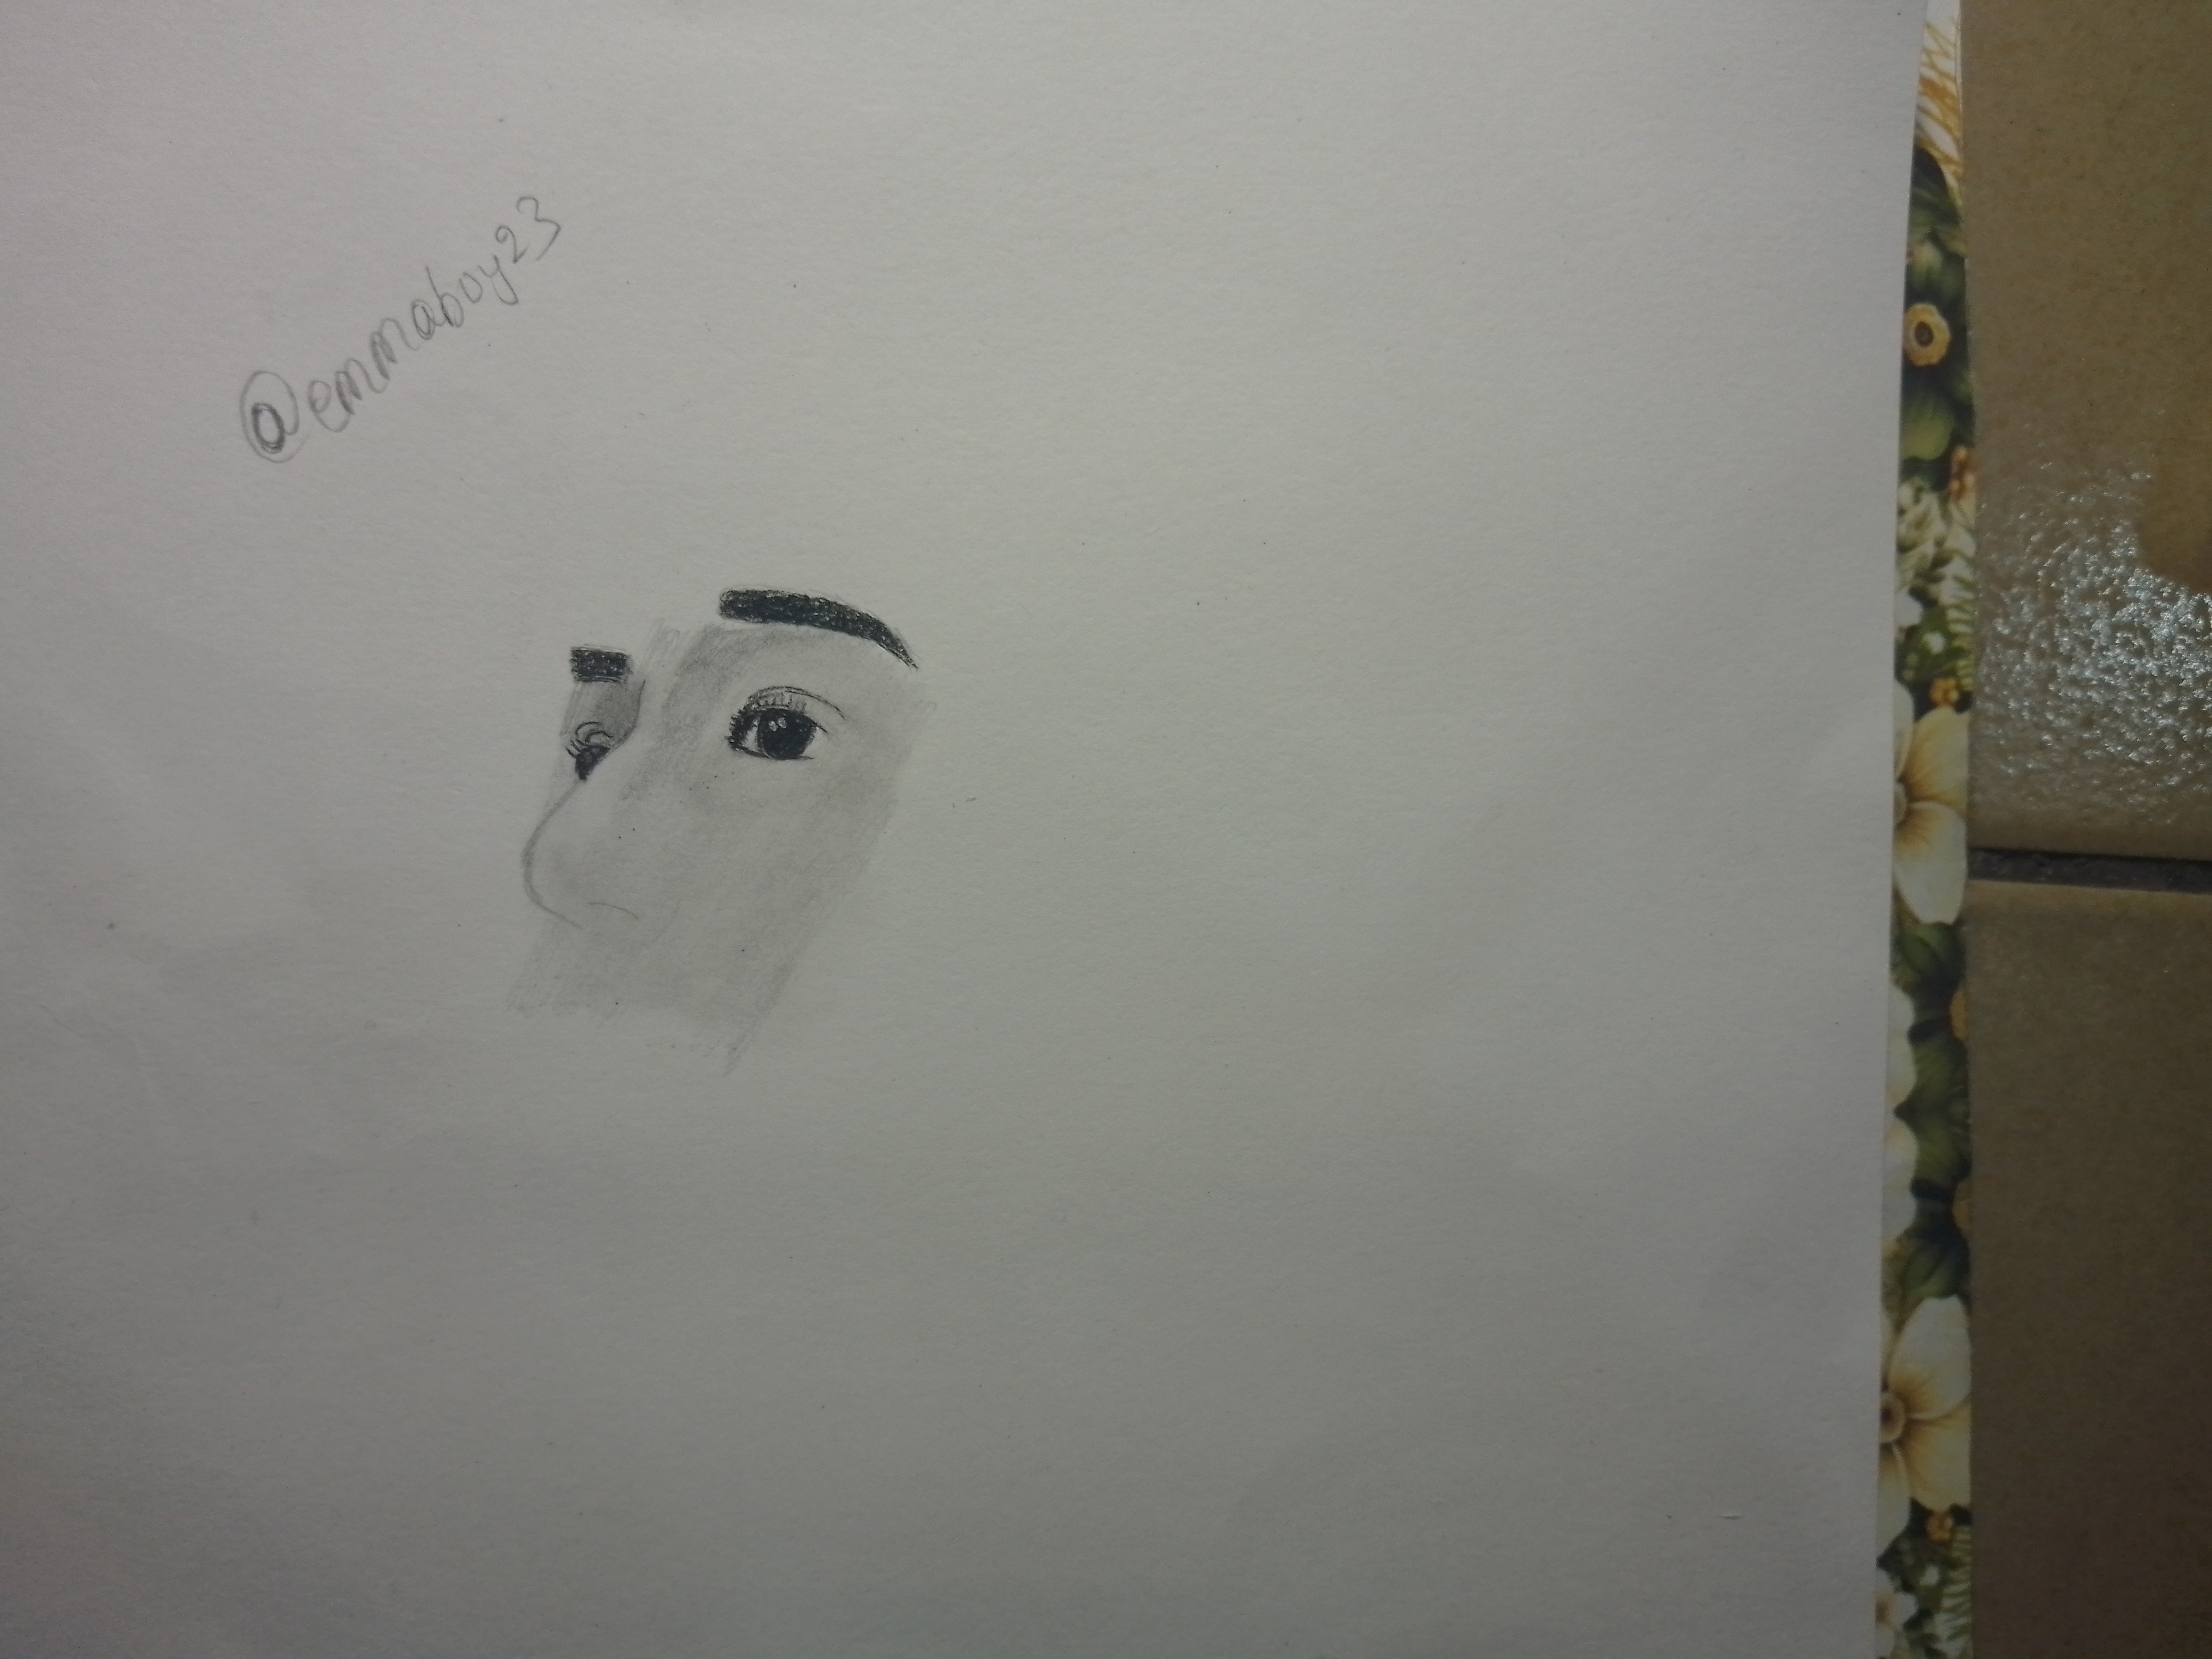
Step 1
I started by drawing the eyes, eyebrows, and nose. I always start with the eyes because they are the most expressive part of a portrait. Using a sharp pencil, I carefully added details to the eyelashes and pupils while preserving small highlights to make the eyes appear alive. Once the eyes were completed, I refined the nose.
Step 2
Next I carefully added the lips and shaded the cheeks and jawline; they required smooth transitions between light and dark values. I blended these areas carefully to create a realistic appearance. This process took patience because excessive blending can sometimes remove important details.
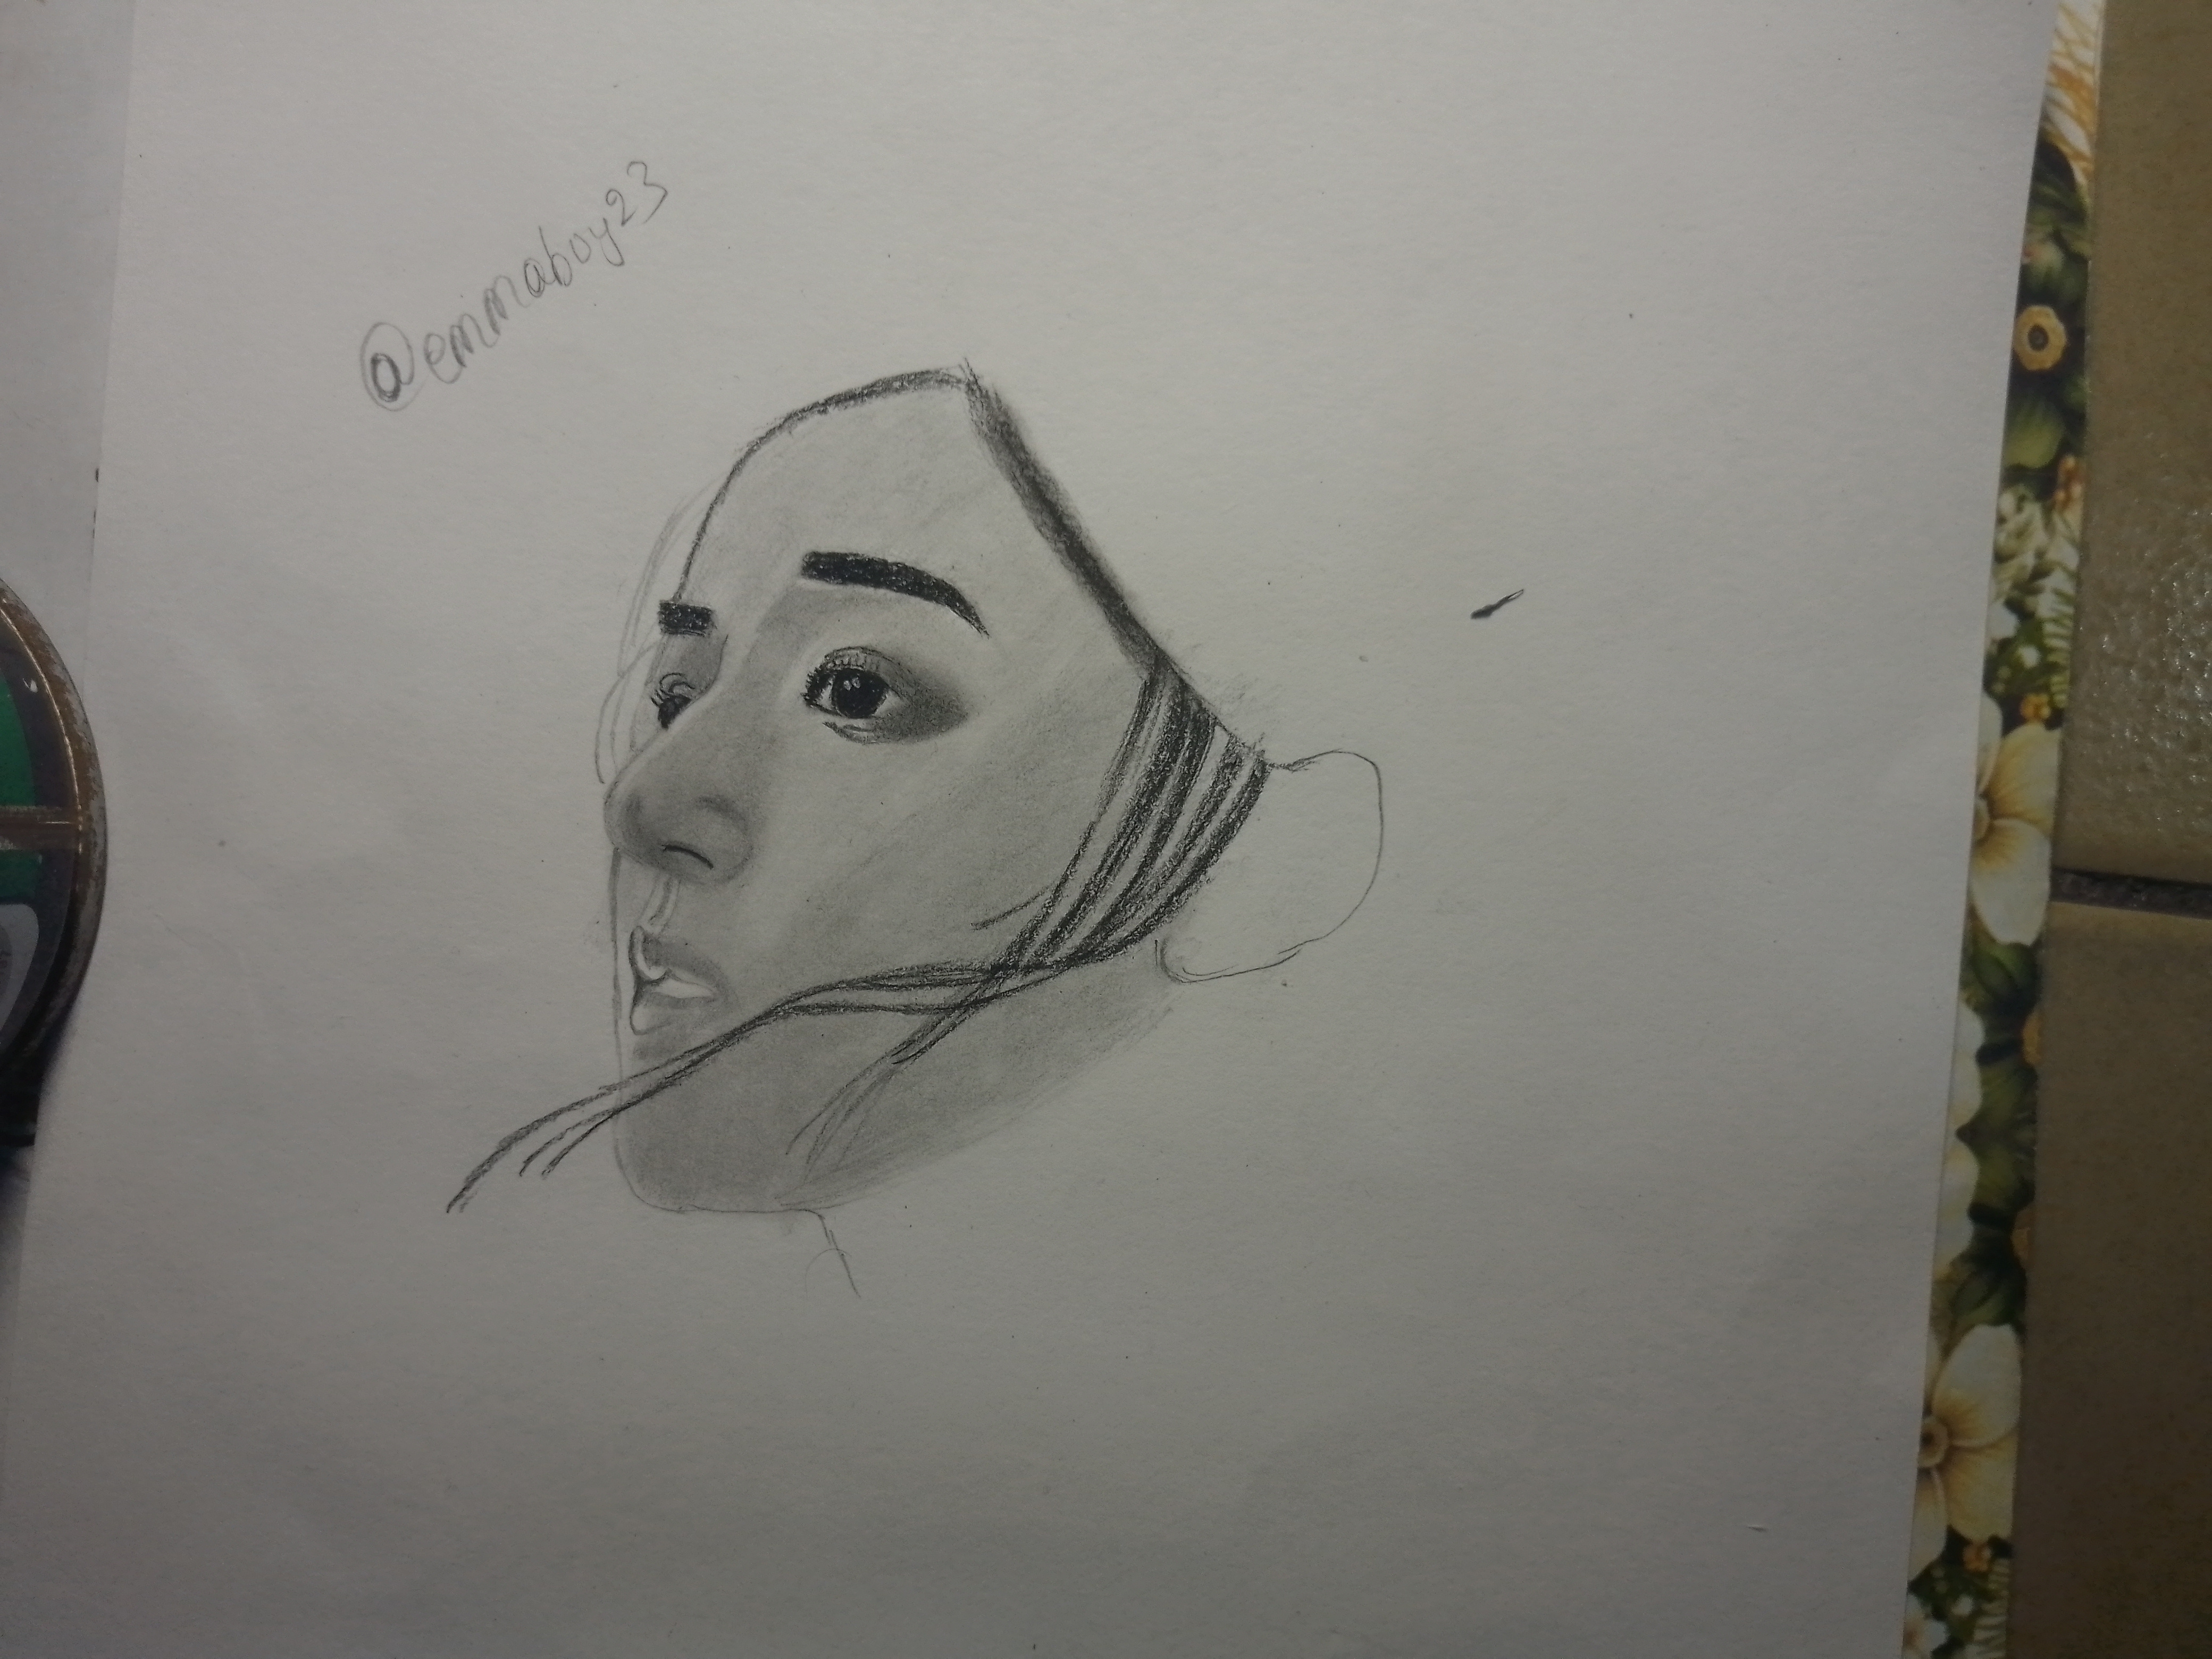
Step 3
Next was the hair. The hairstyle appears simple at first glance, but the loose strands flowing across the face added a beautiful sense of movement. To create this effect, I used sharp pencil strokes and varied pressure to achieve both dark and light strands. I also shaded and worked on the neck as well.
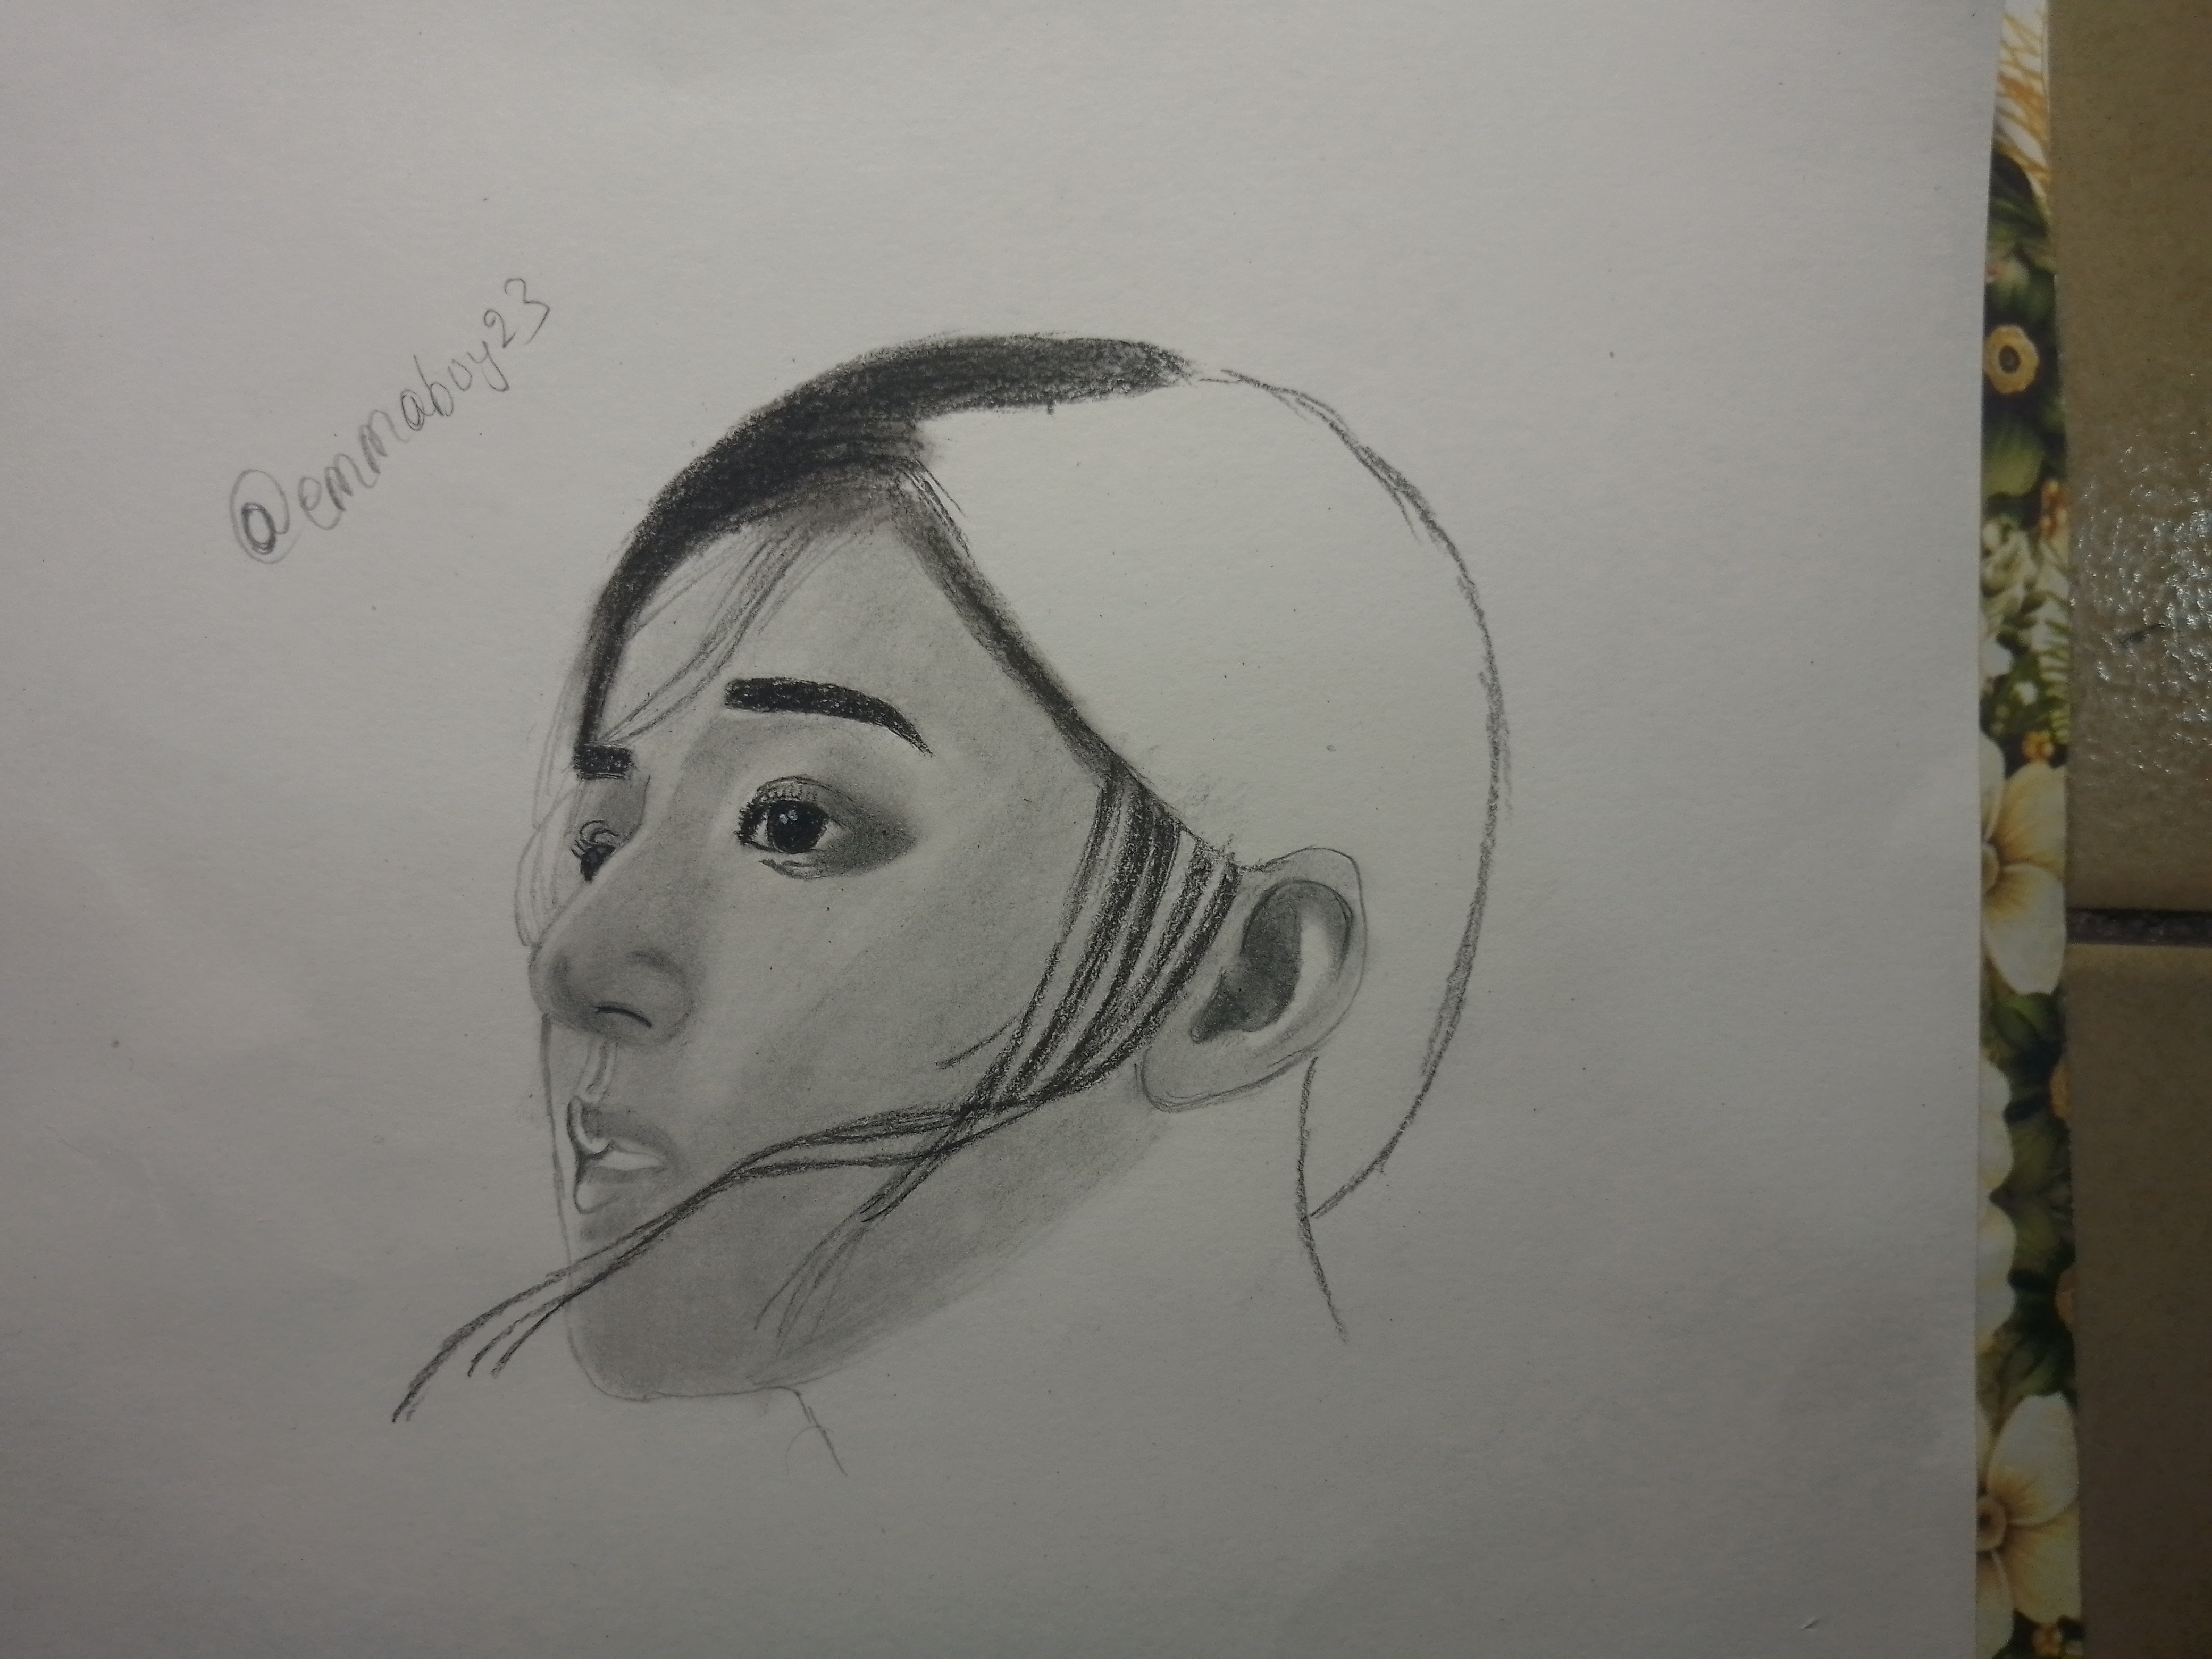
Step 4
After completing the hair and face, I moved on to the clothing. The shirt contained simple line patterns, so I used quick pencil strokes to recreate them.
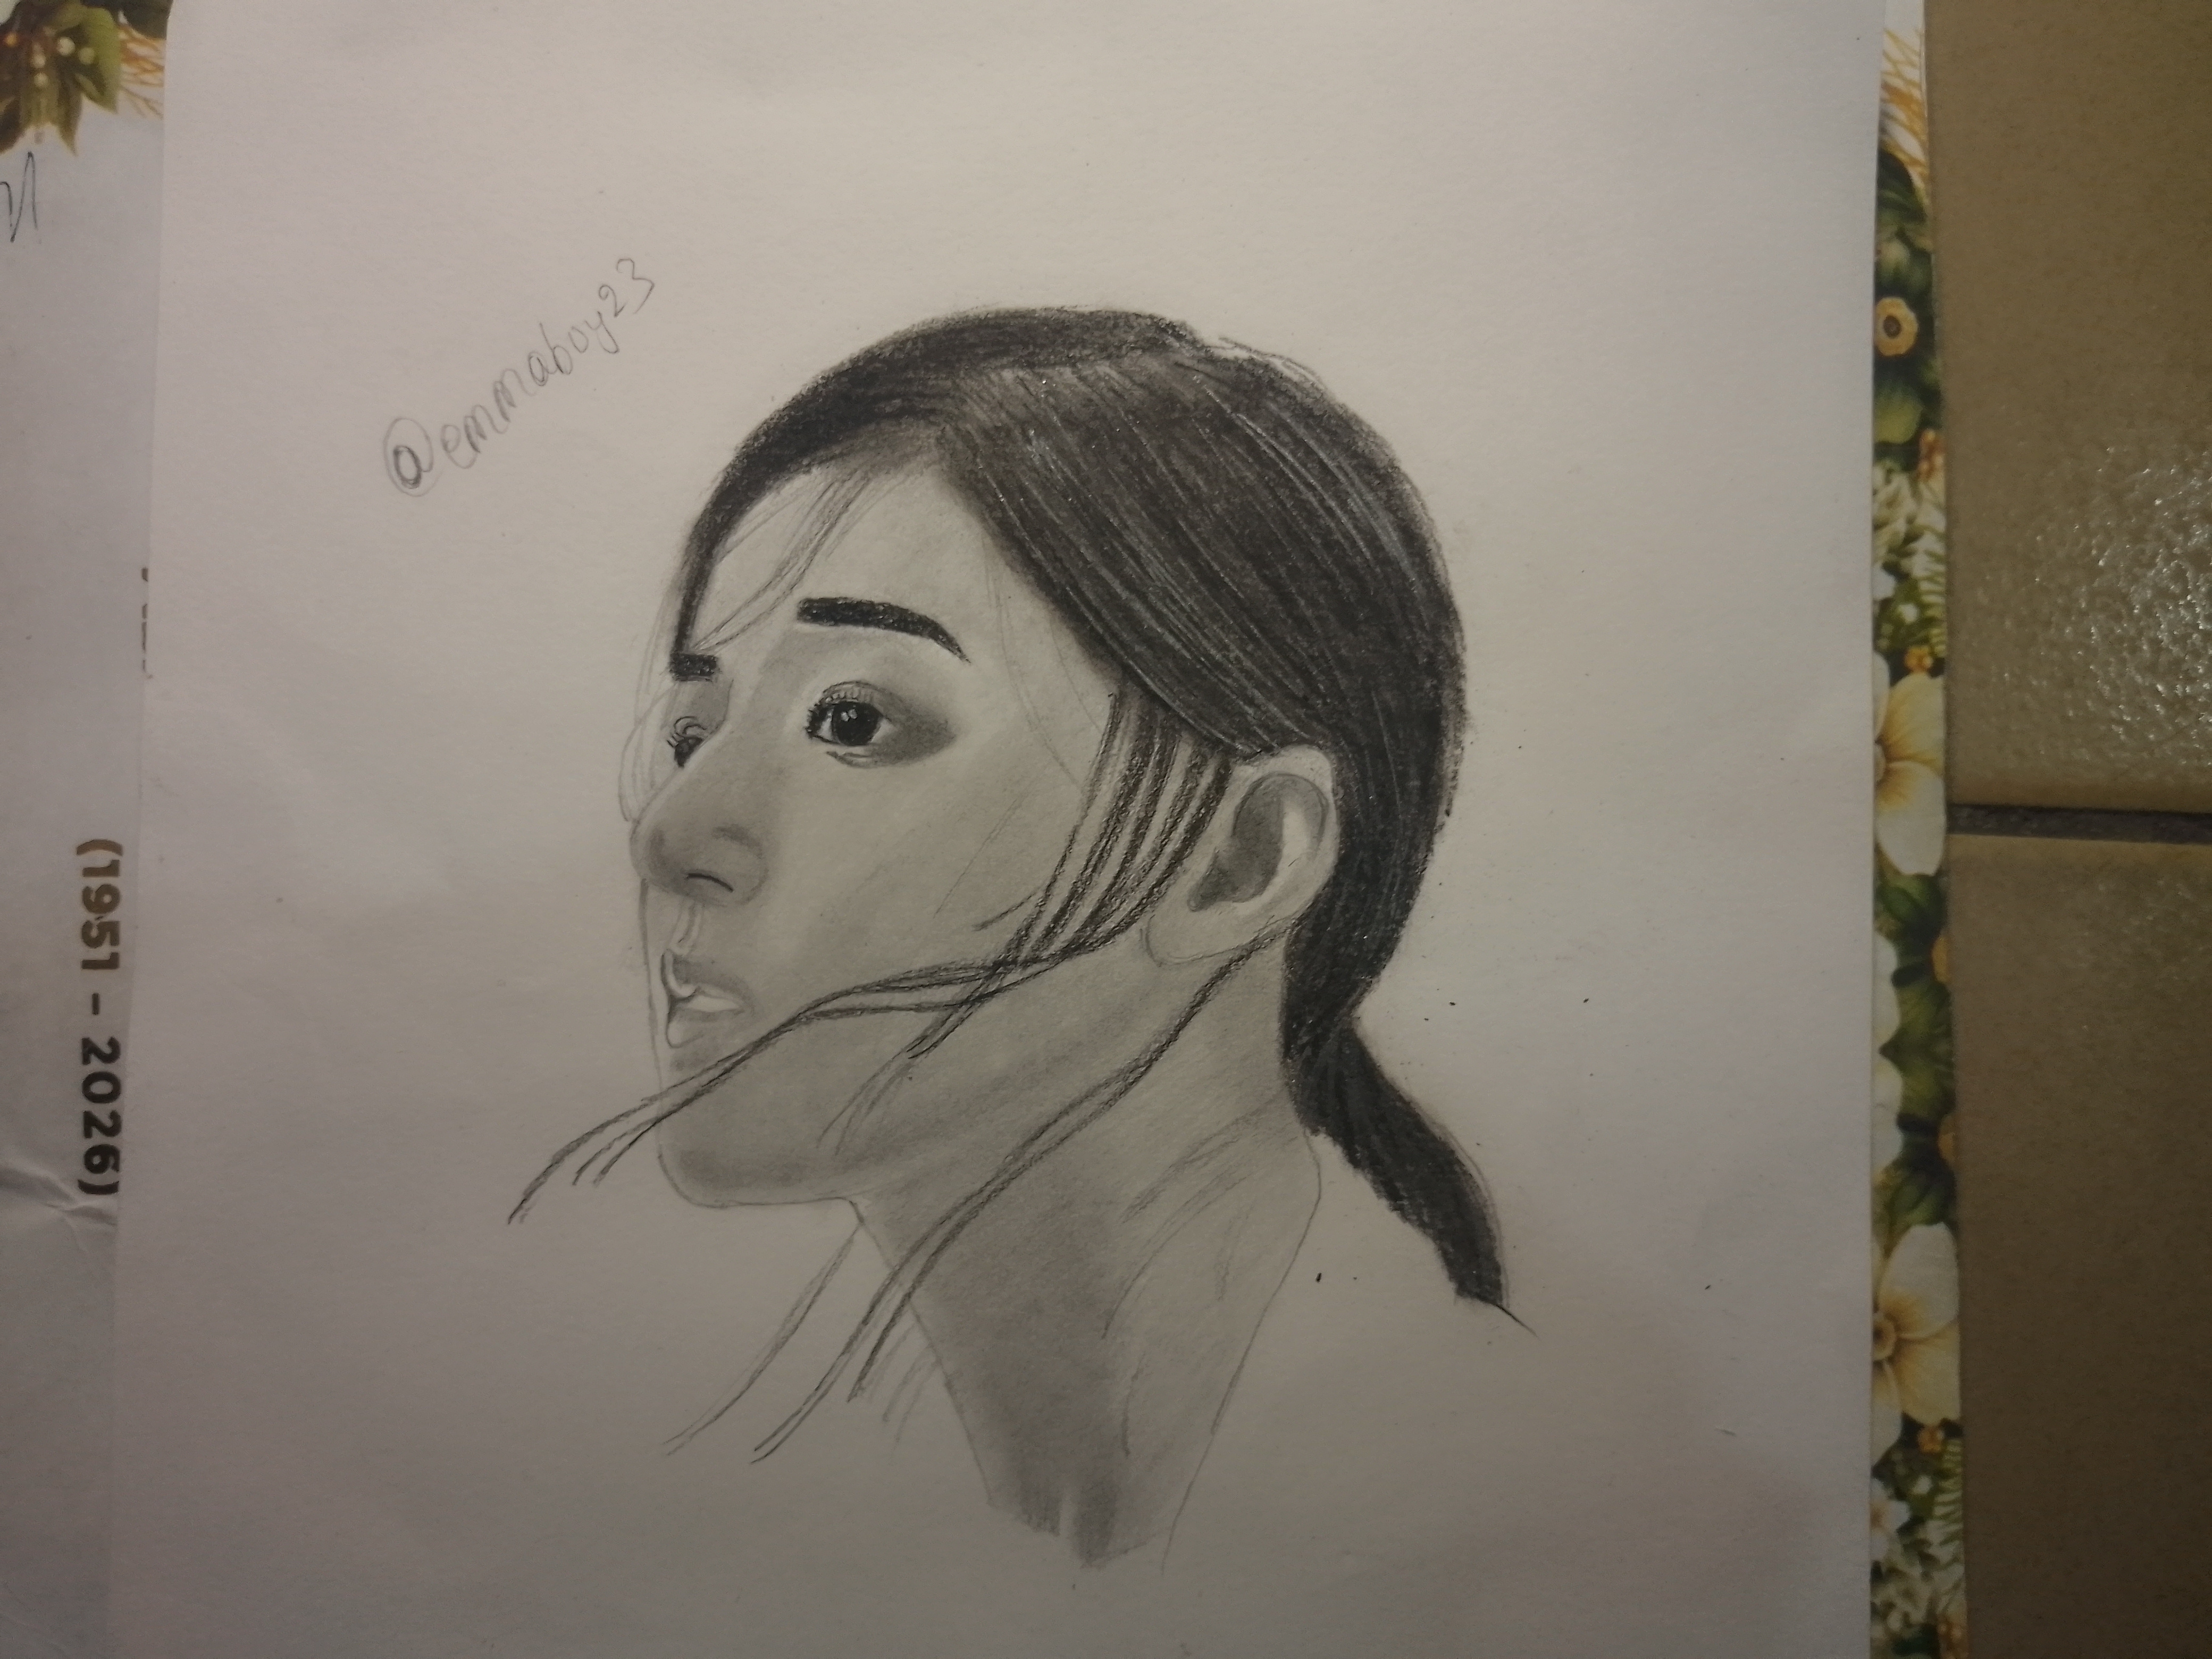
Step 5
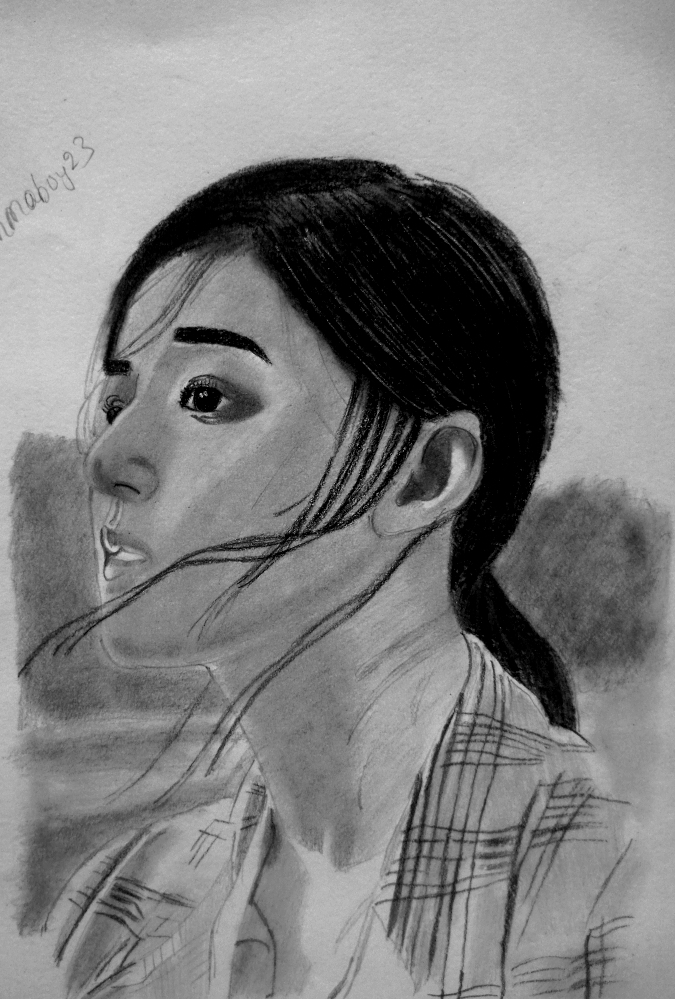
Next, I added soft background shading around the subject. This simple technique increased contrast and made the face more prominent. The background was intentionally kept subtle so it would not compete with the portrait for attention.
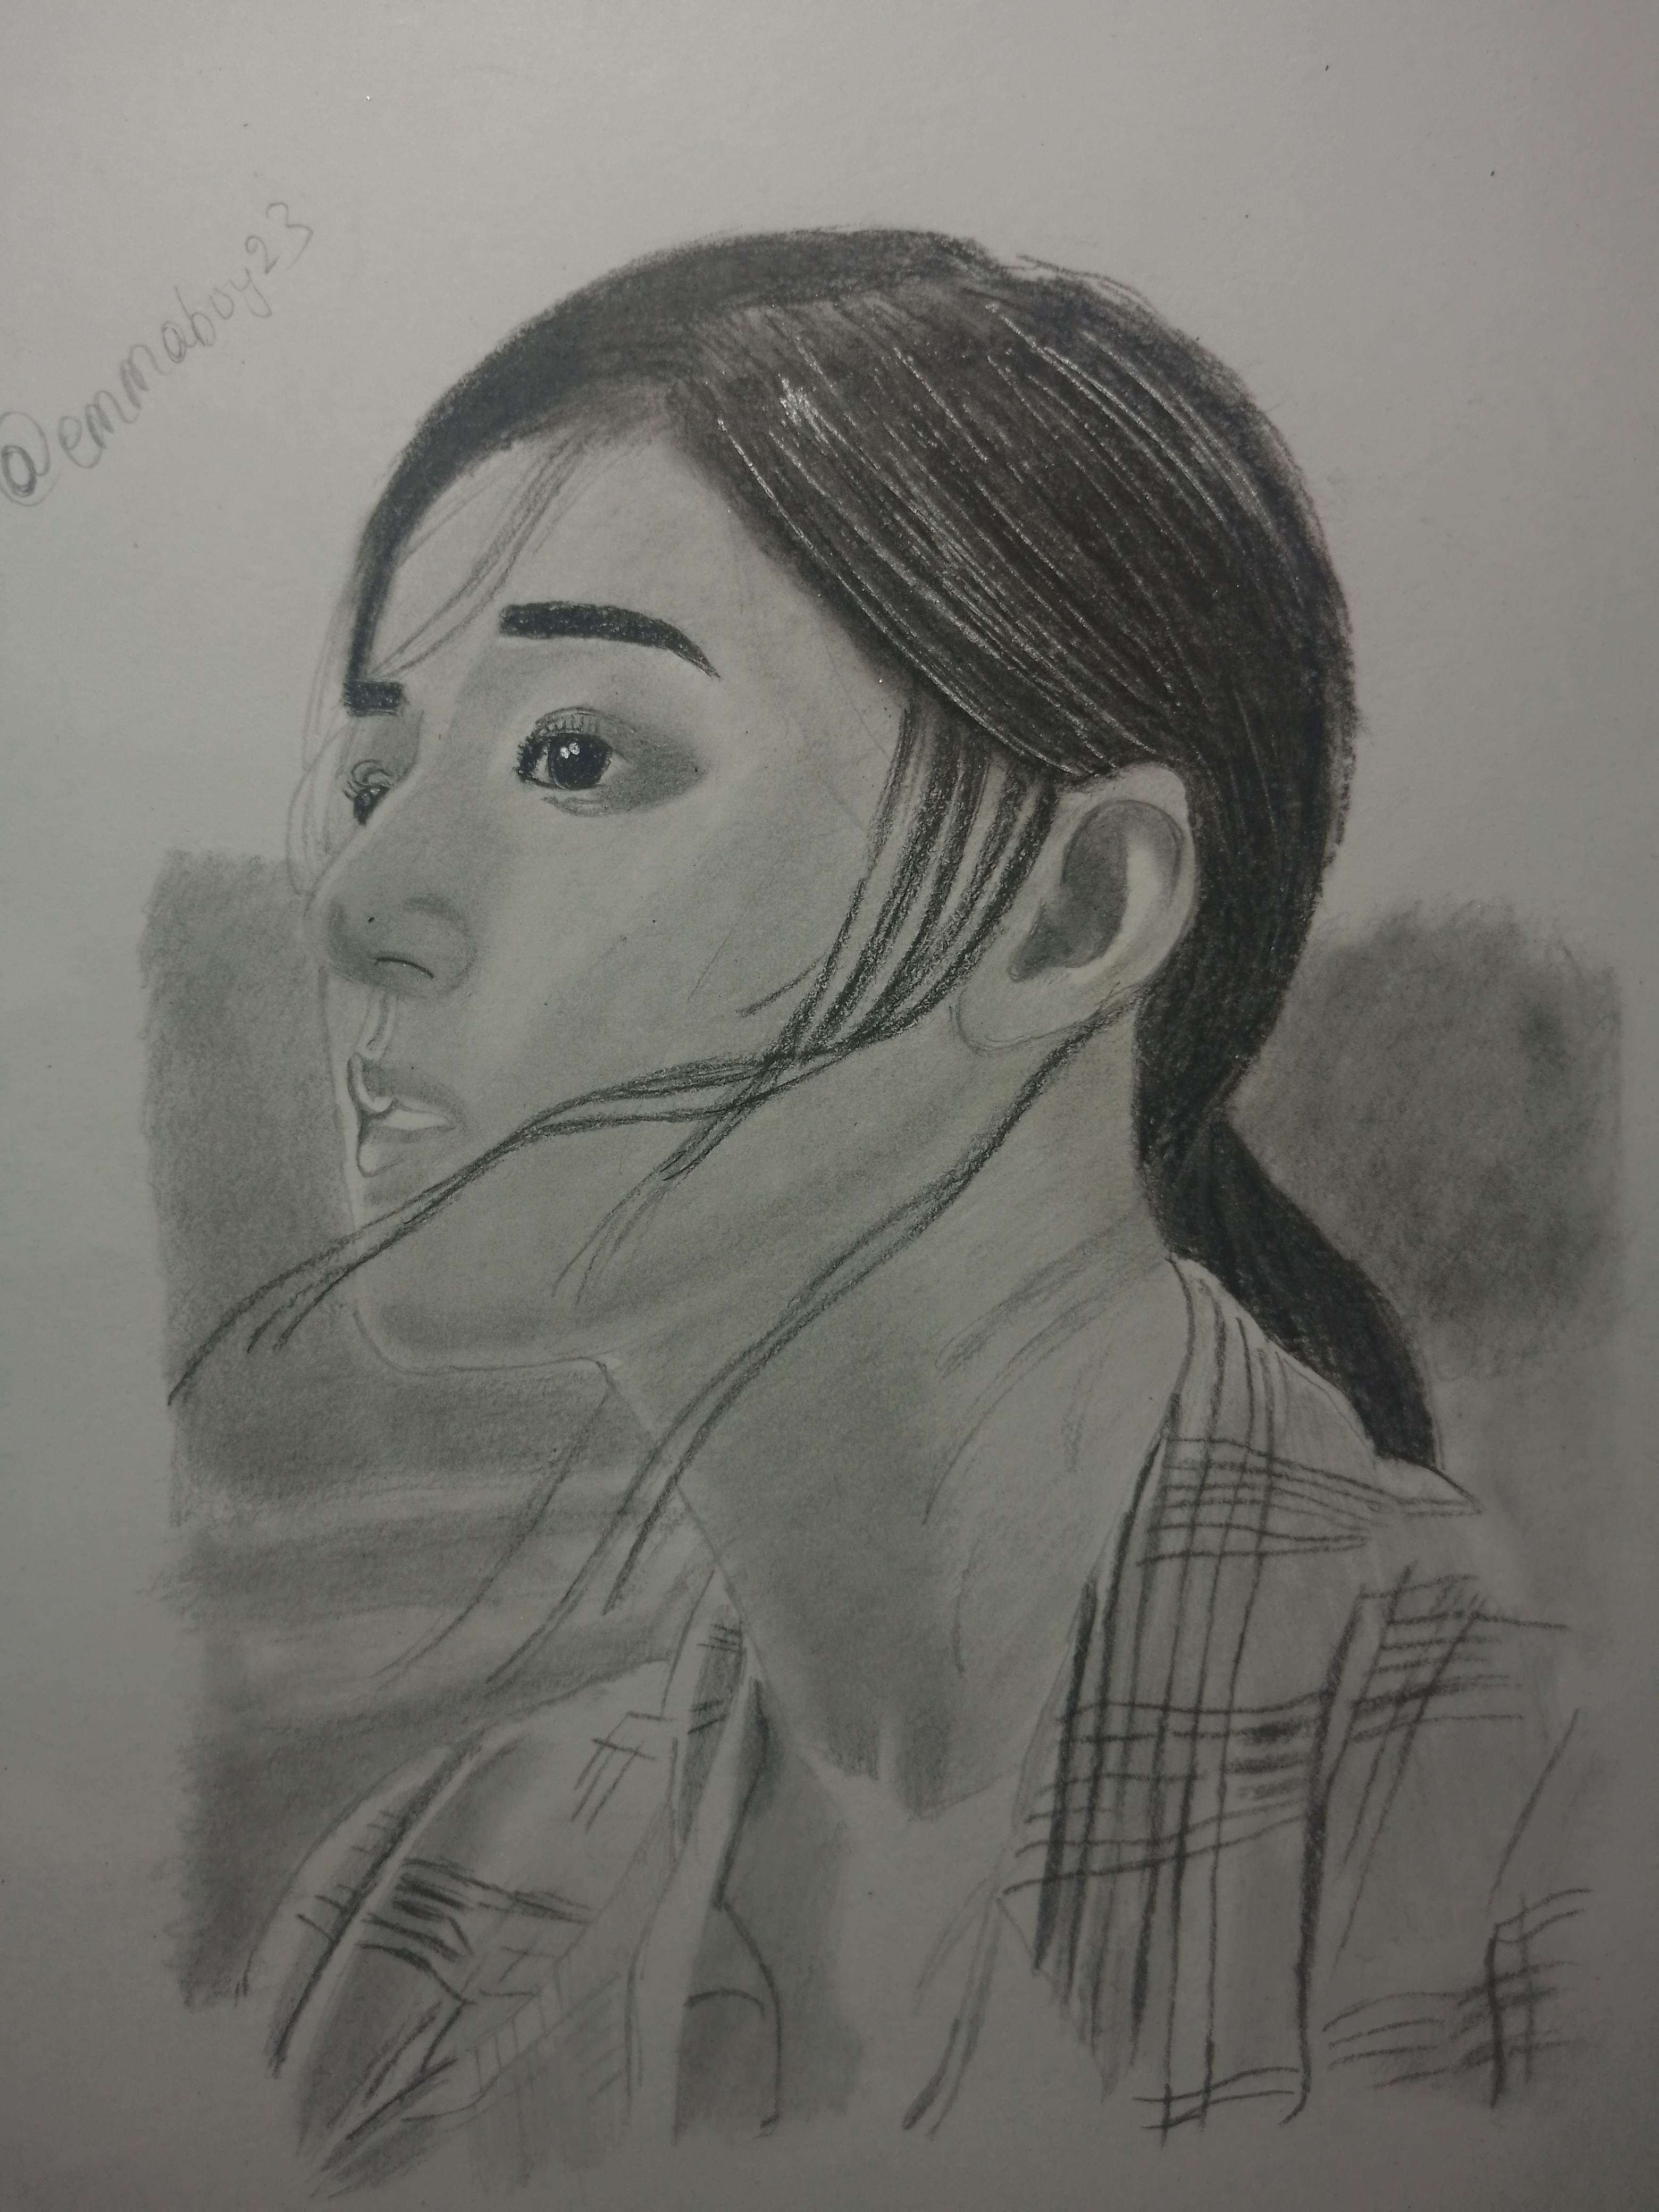
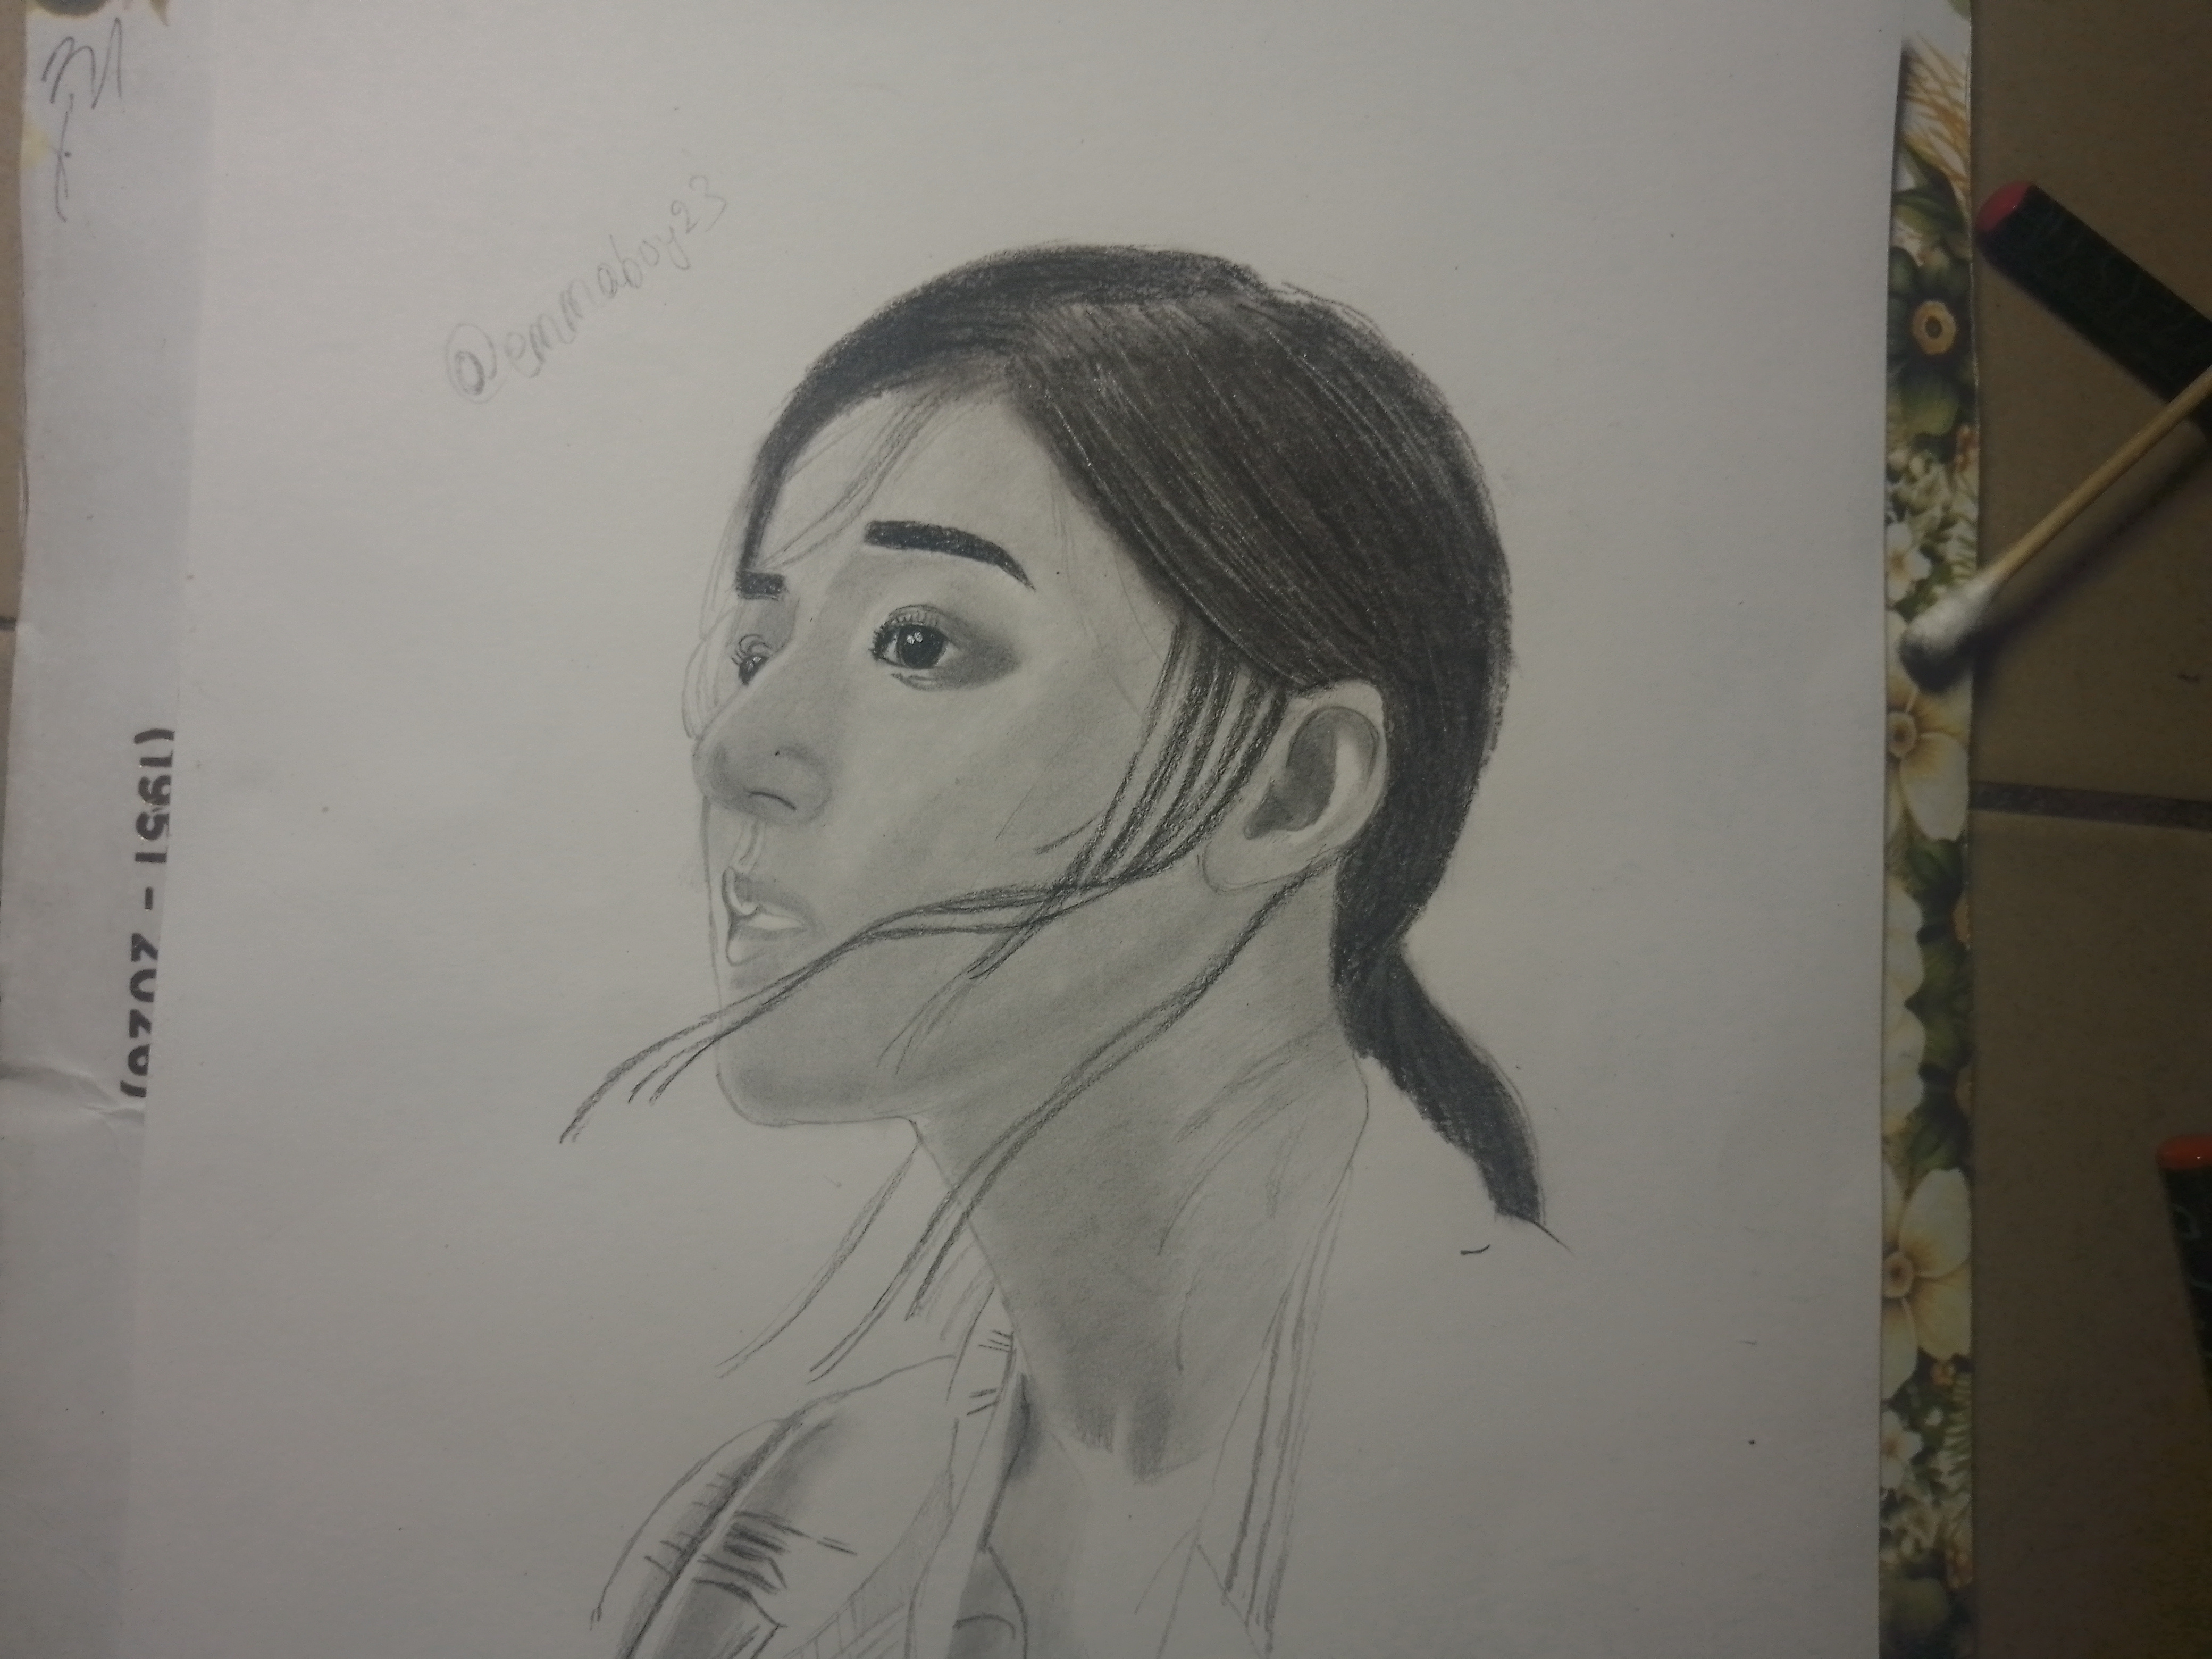
Step 6
Then finally, I made a few final adjustments and added details to the shadows and highlights. These small refinements helped improve the overall depth and balance of the artwork. Below is my final result.
My selfie with my drawing
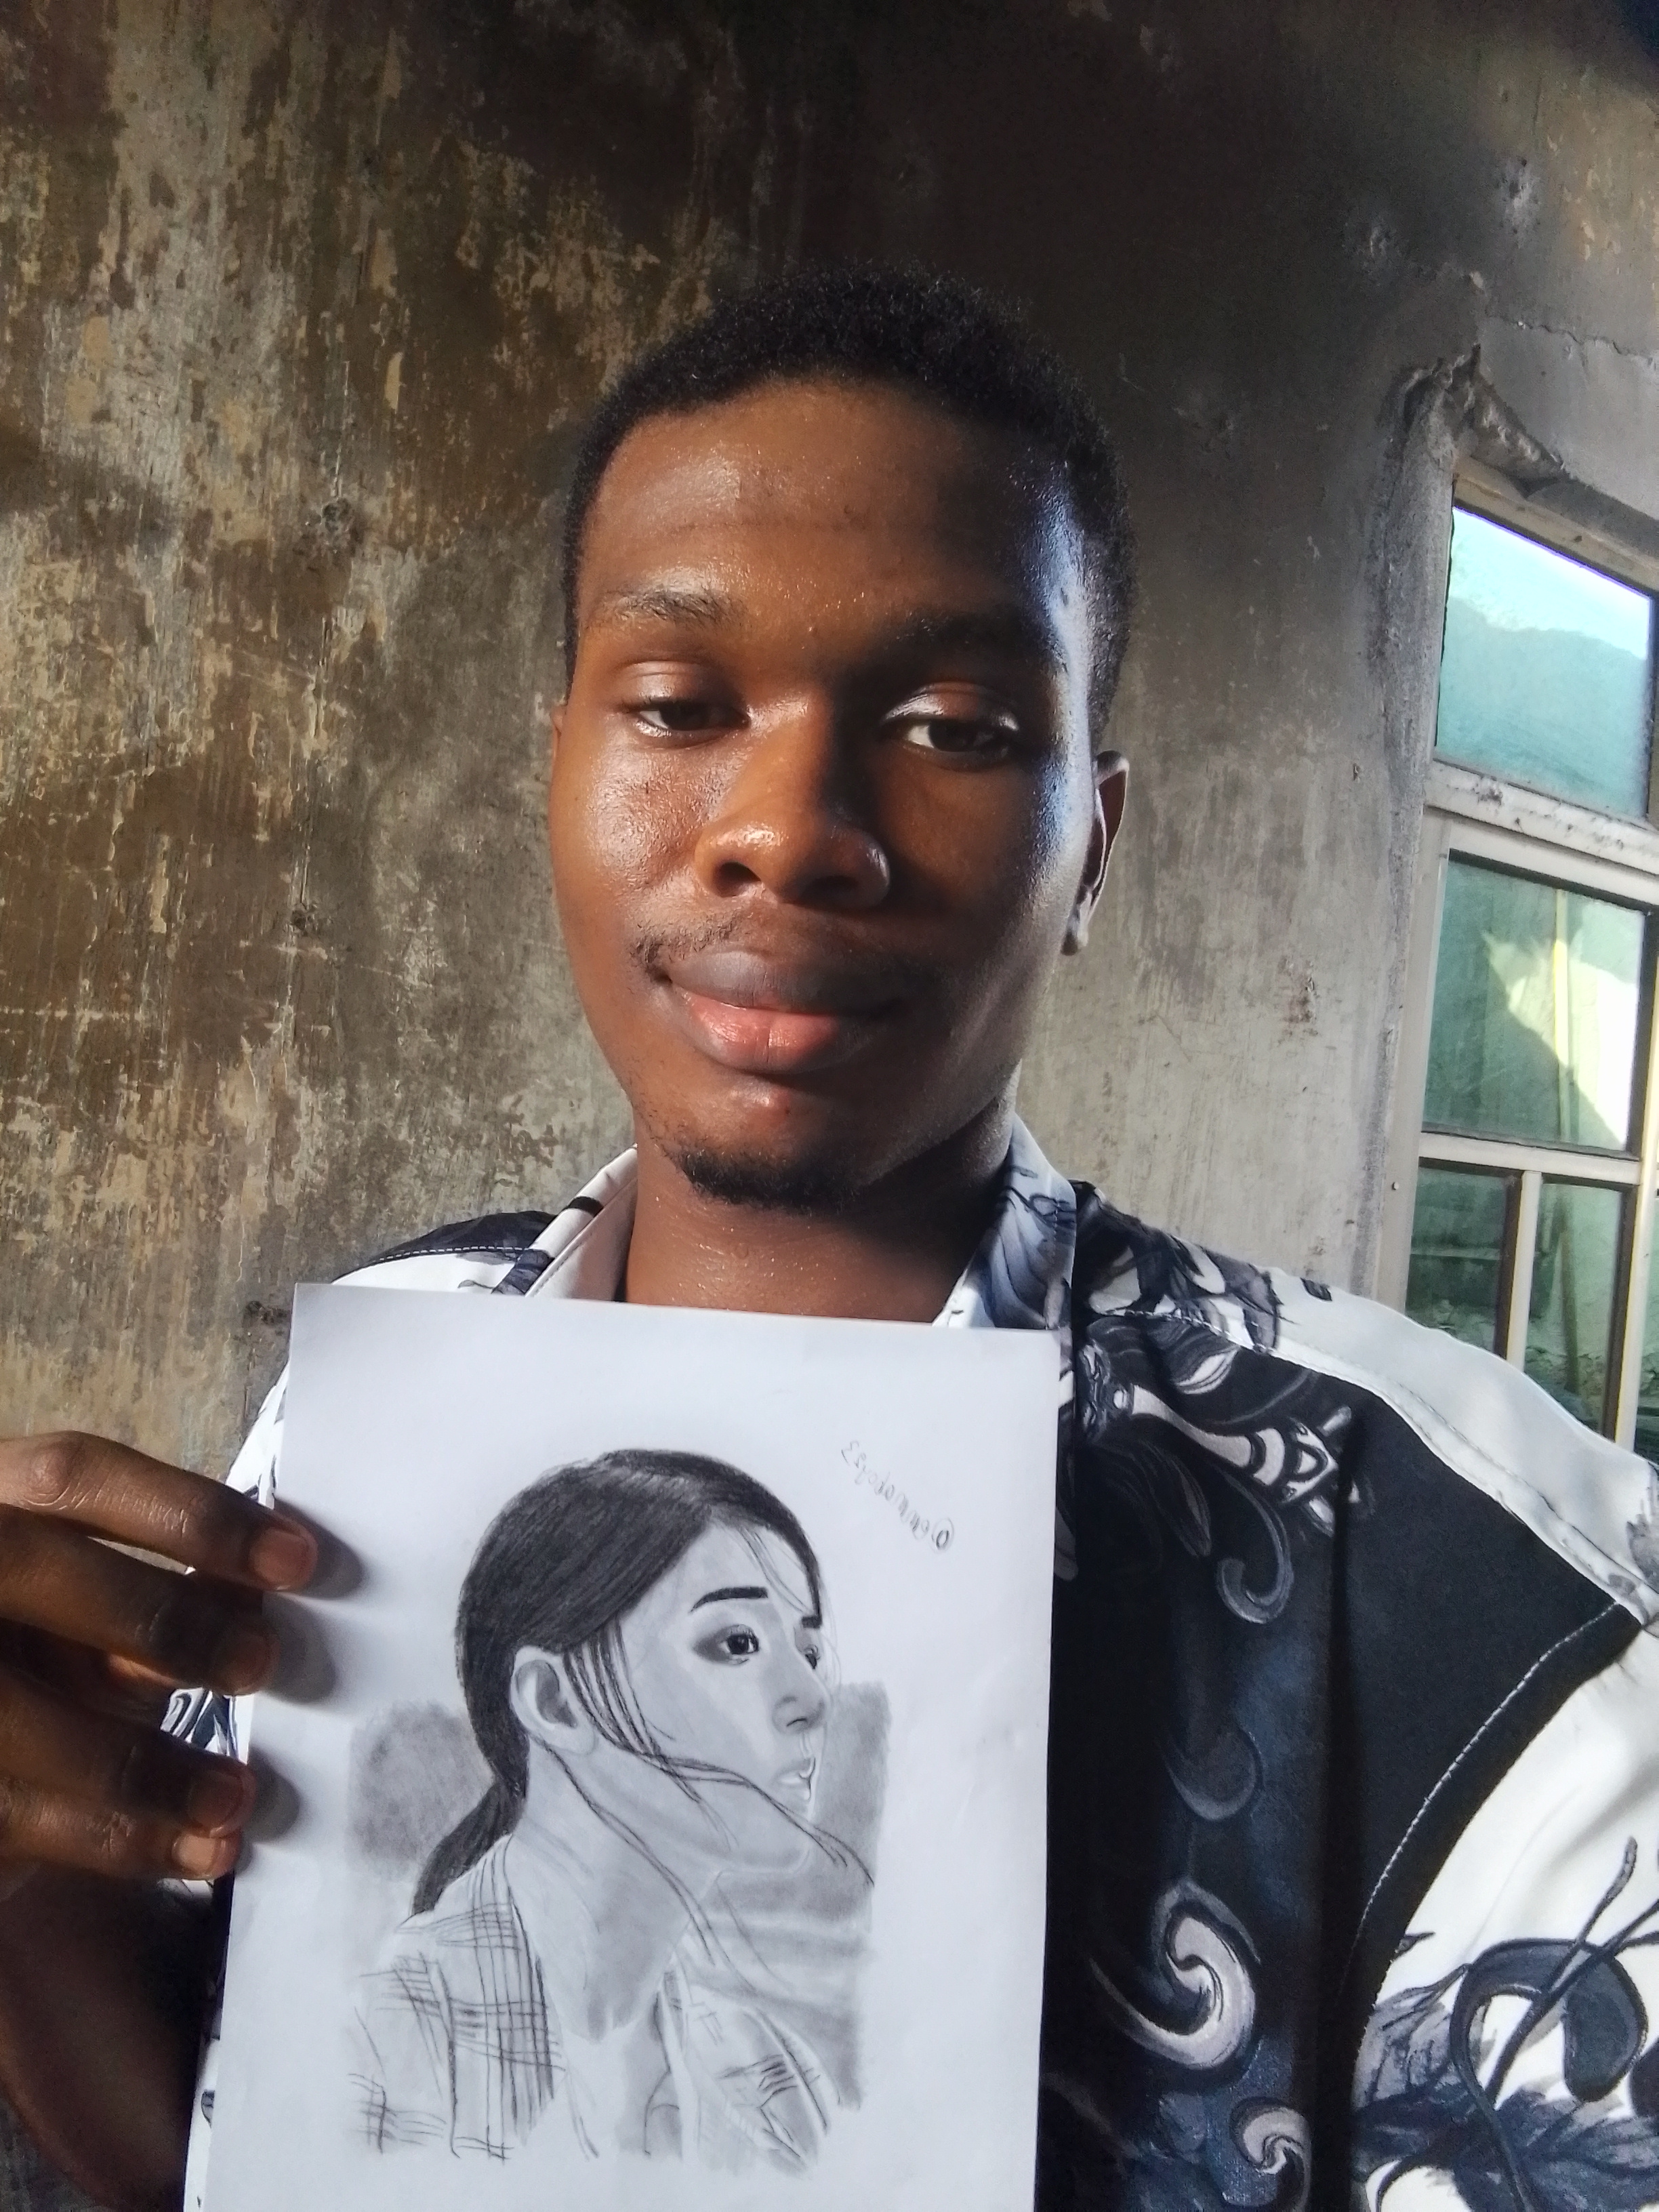
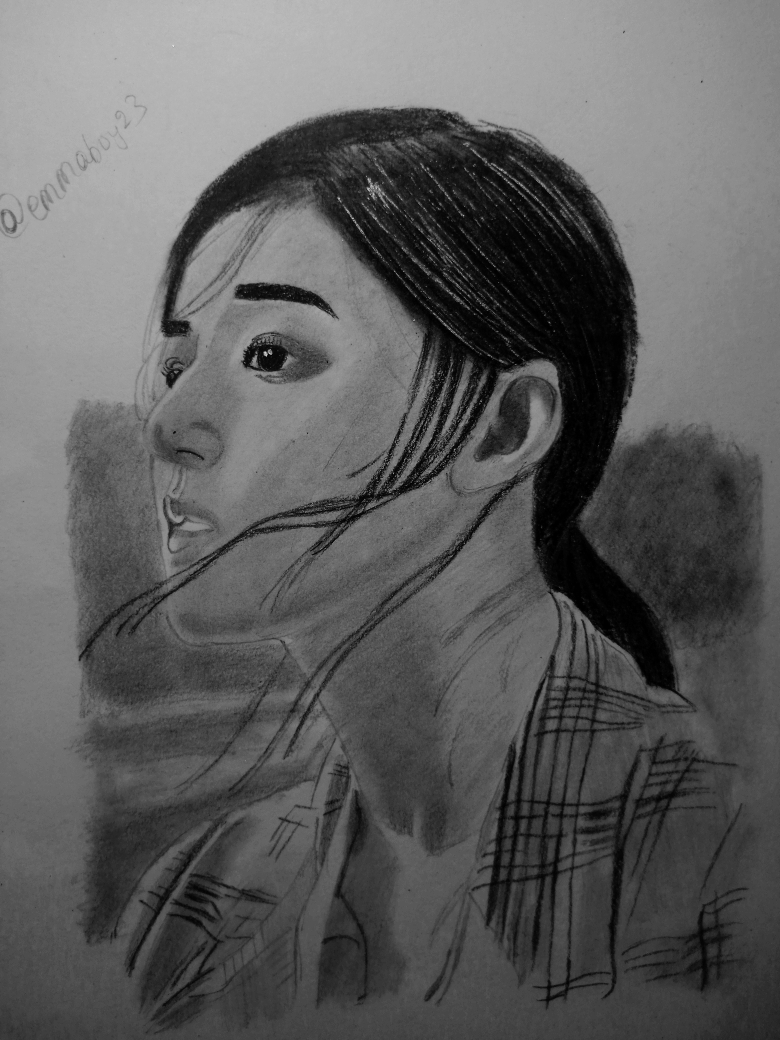
I was pleased with the final outcome because it successfully captured the mood and expression that first attracted me to drawing it in the first place. Every portrait I create teaches me something new, and this piece helped me practice facial proportions, hair texture, and smooth shading techniques. Thank you all for visiting my post and supporting me; I wish you all a happy week and a happy month as well.
I'd love to invite @m-princess, @tempestinyang, and @tammanna.
THANKS FOR YOUR TIME
Posted with Speem
Thank you for your support @aviral123