Tutorial: Simple & Easy Handmade Colorful Birthday Card for Beginners
Assalamualaikum Everyone. I hope all of you are doing well and having a great time.
Today, I am going to share with you a tutorial on how to make Handmade Colorful Birthday Card. It's very simple to create and doesn't take much time. Even a person who doesn't have crafting skills can make it by following the steps I have shared.
- White hard chart
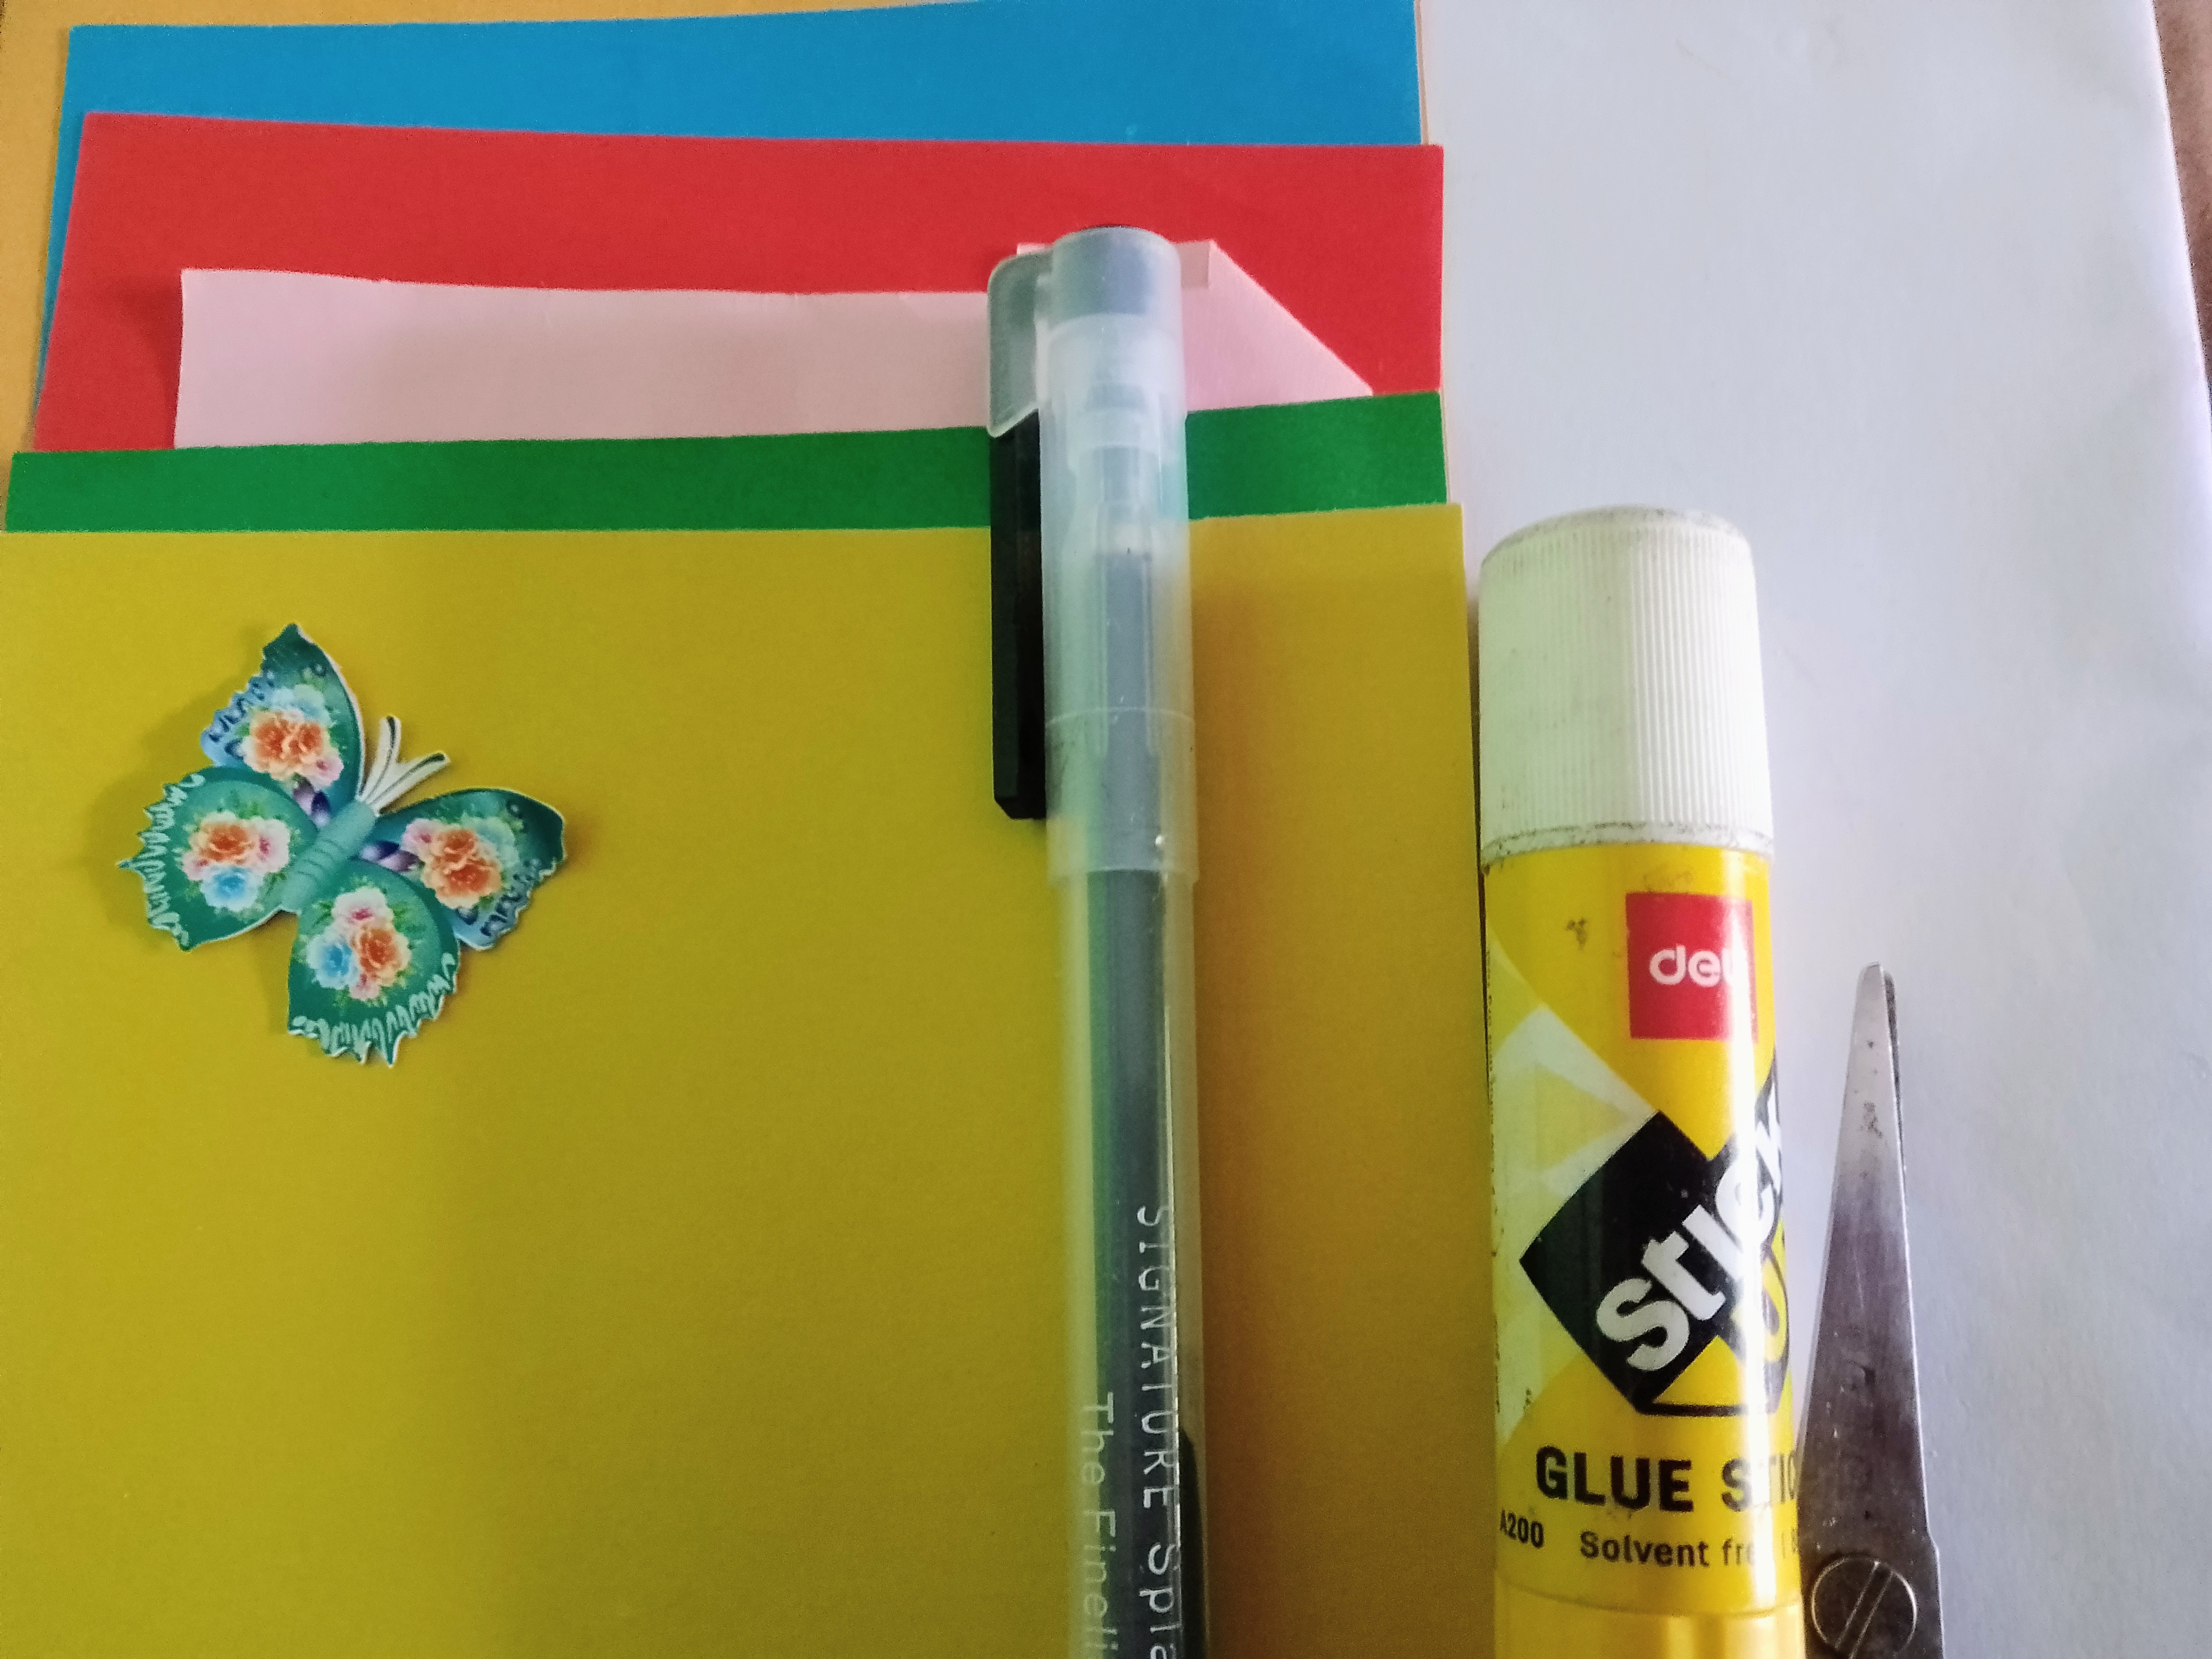
- Colorful papers
- Scissor
- Glue stick
- Black pointer
- Butterfly stickers
- Ruler
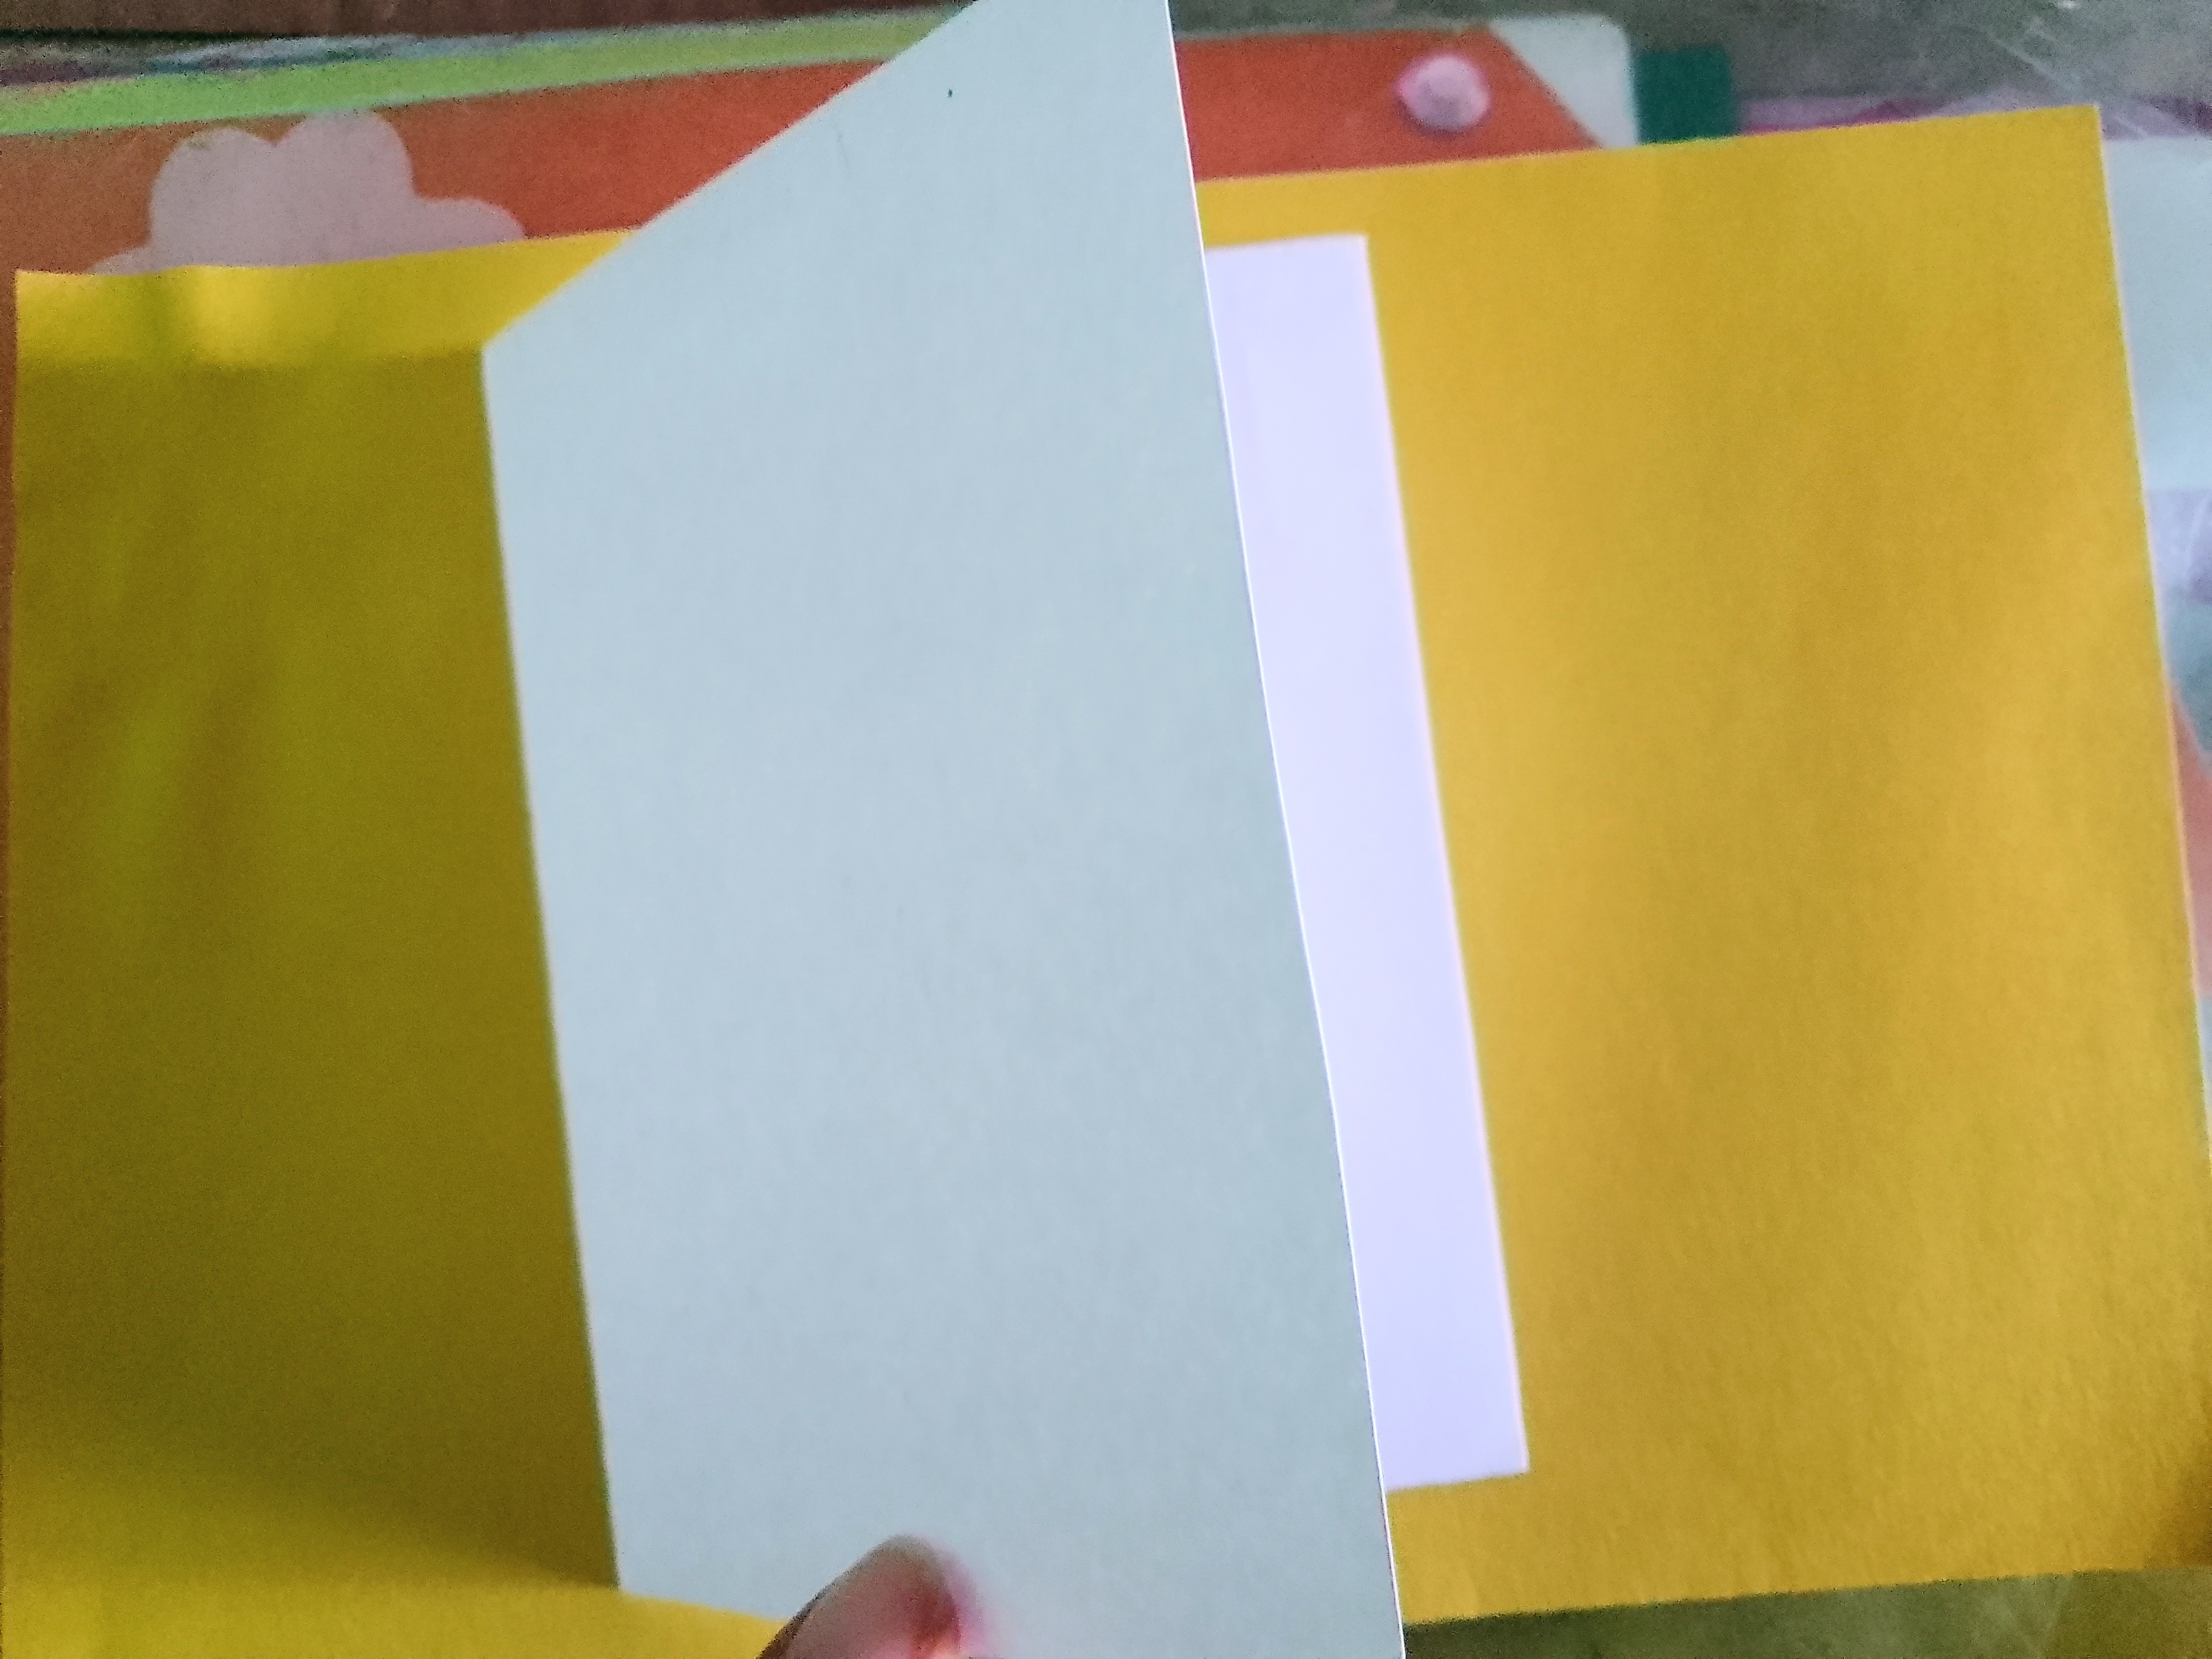
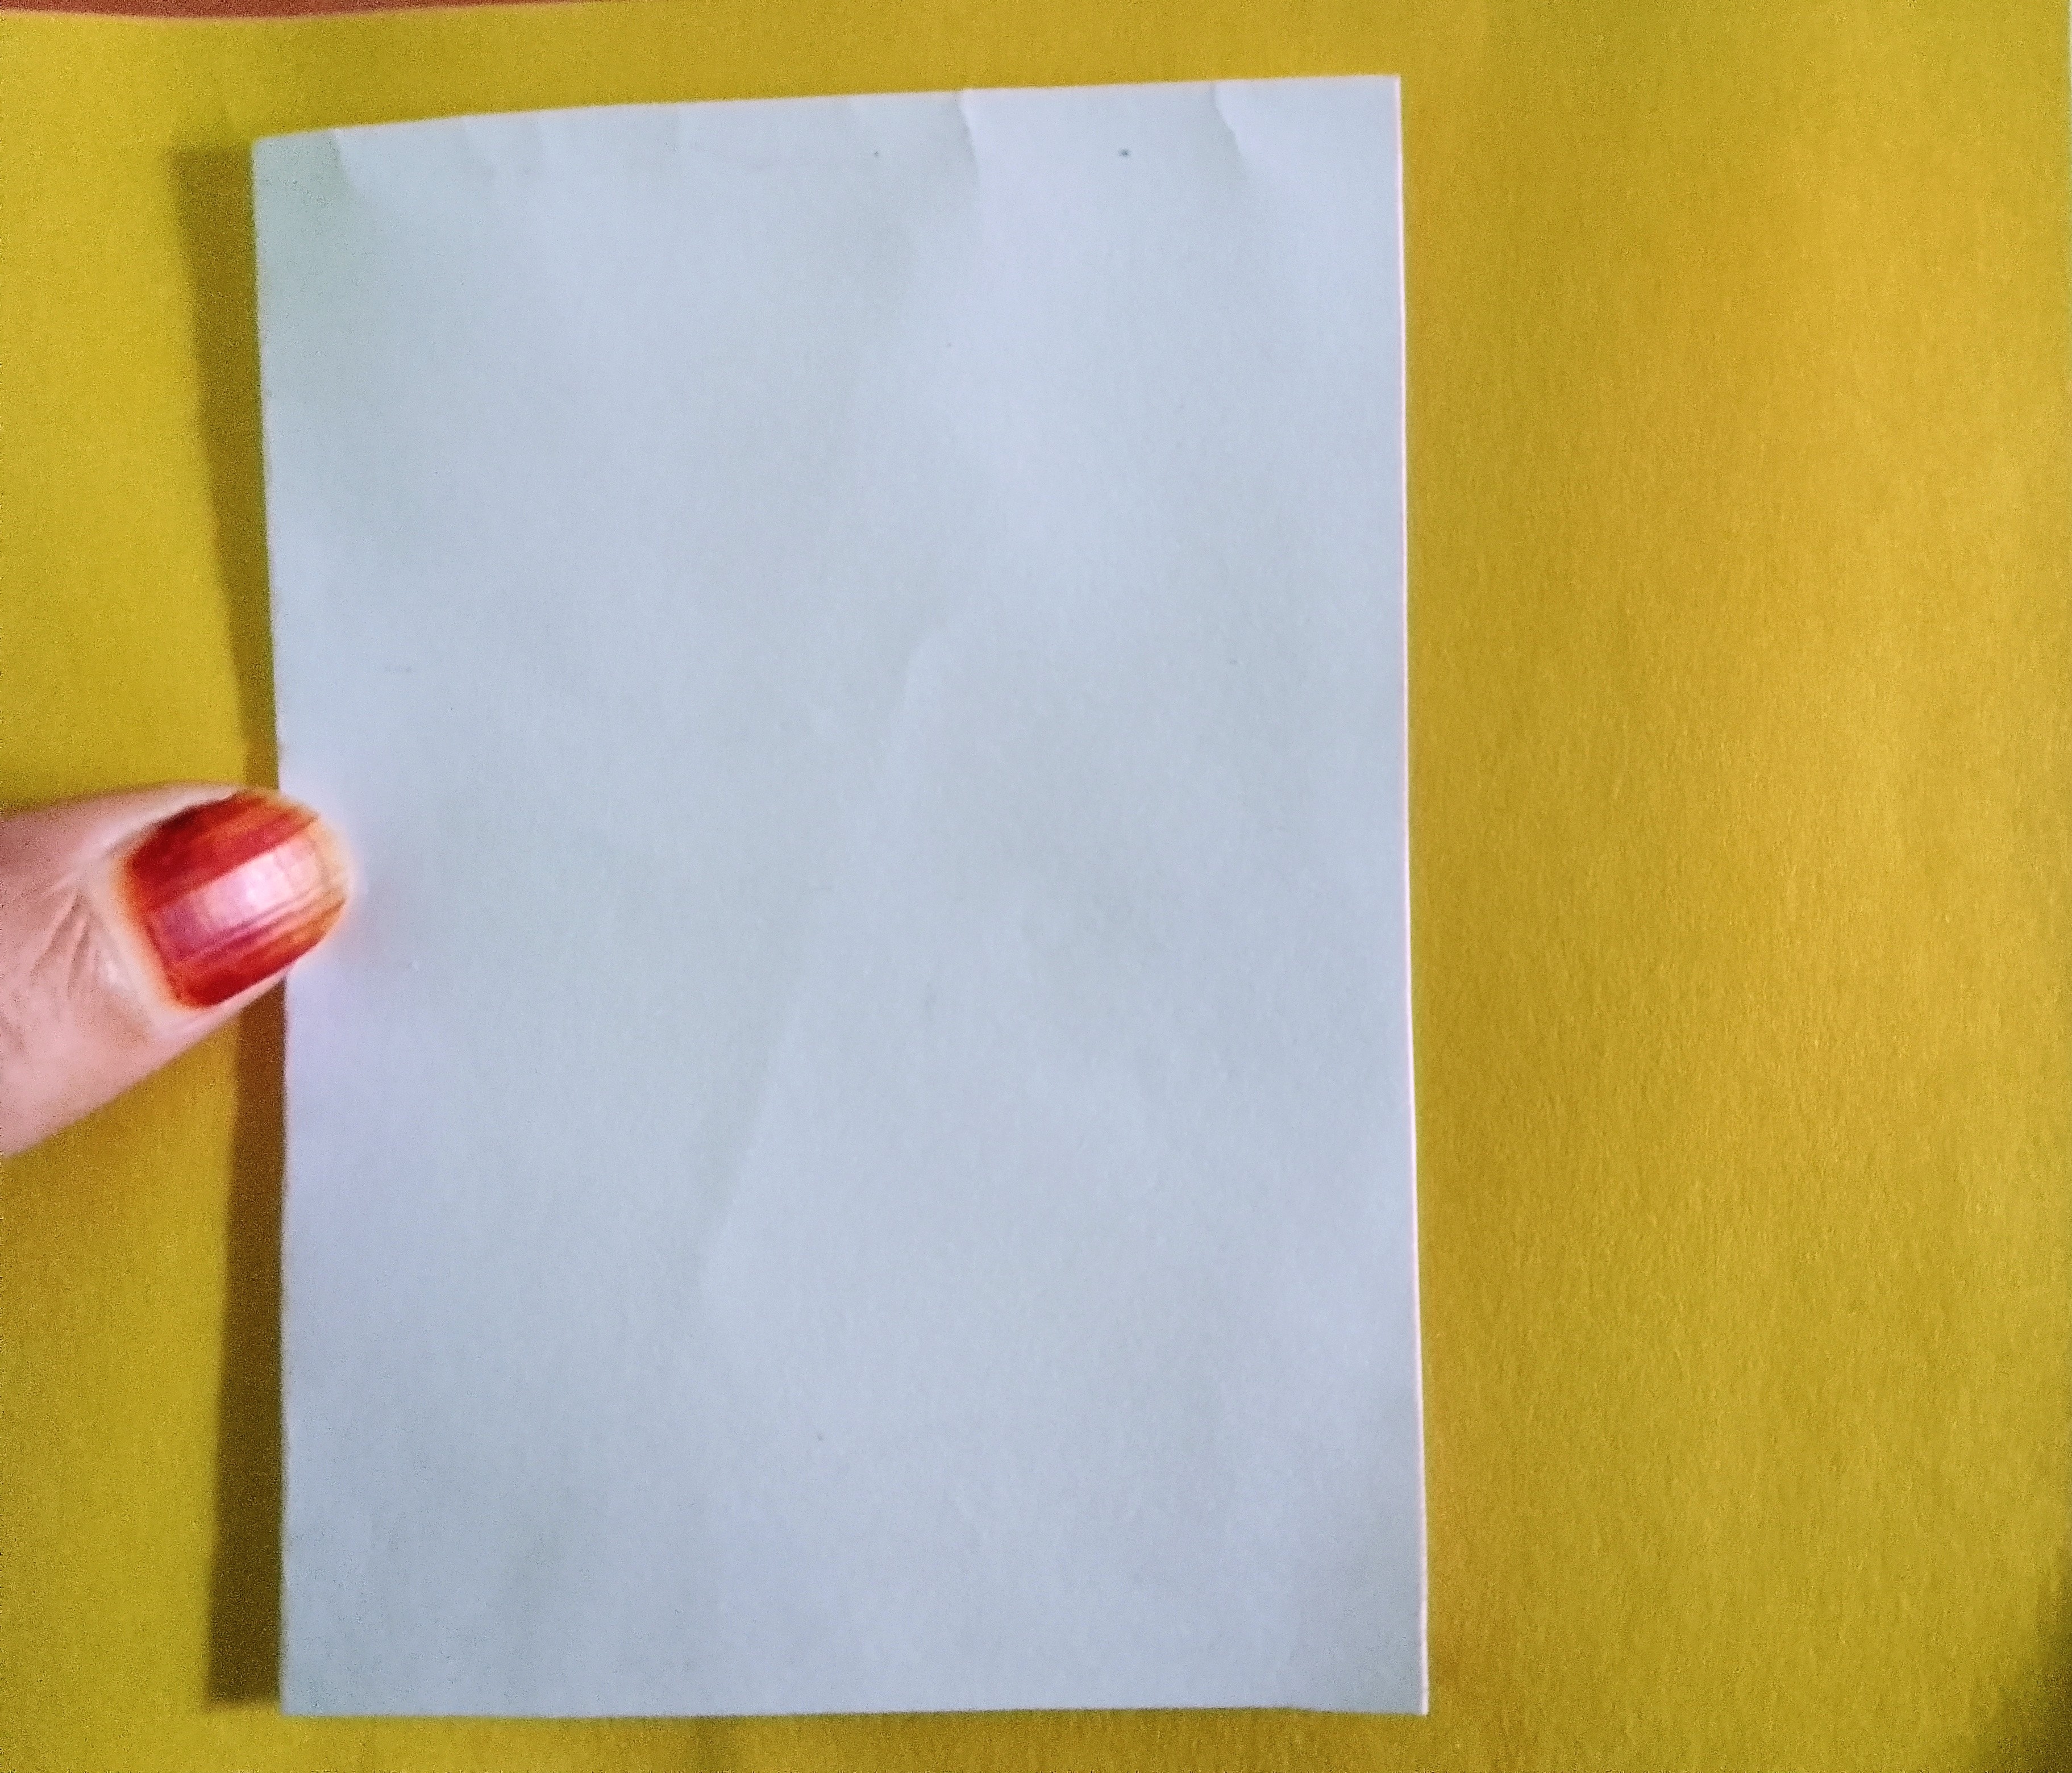
First, take a white hard chart paper and cut it into a rectangular shape as shown in the photo. You can adjust the card size according to your requirement.
Now fold the rectangular chart in half to make it into a proper card shape as shown in the photo.
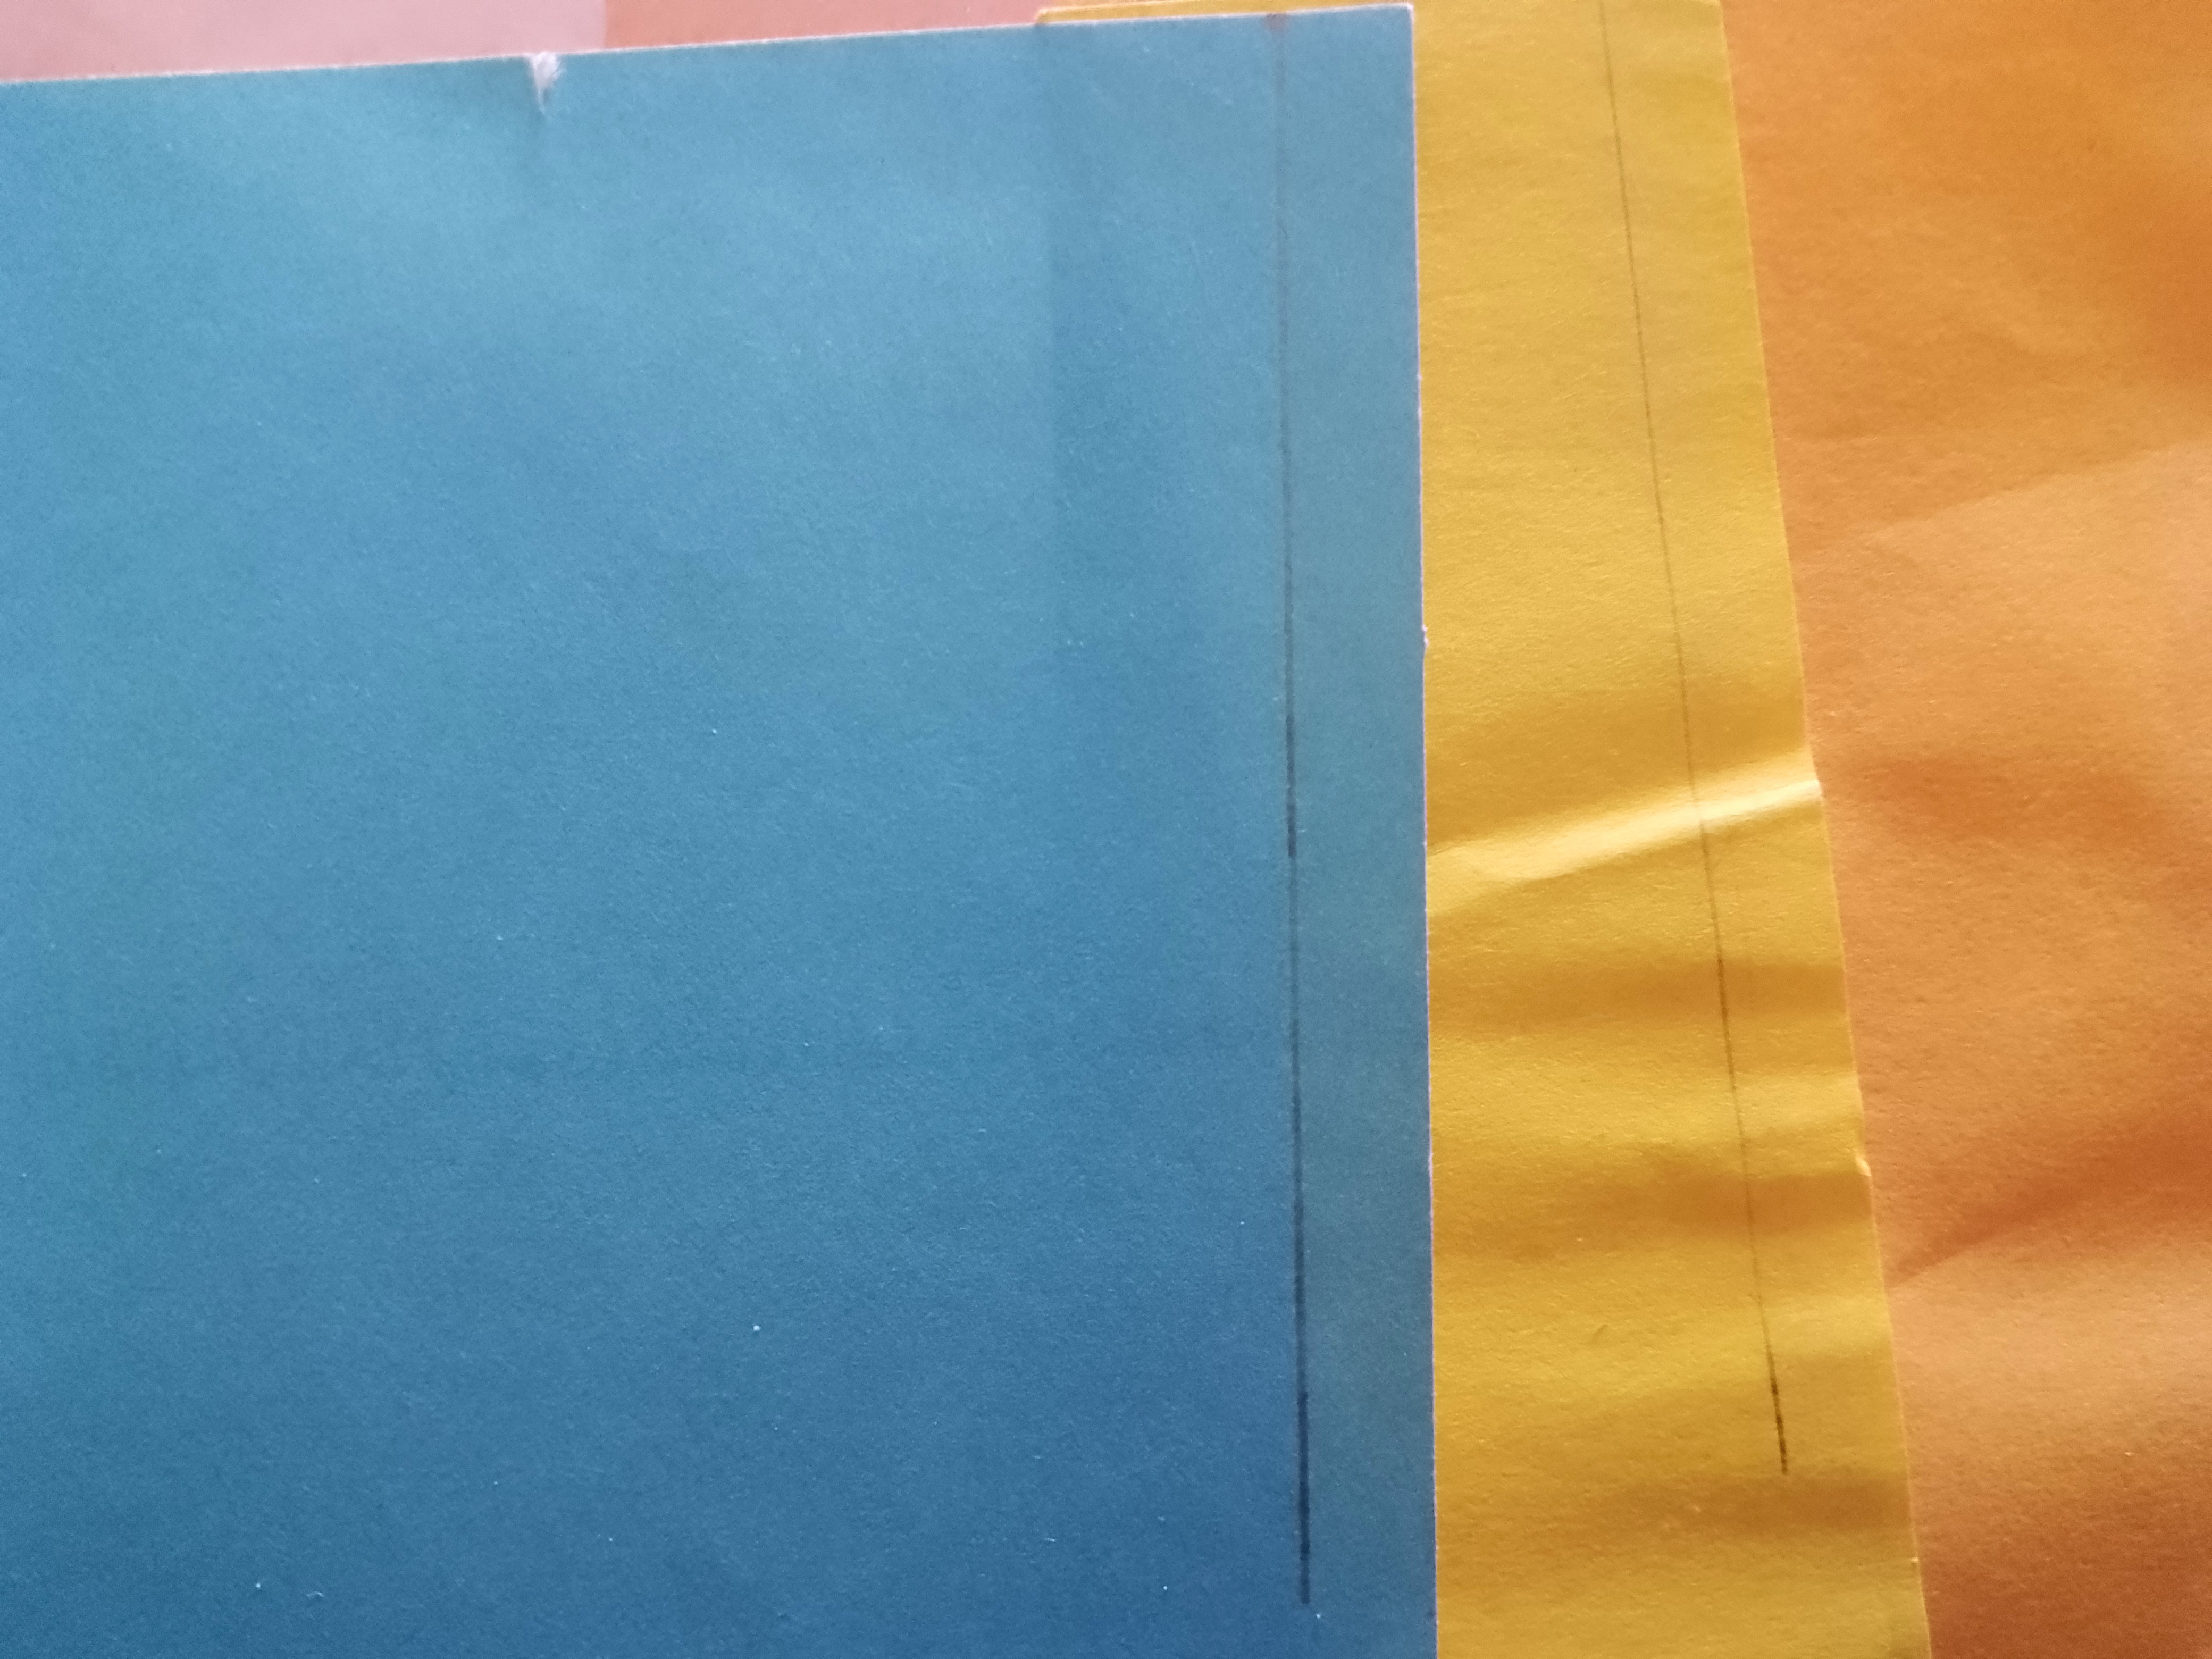
With the help of a ruler, draw straight lines on all the colorful papers to make the strips as shown in the photo.
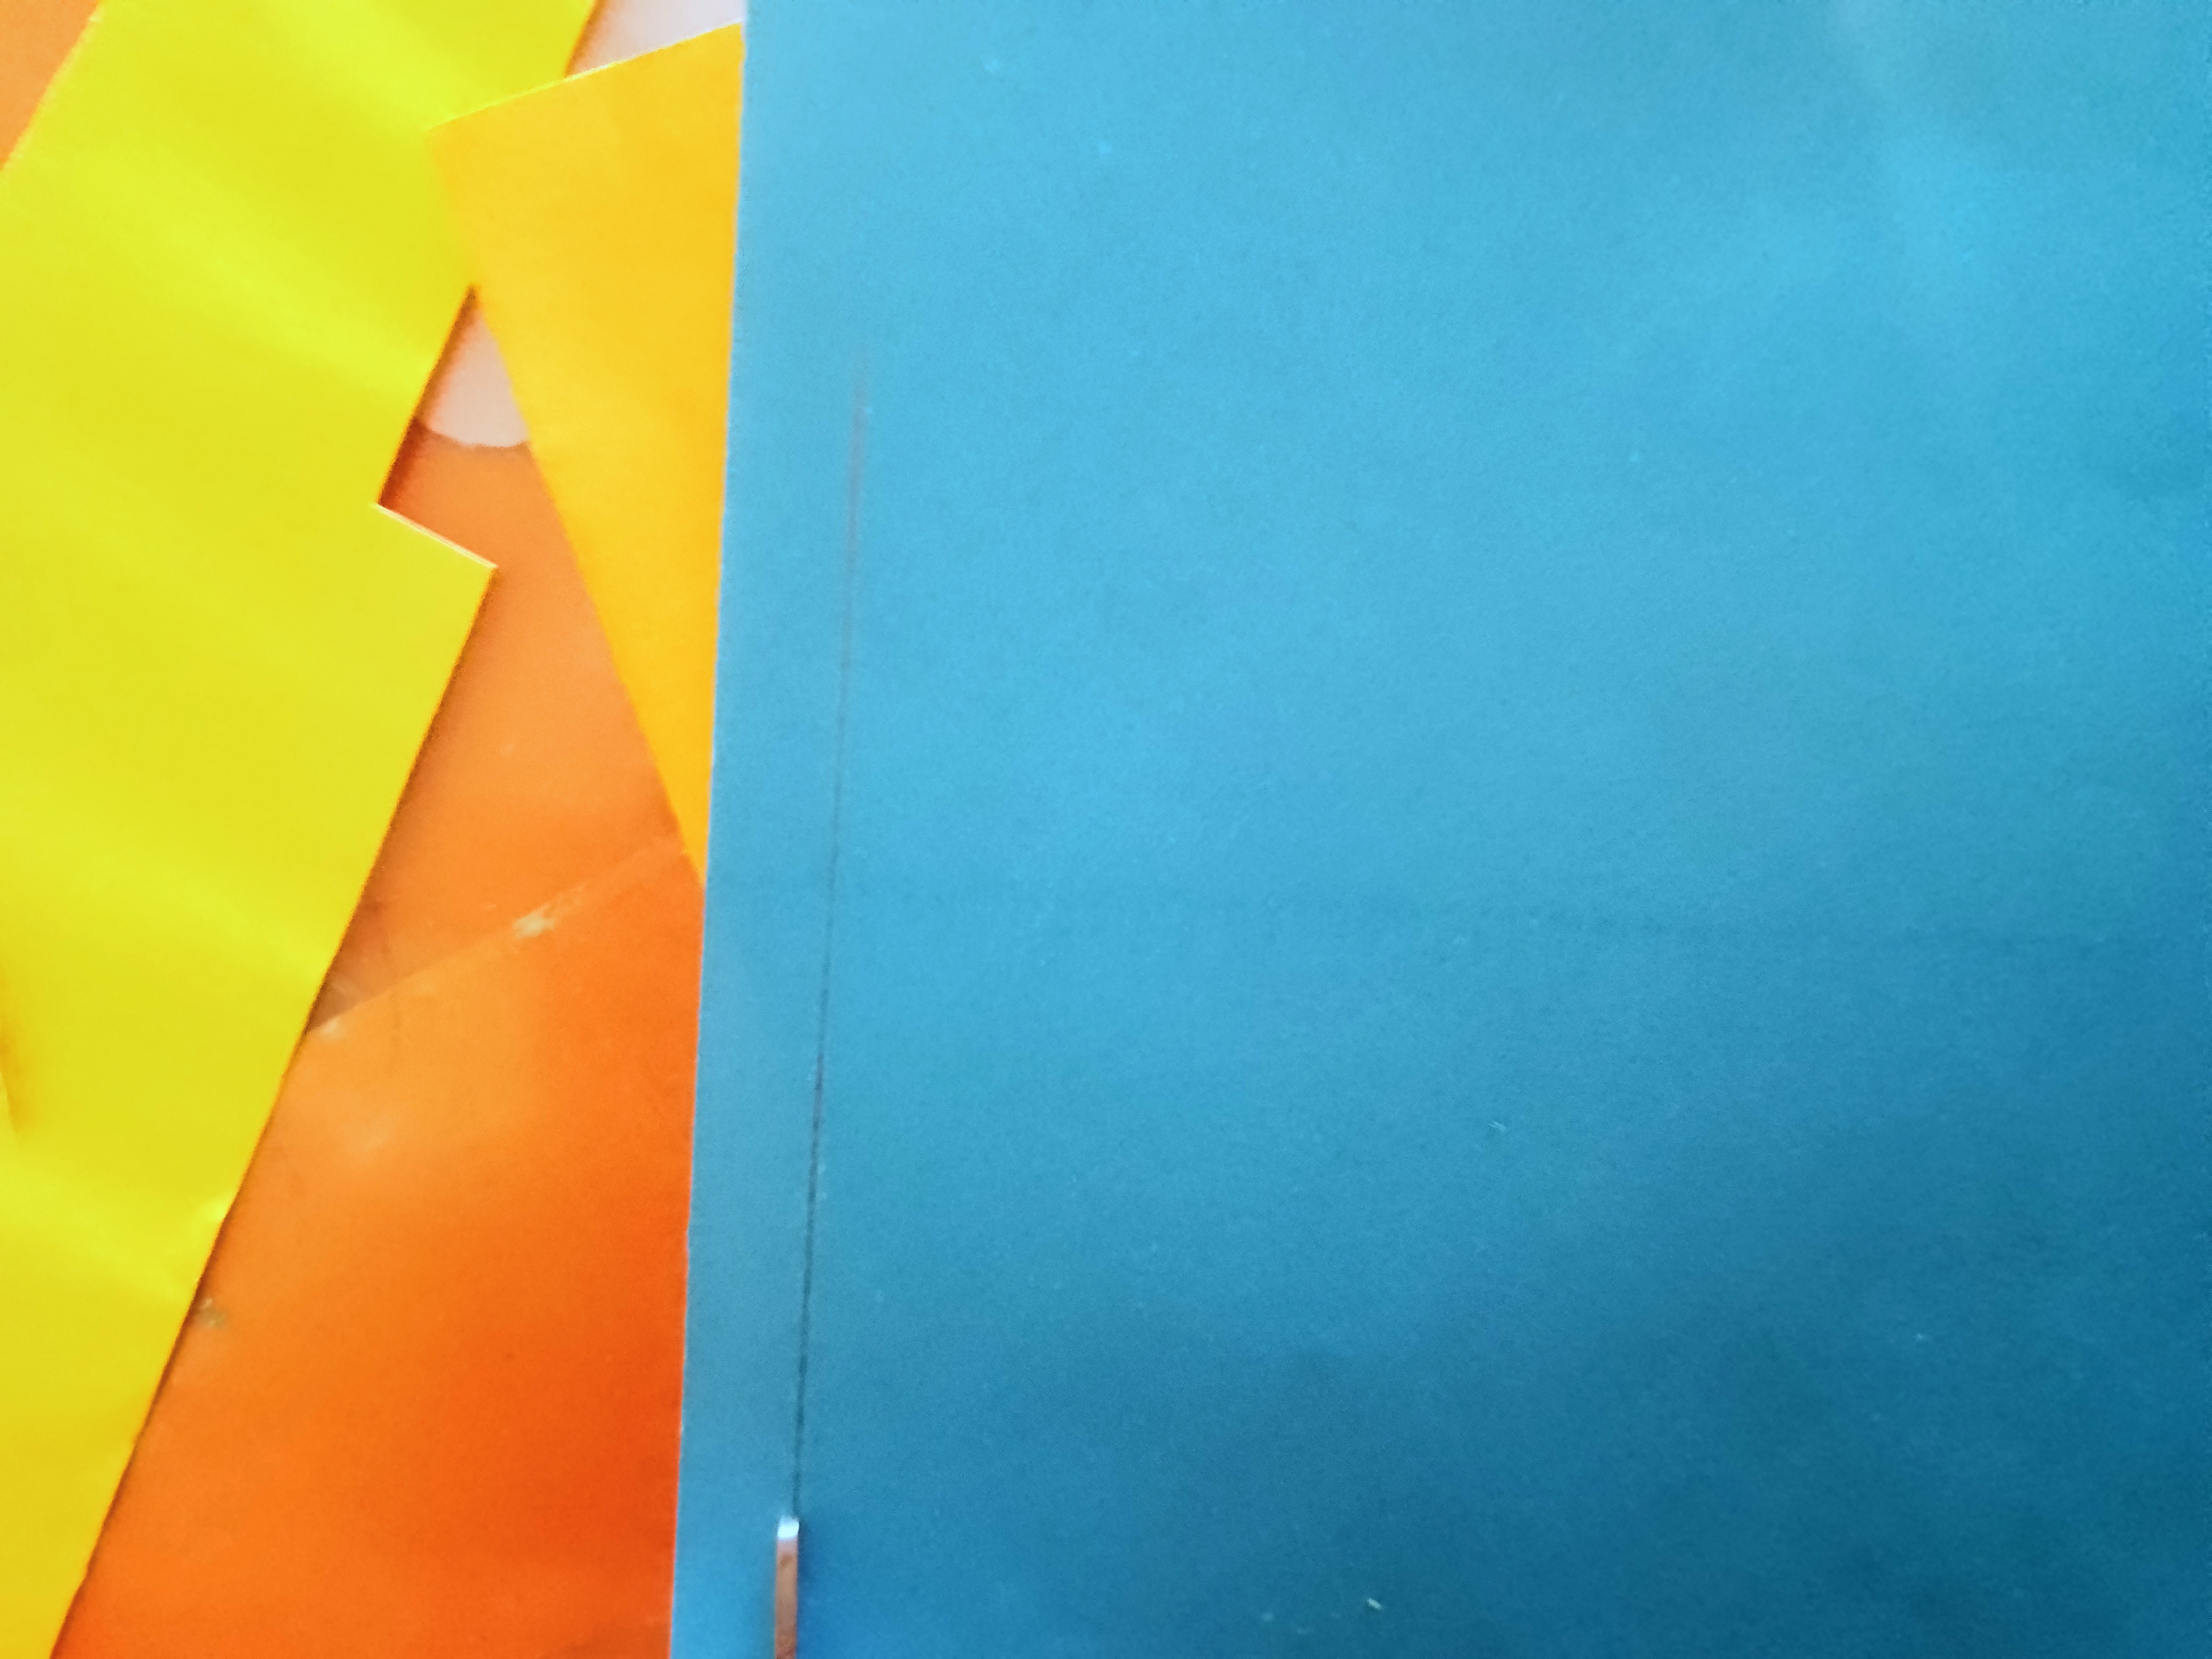
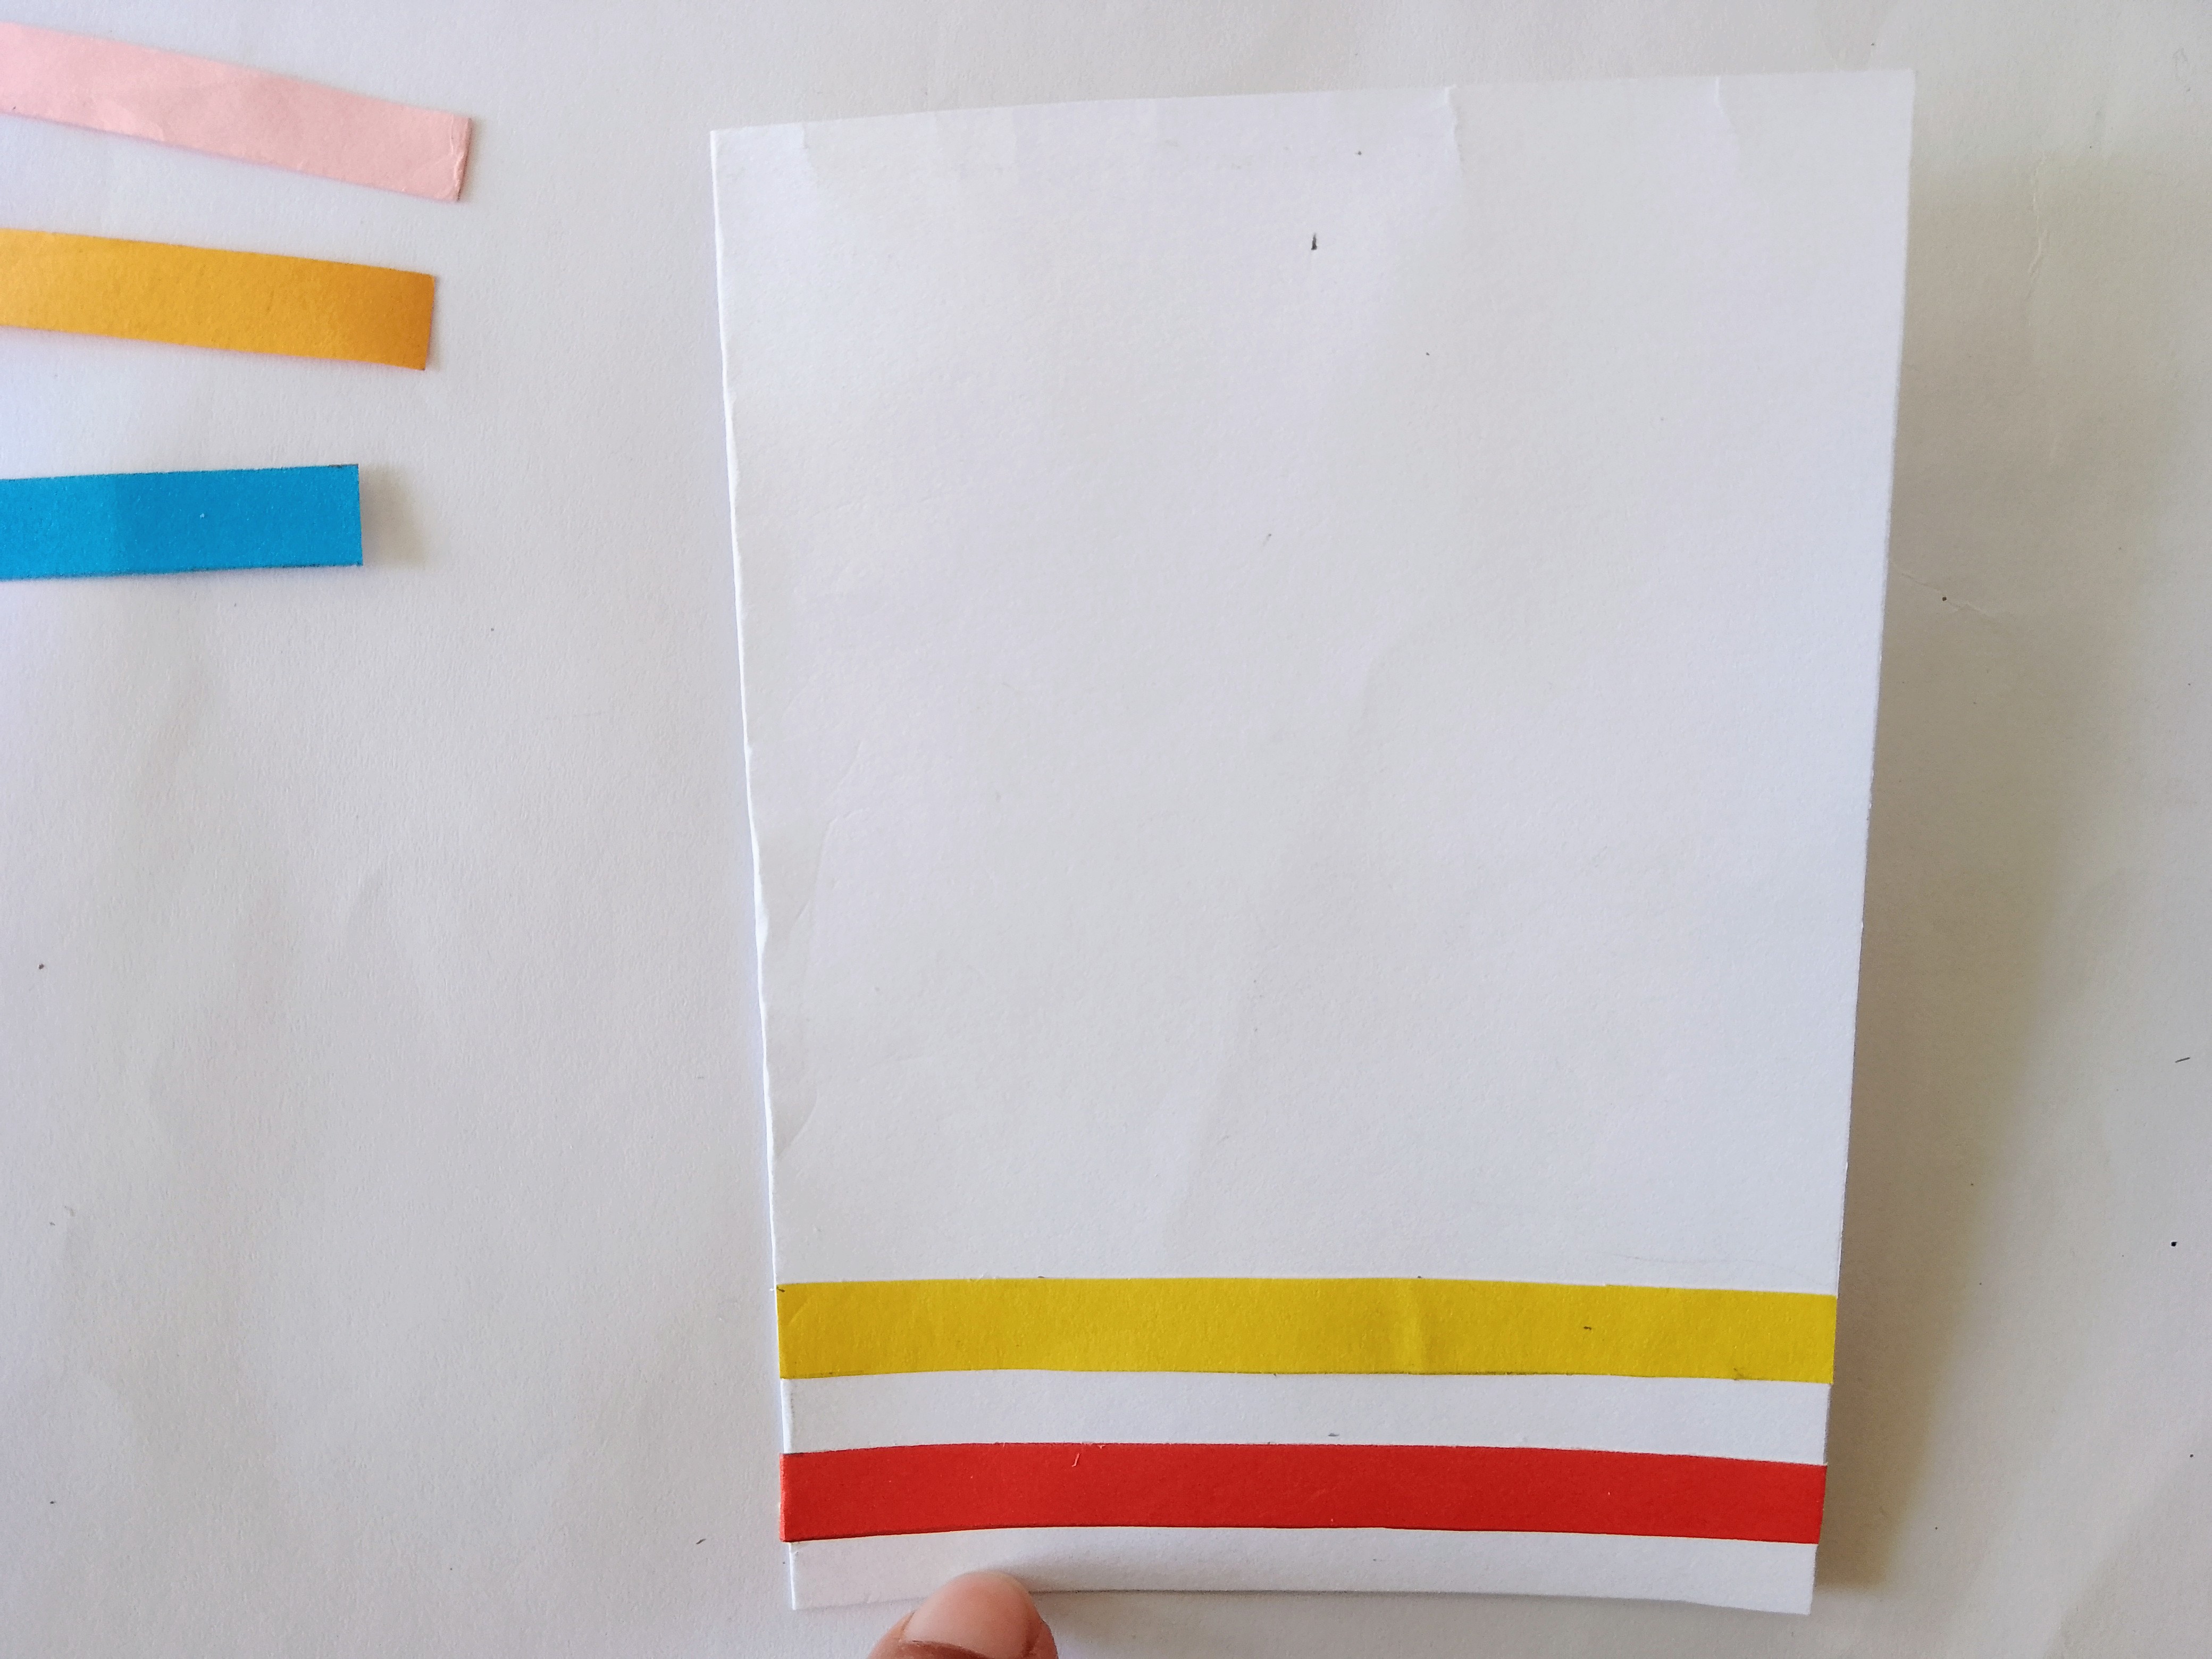
Now, cut all the strips one by one along the lines from all the colorful papers as shown in the photo.
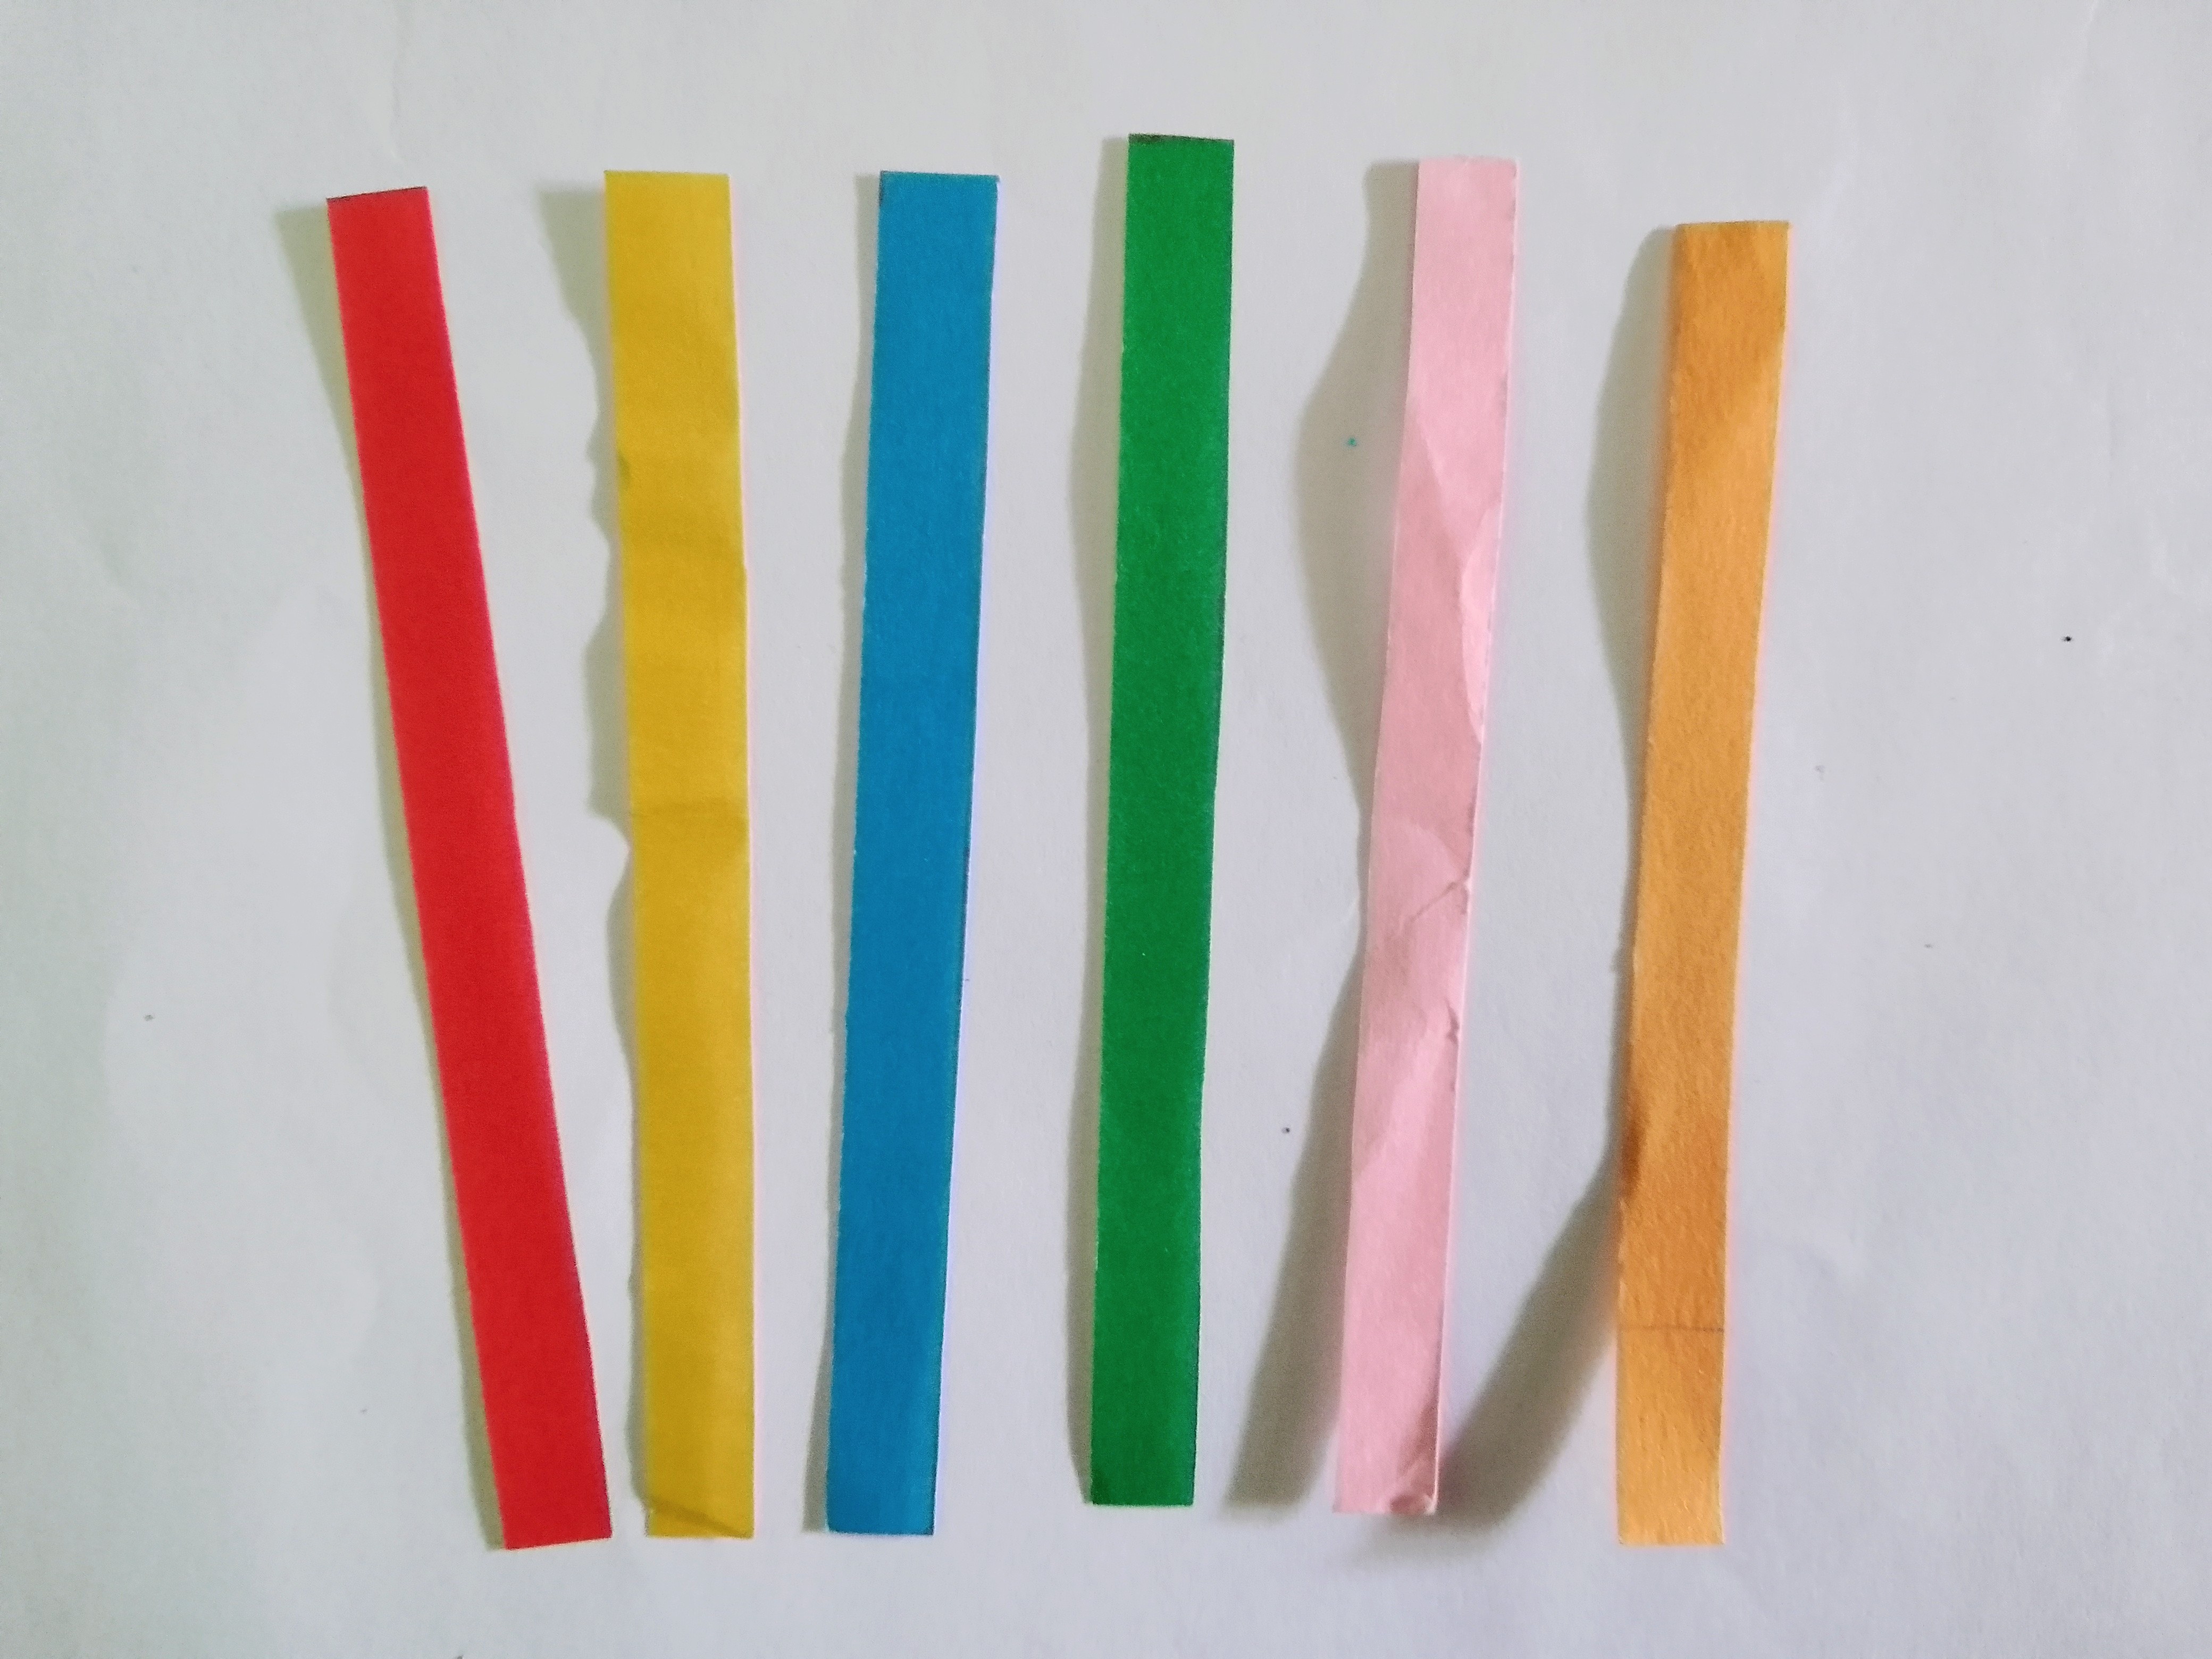
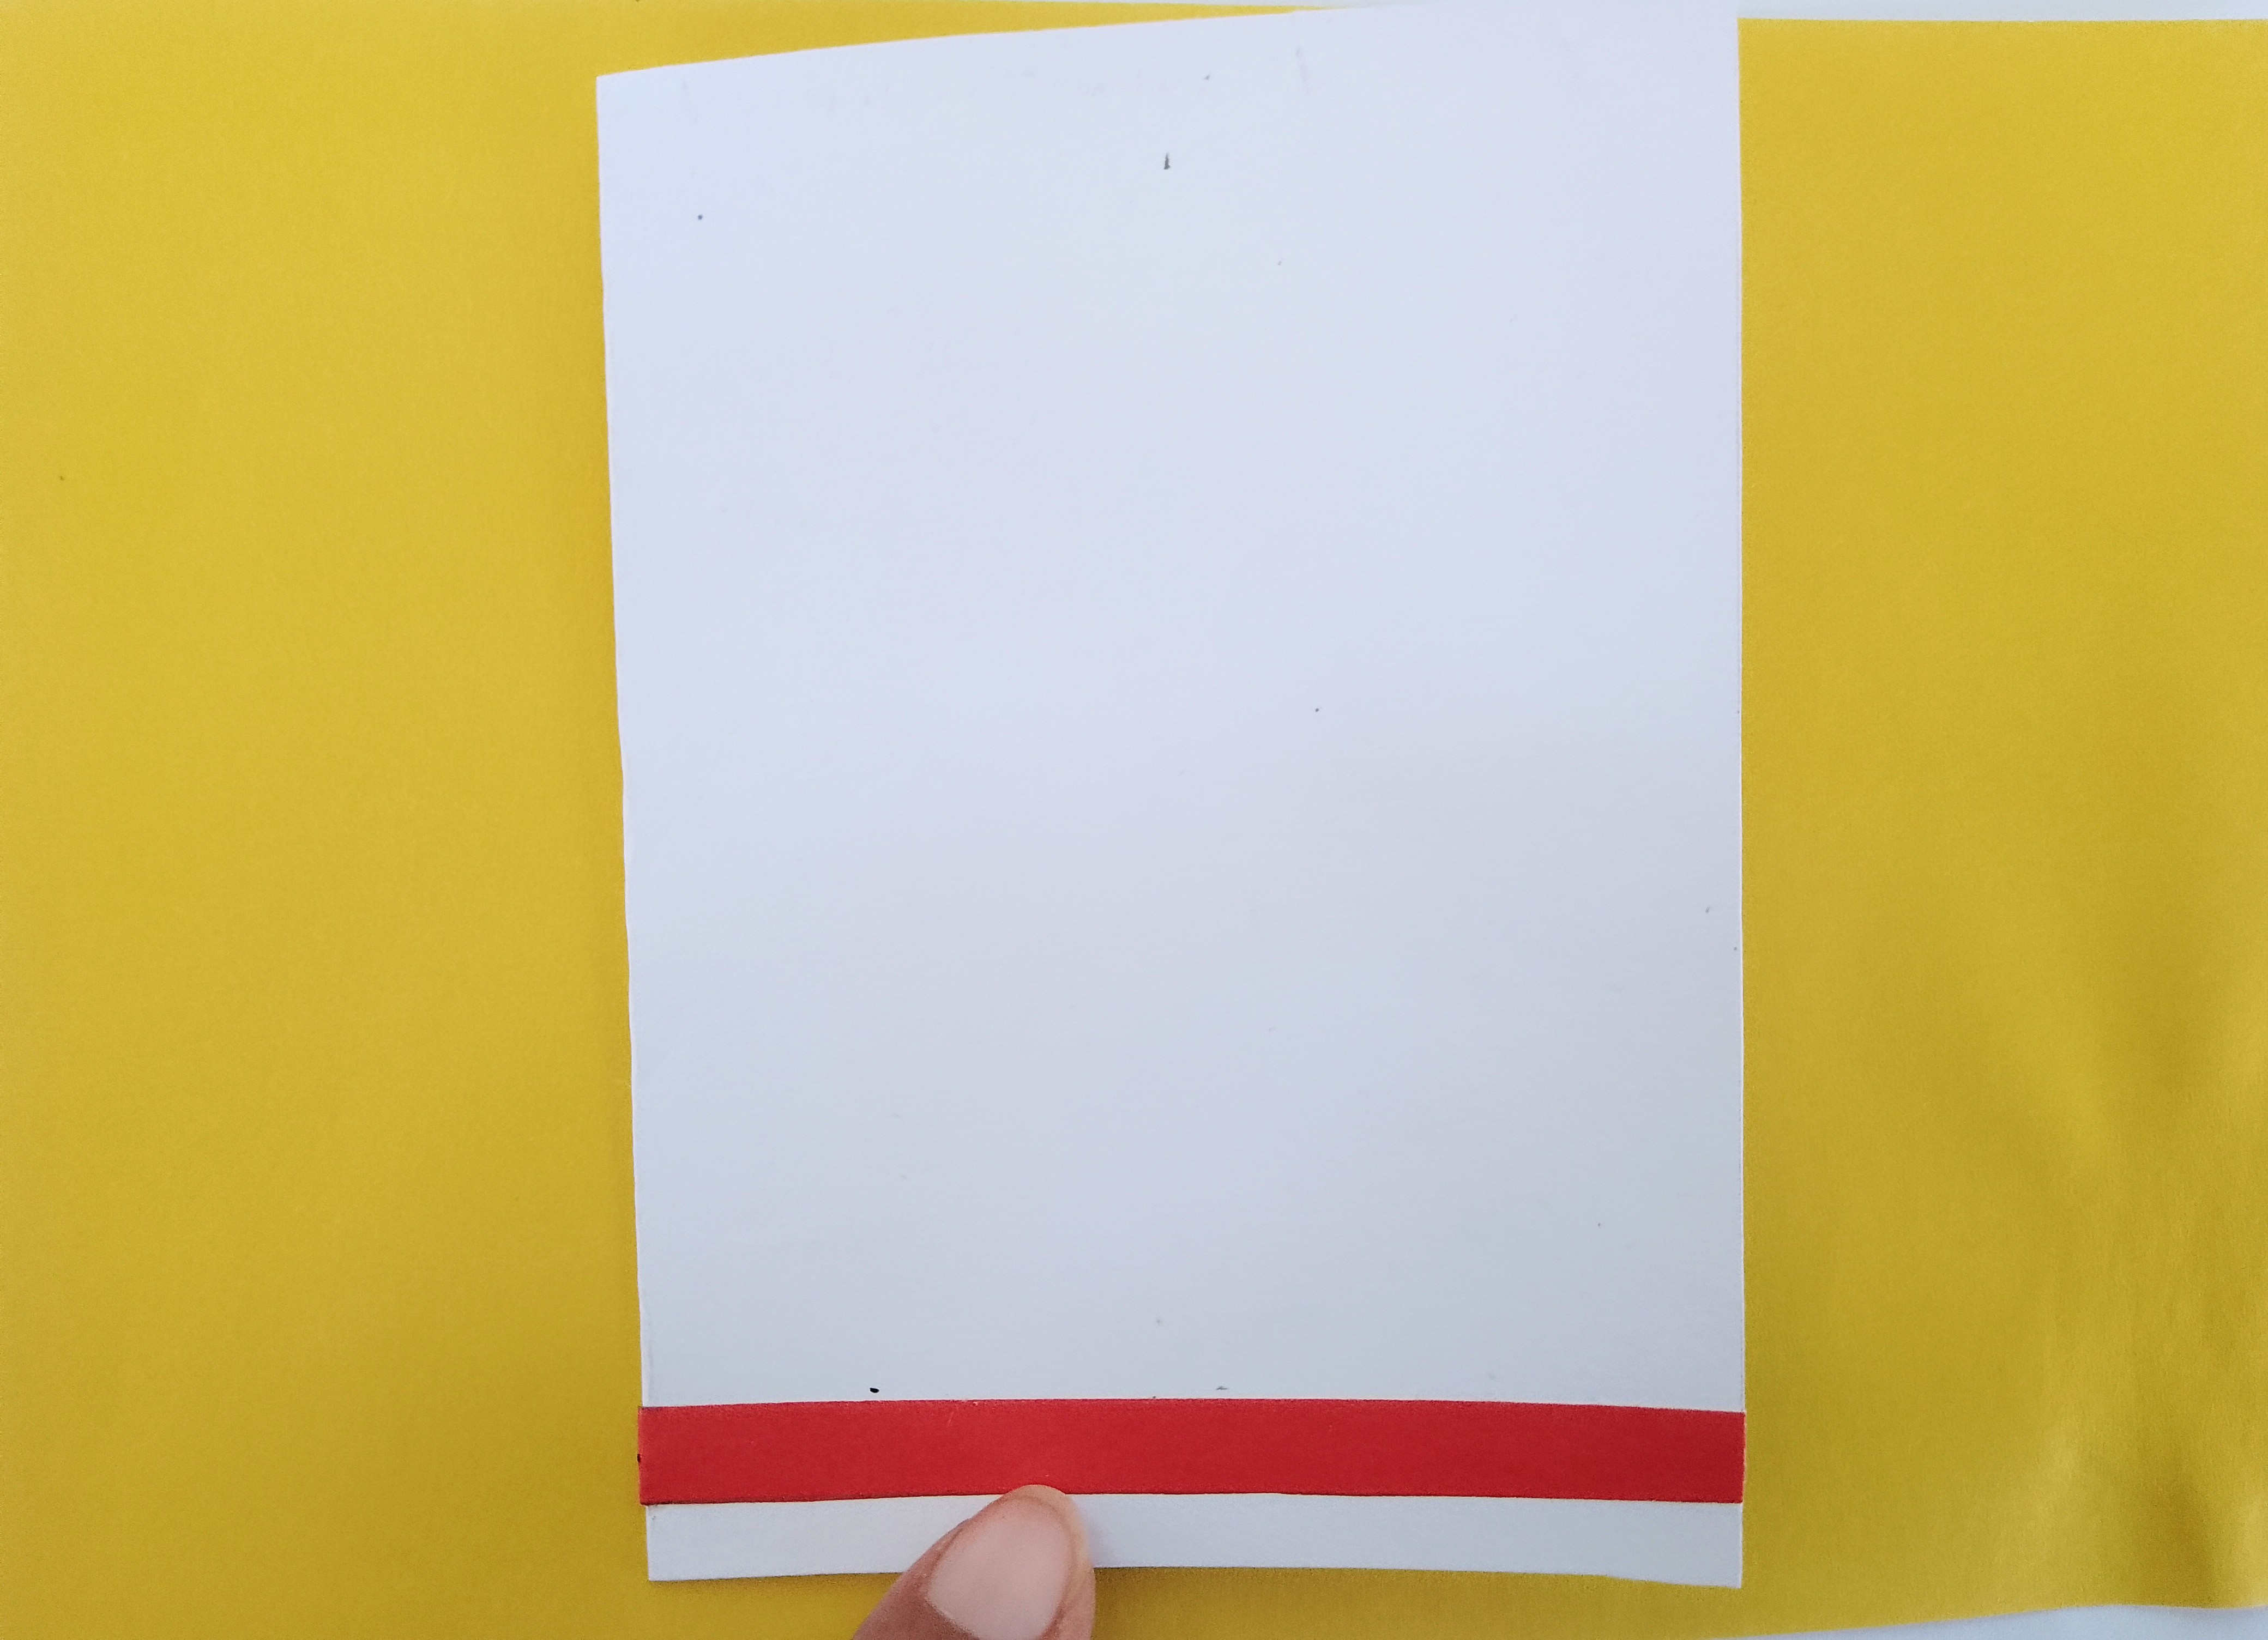
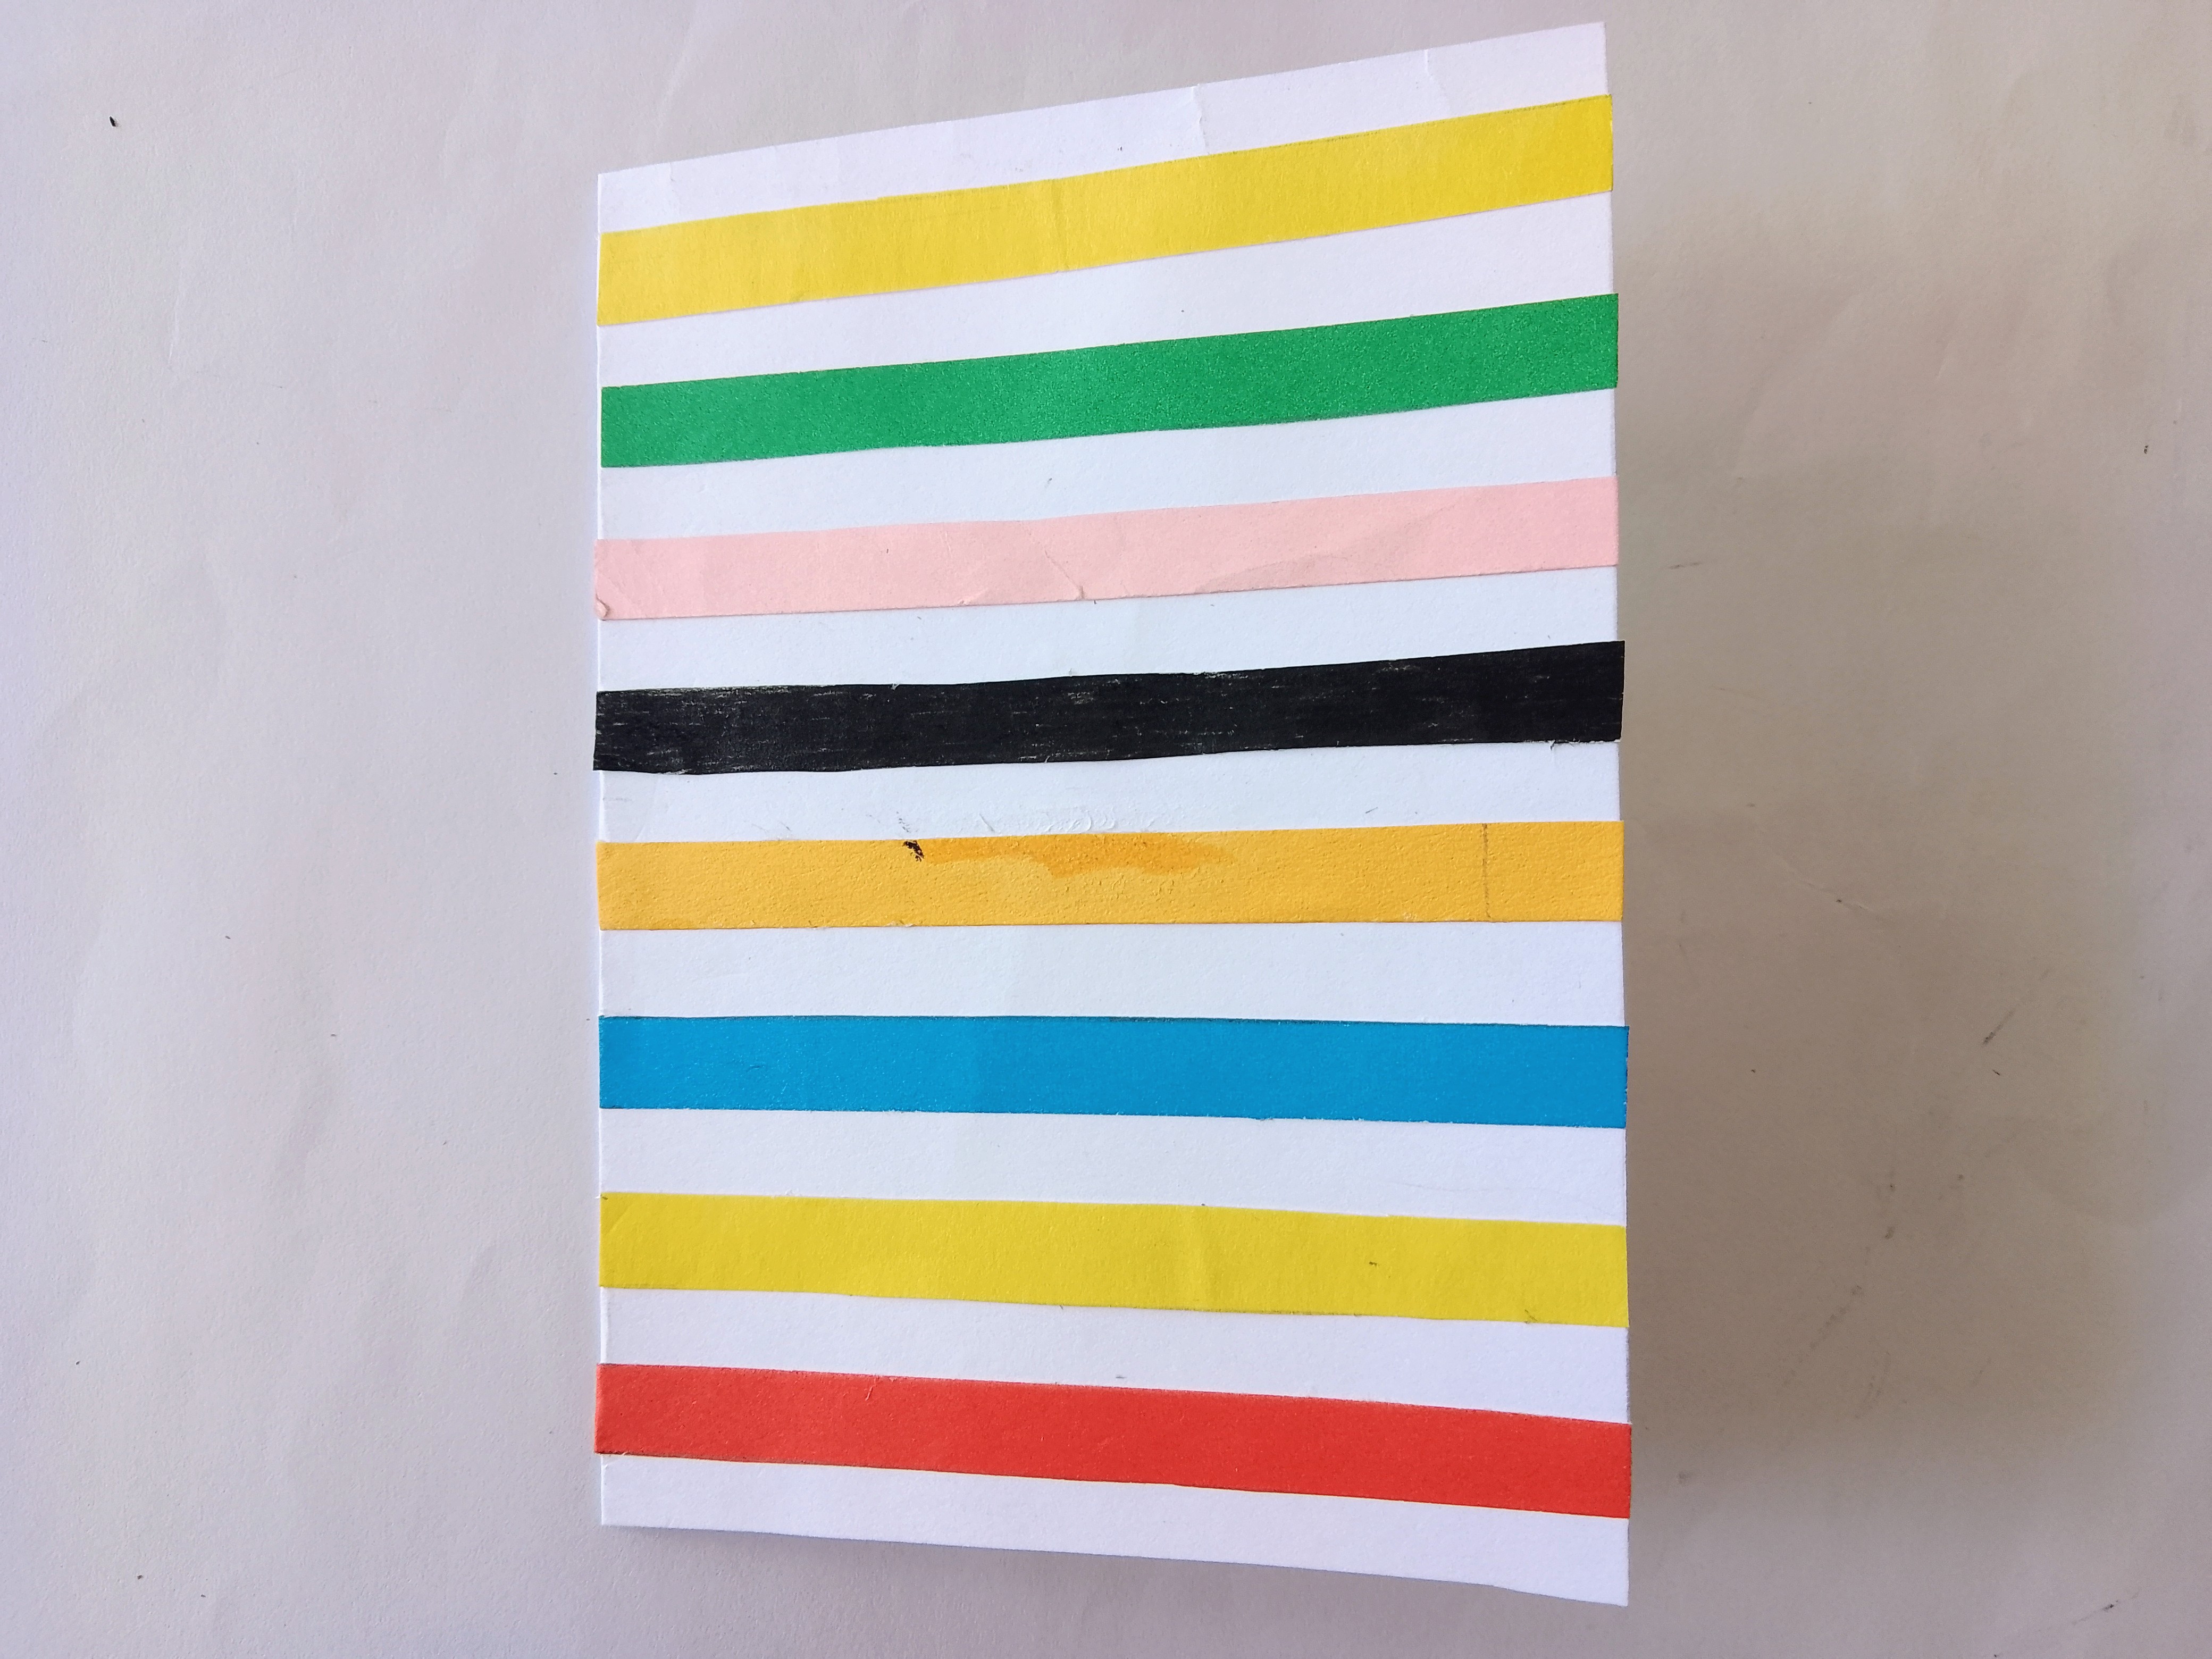
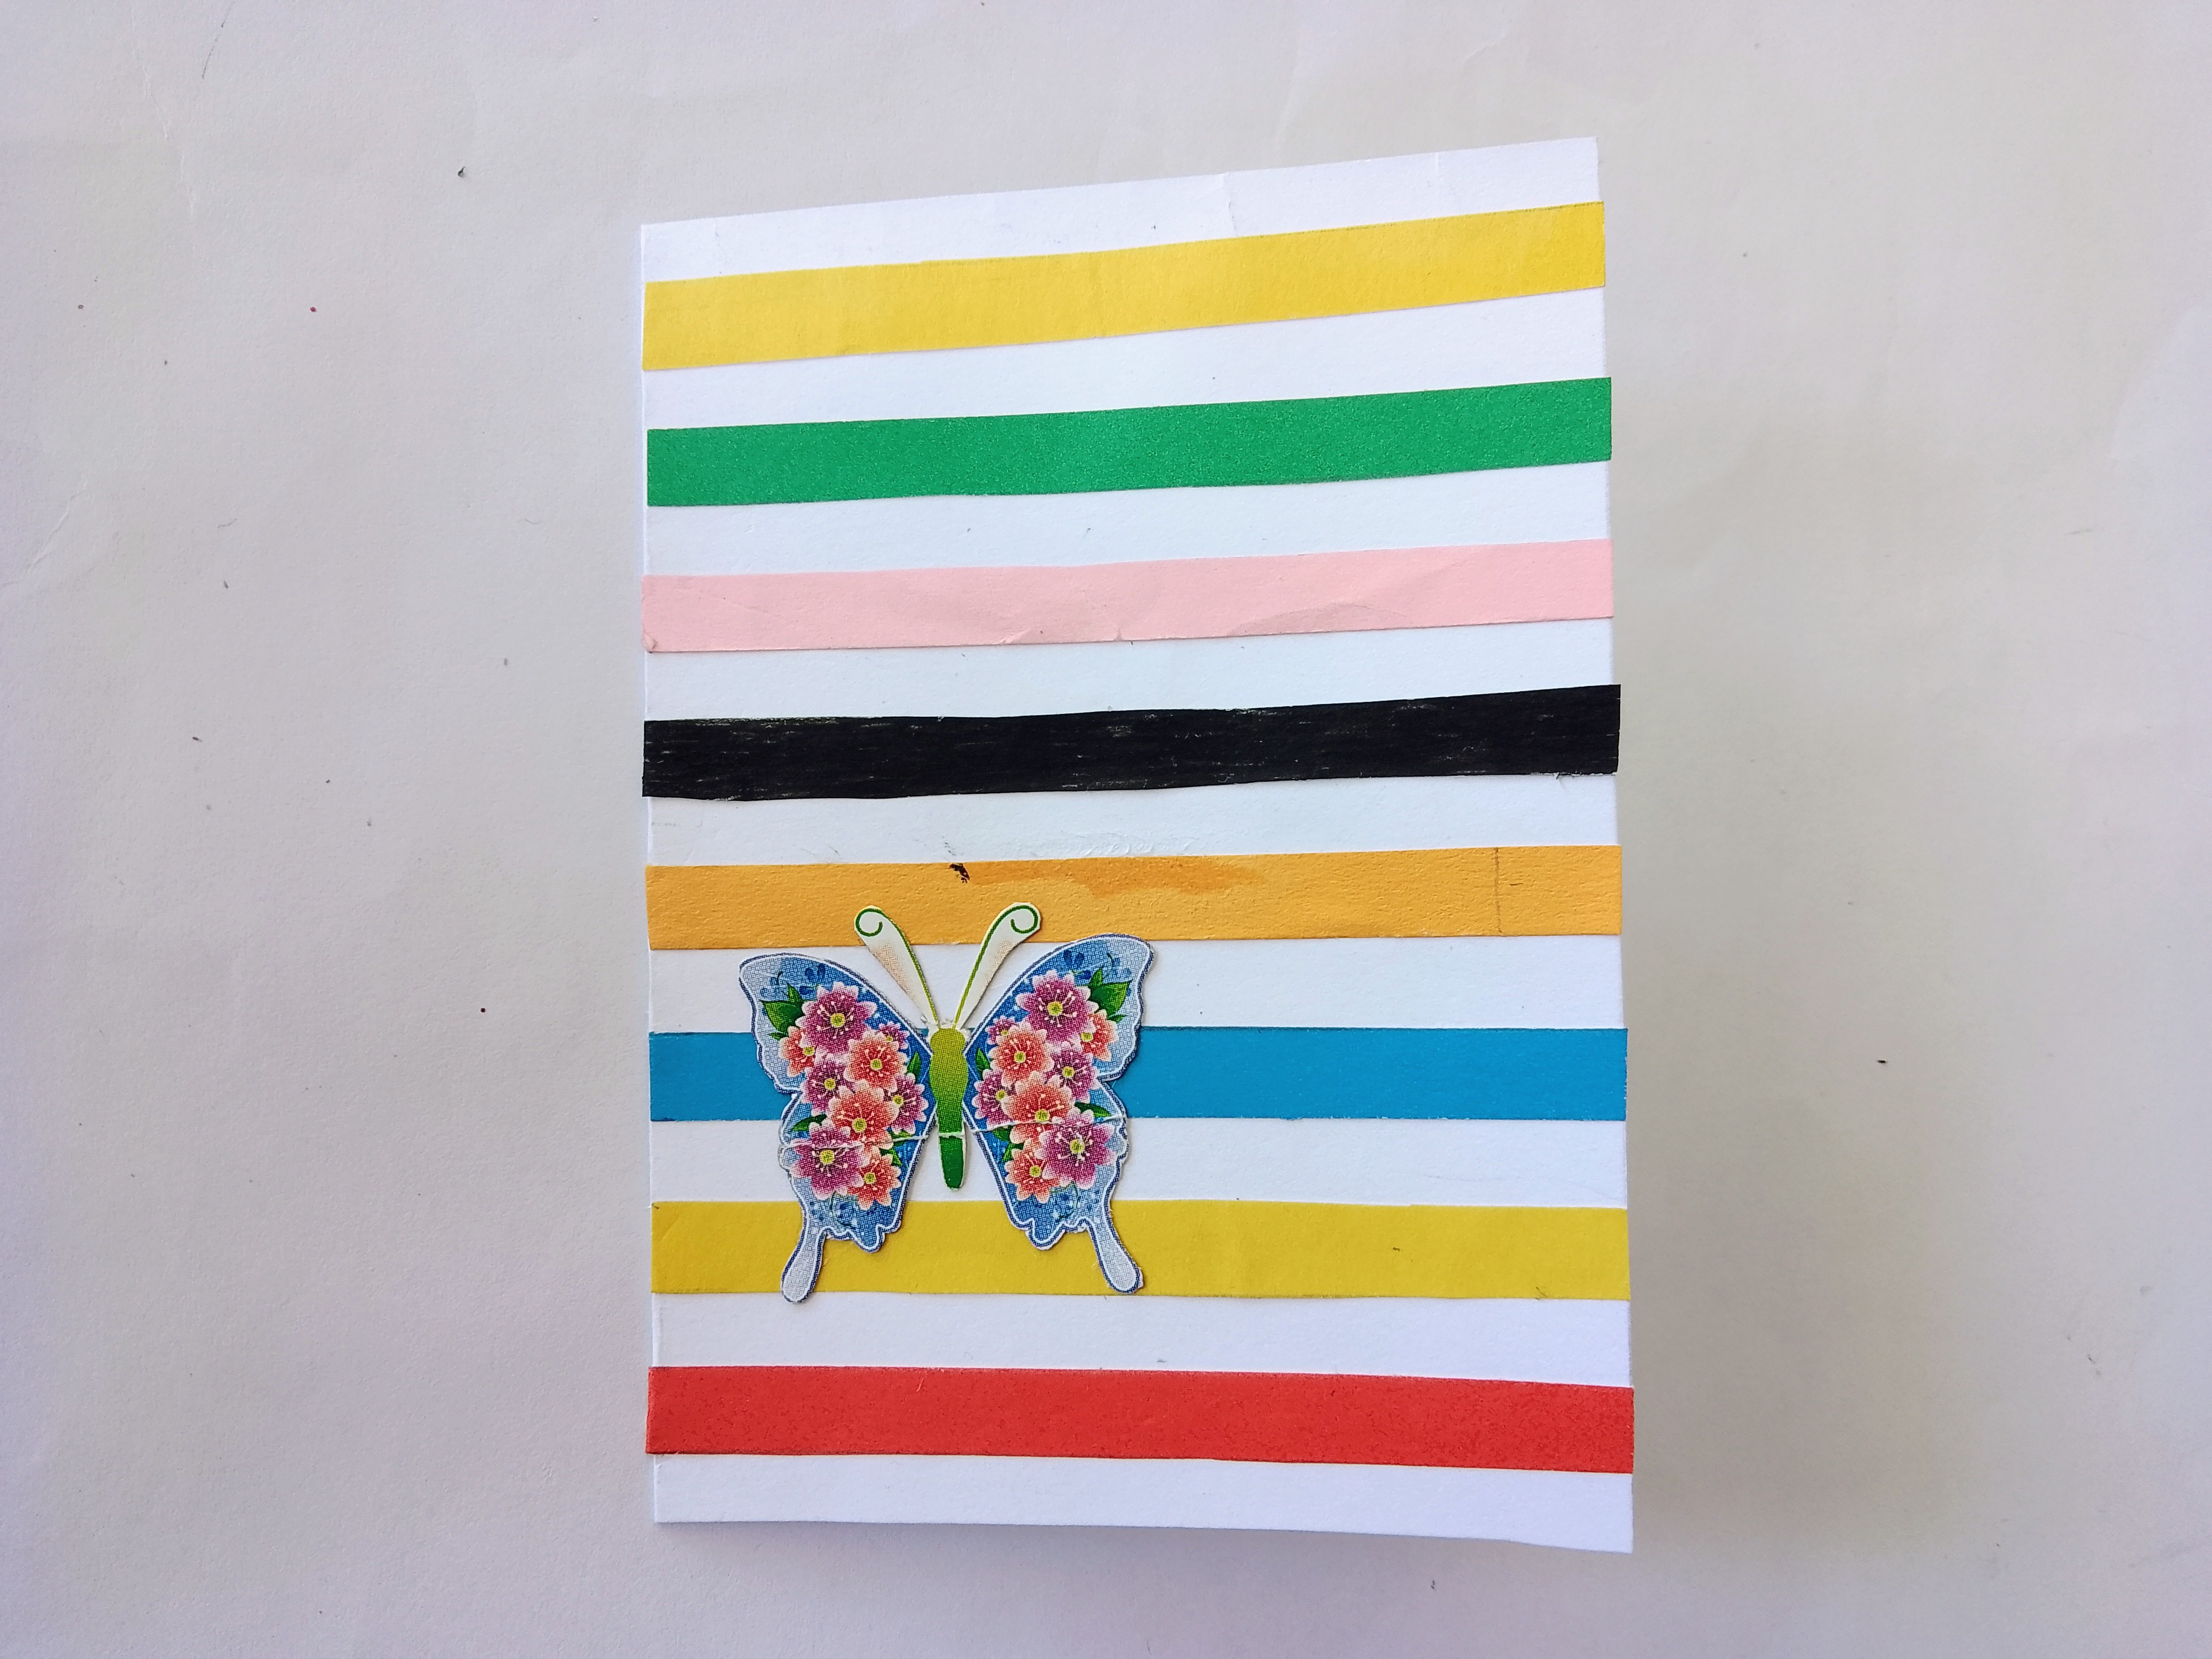
By using a glue stick, paste all the colorful strips one by one with some distance on the front side of the card as shown in the photo.
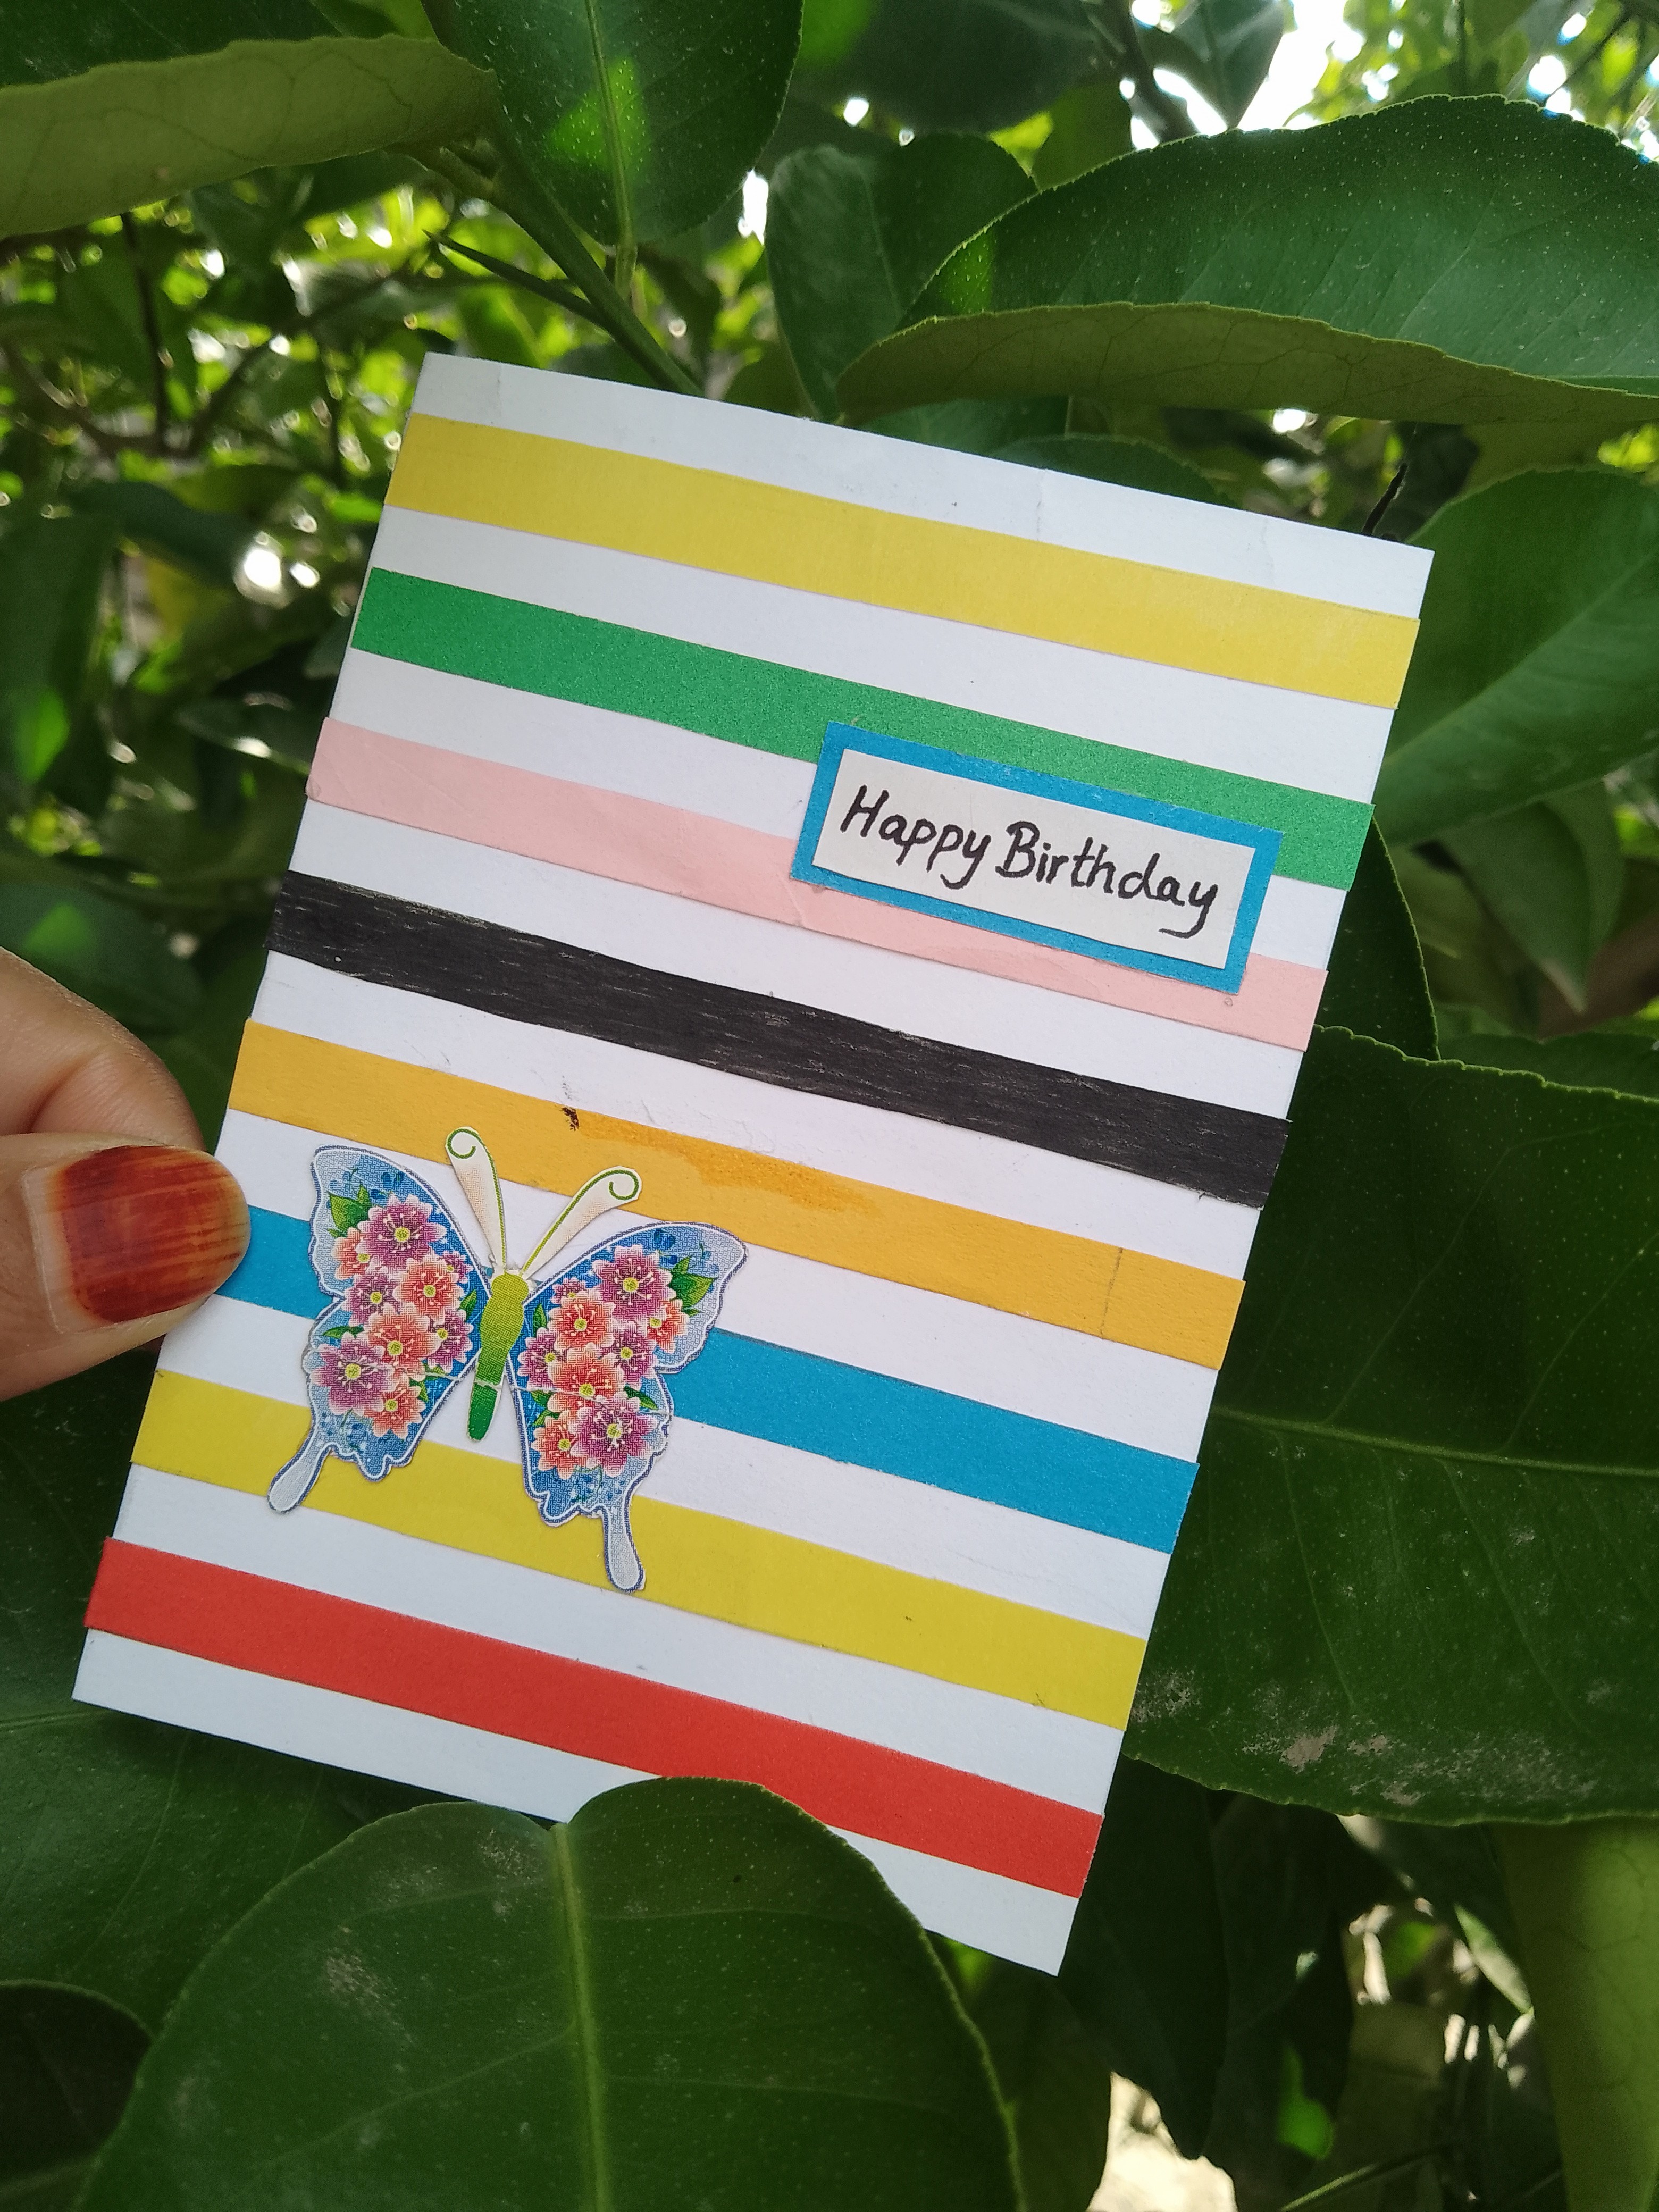
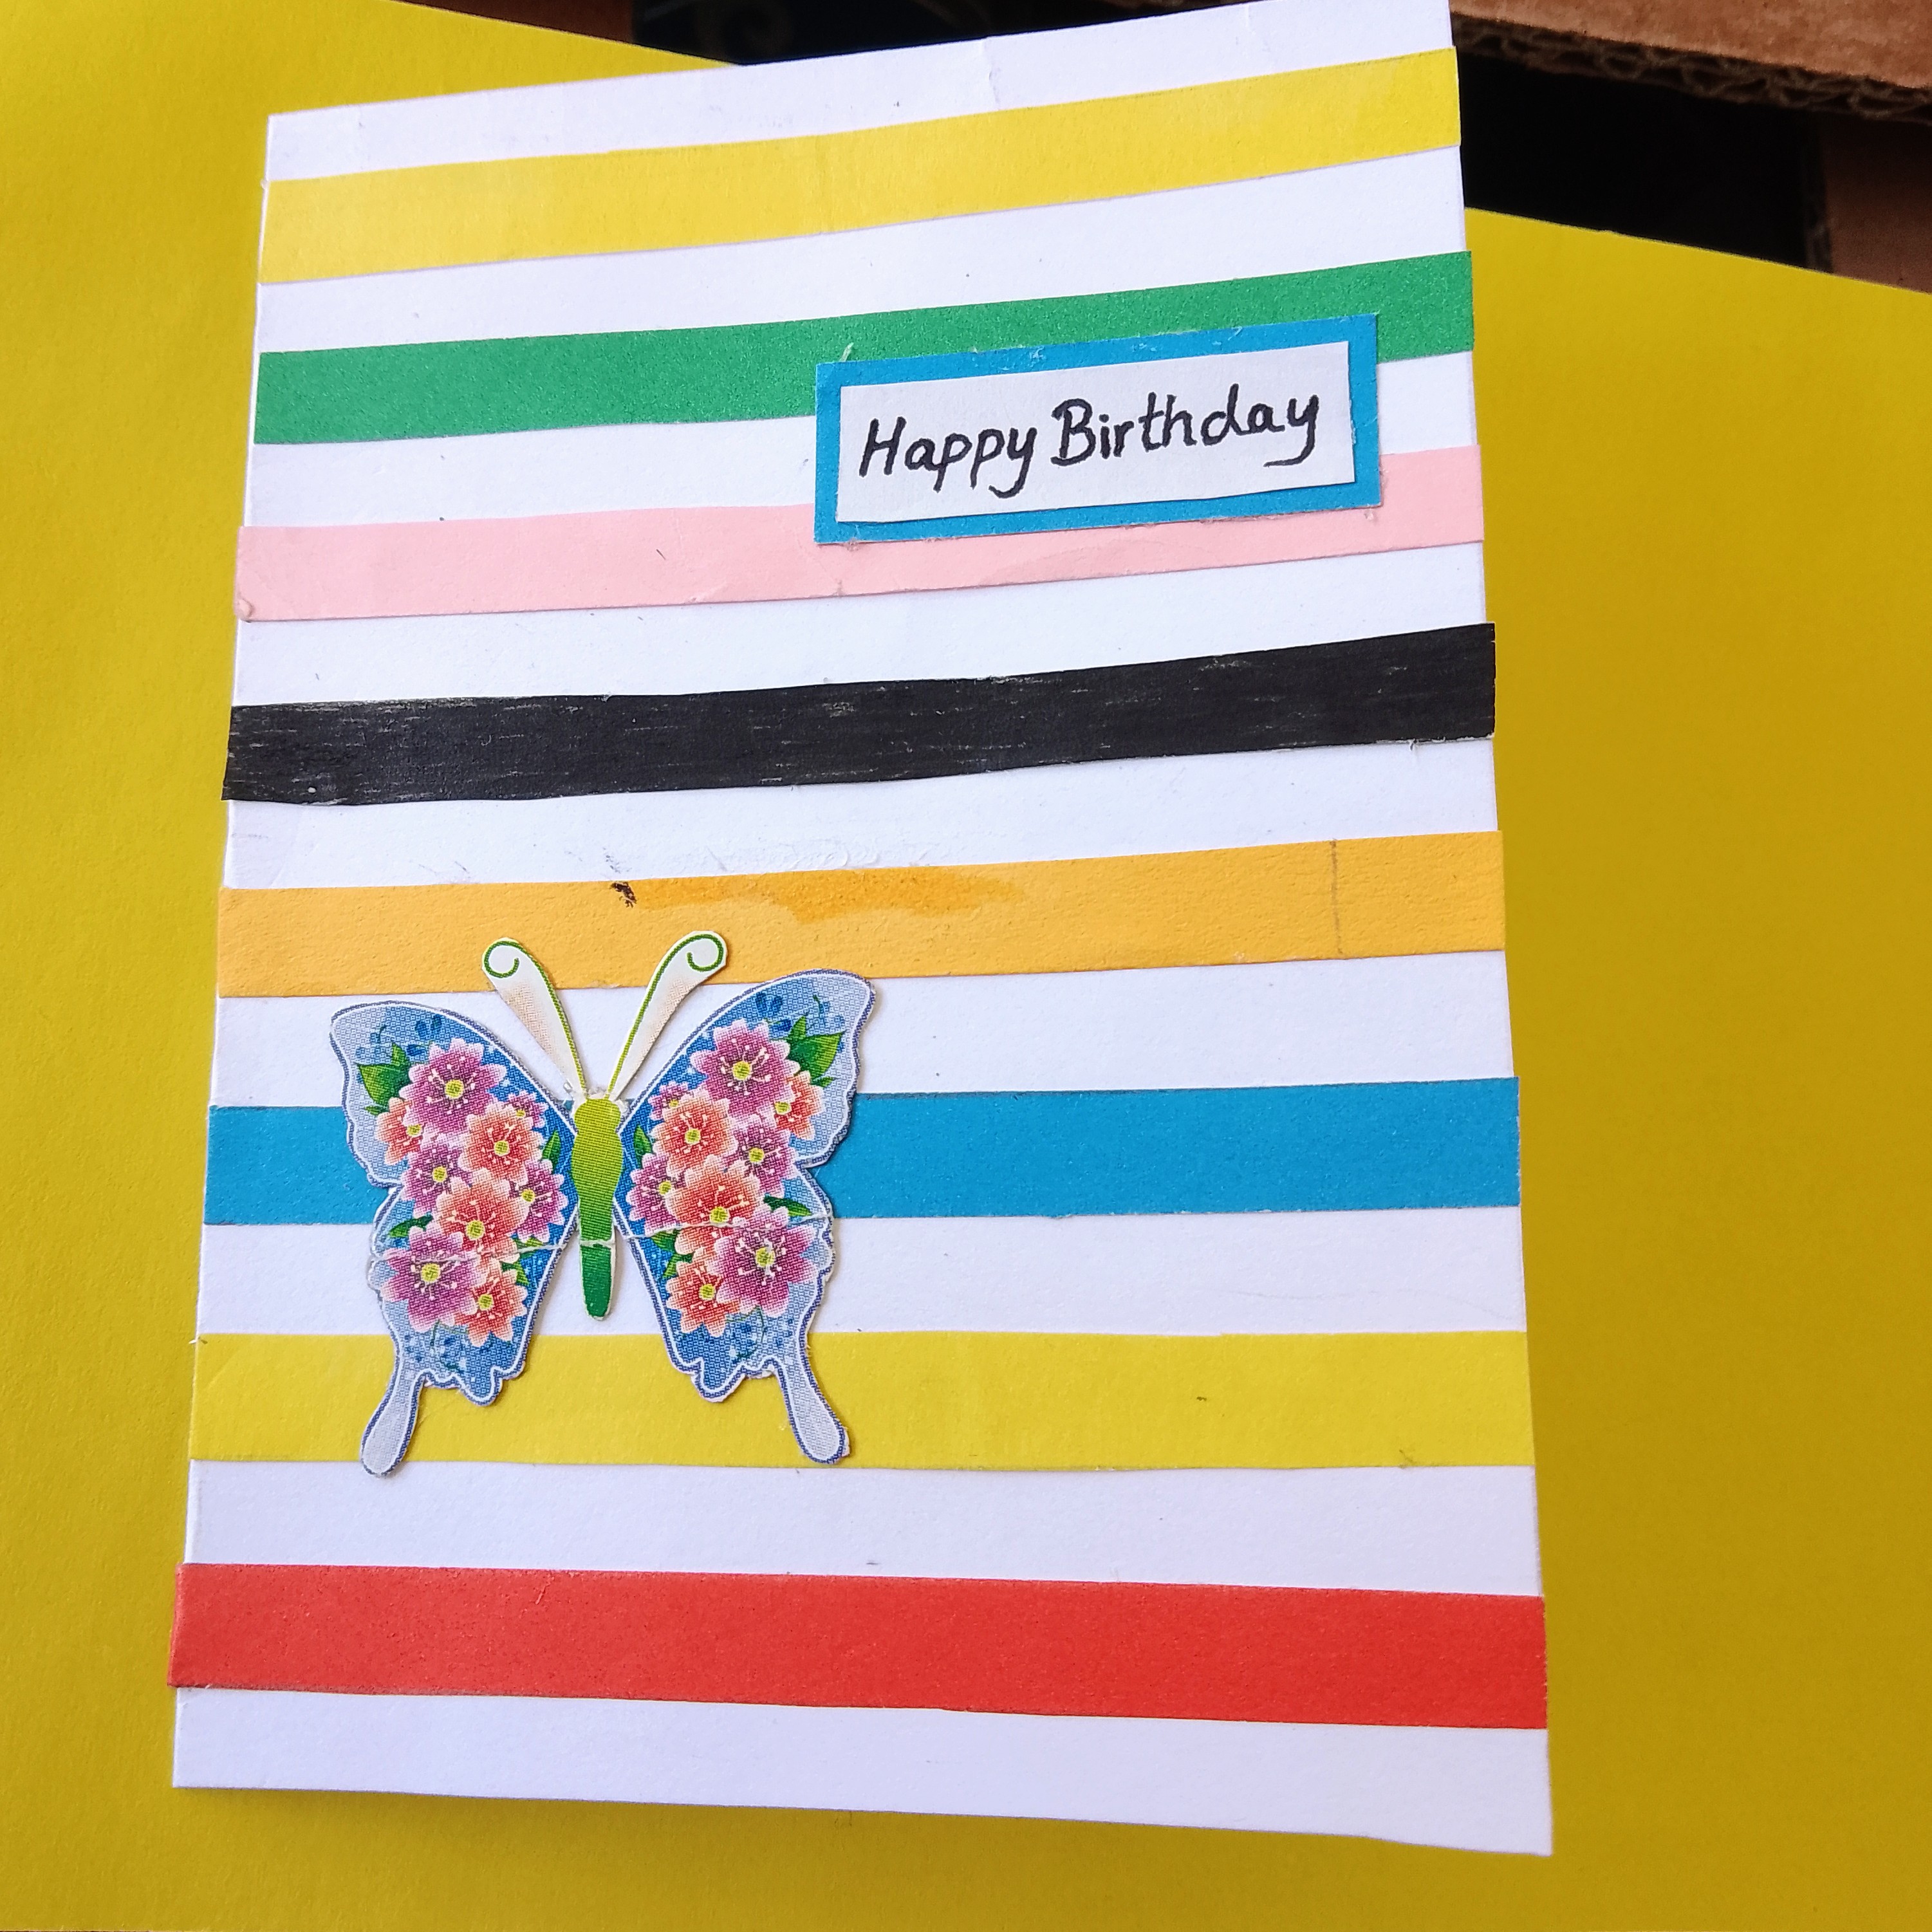
On the left side of the lower part of the card, paste the beautiful butterfly sticker between the strips as shown in the photo.
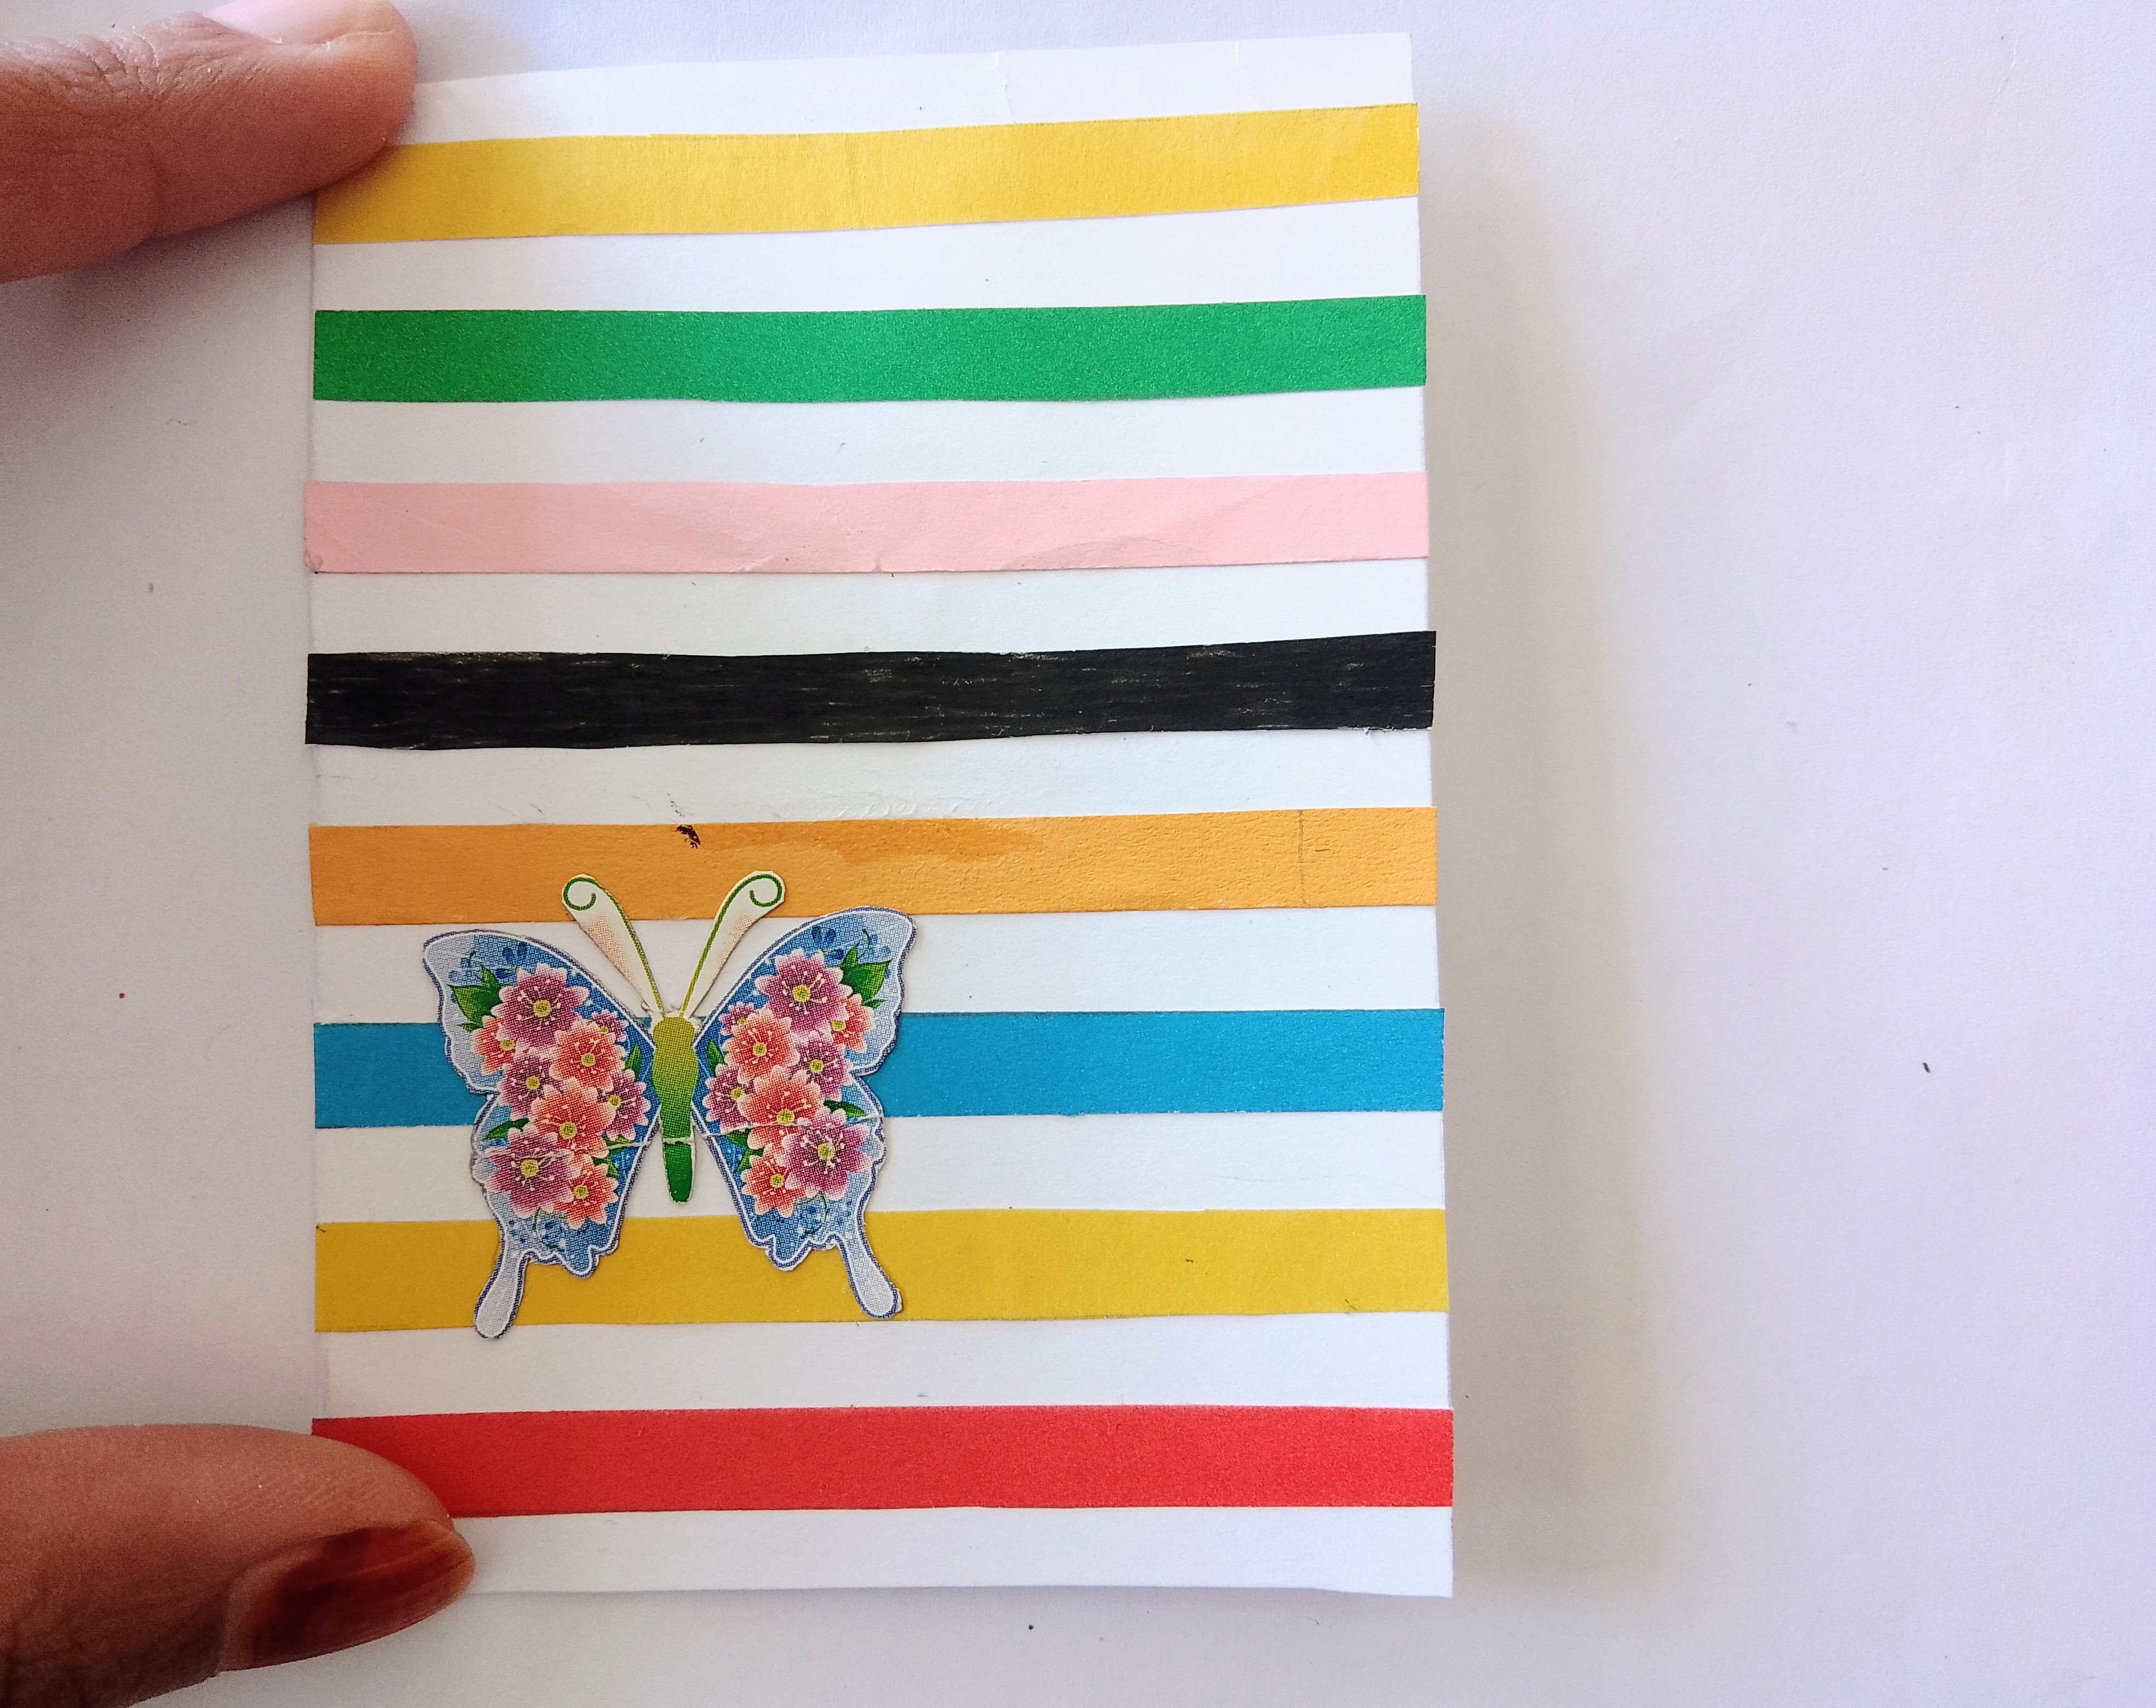
Note: Initially, I showed a different butterfly sticker in the materials required photo. It did not look good on the card. So, I used another beautiful butterfly sticker on the card which was looking much better.
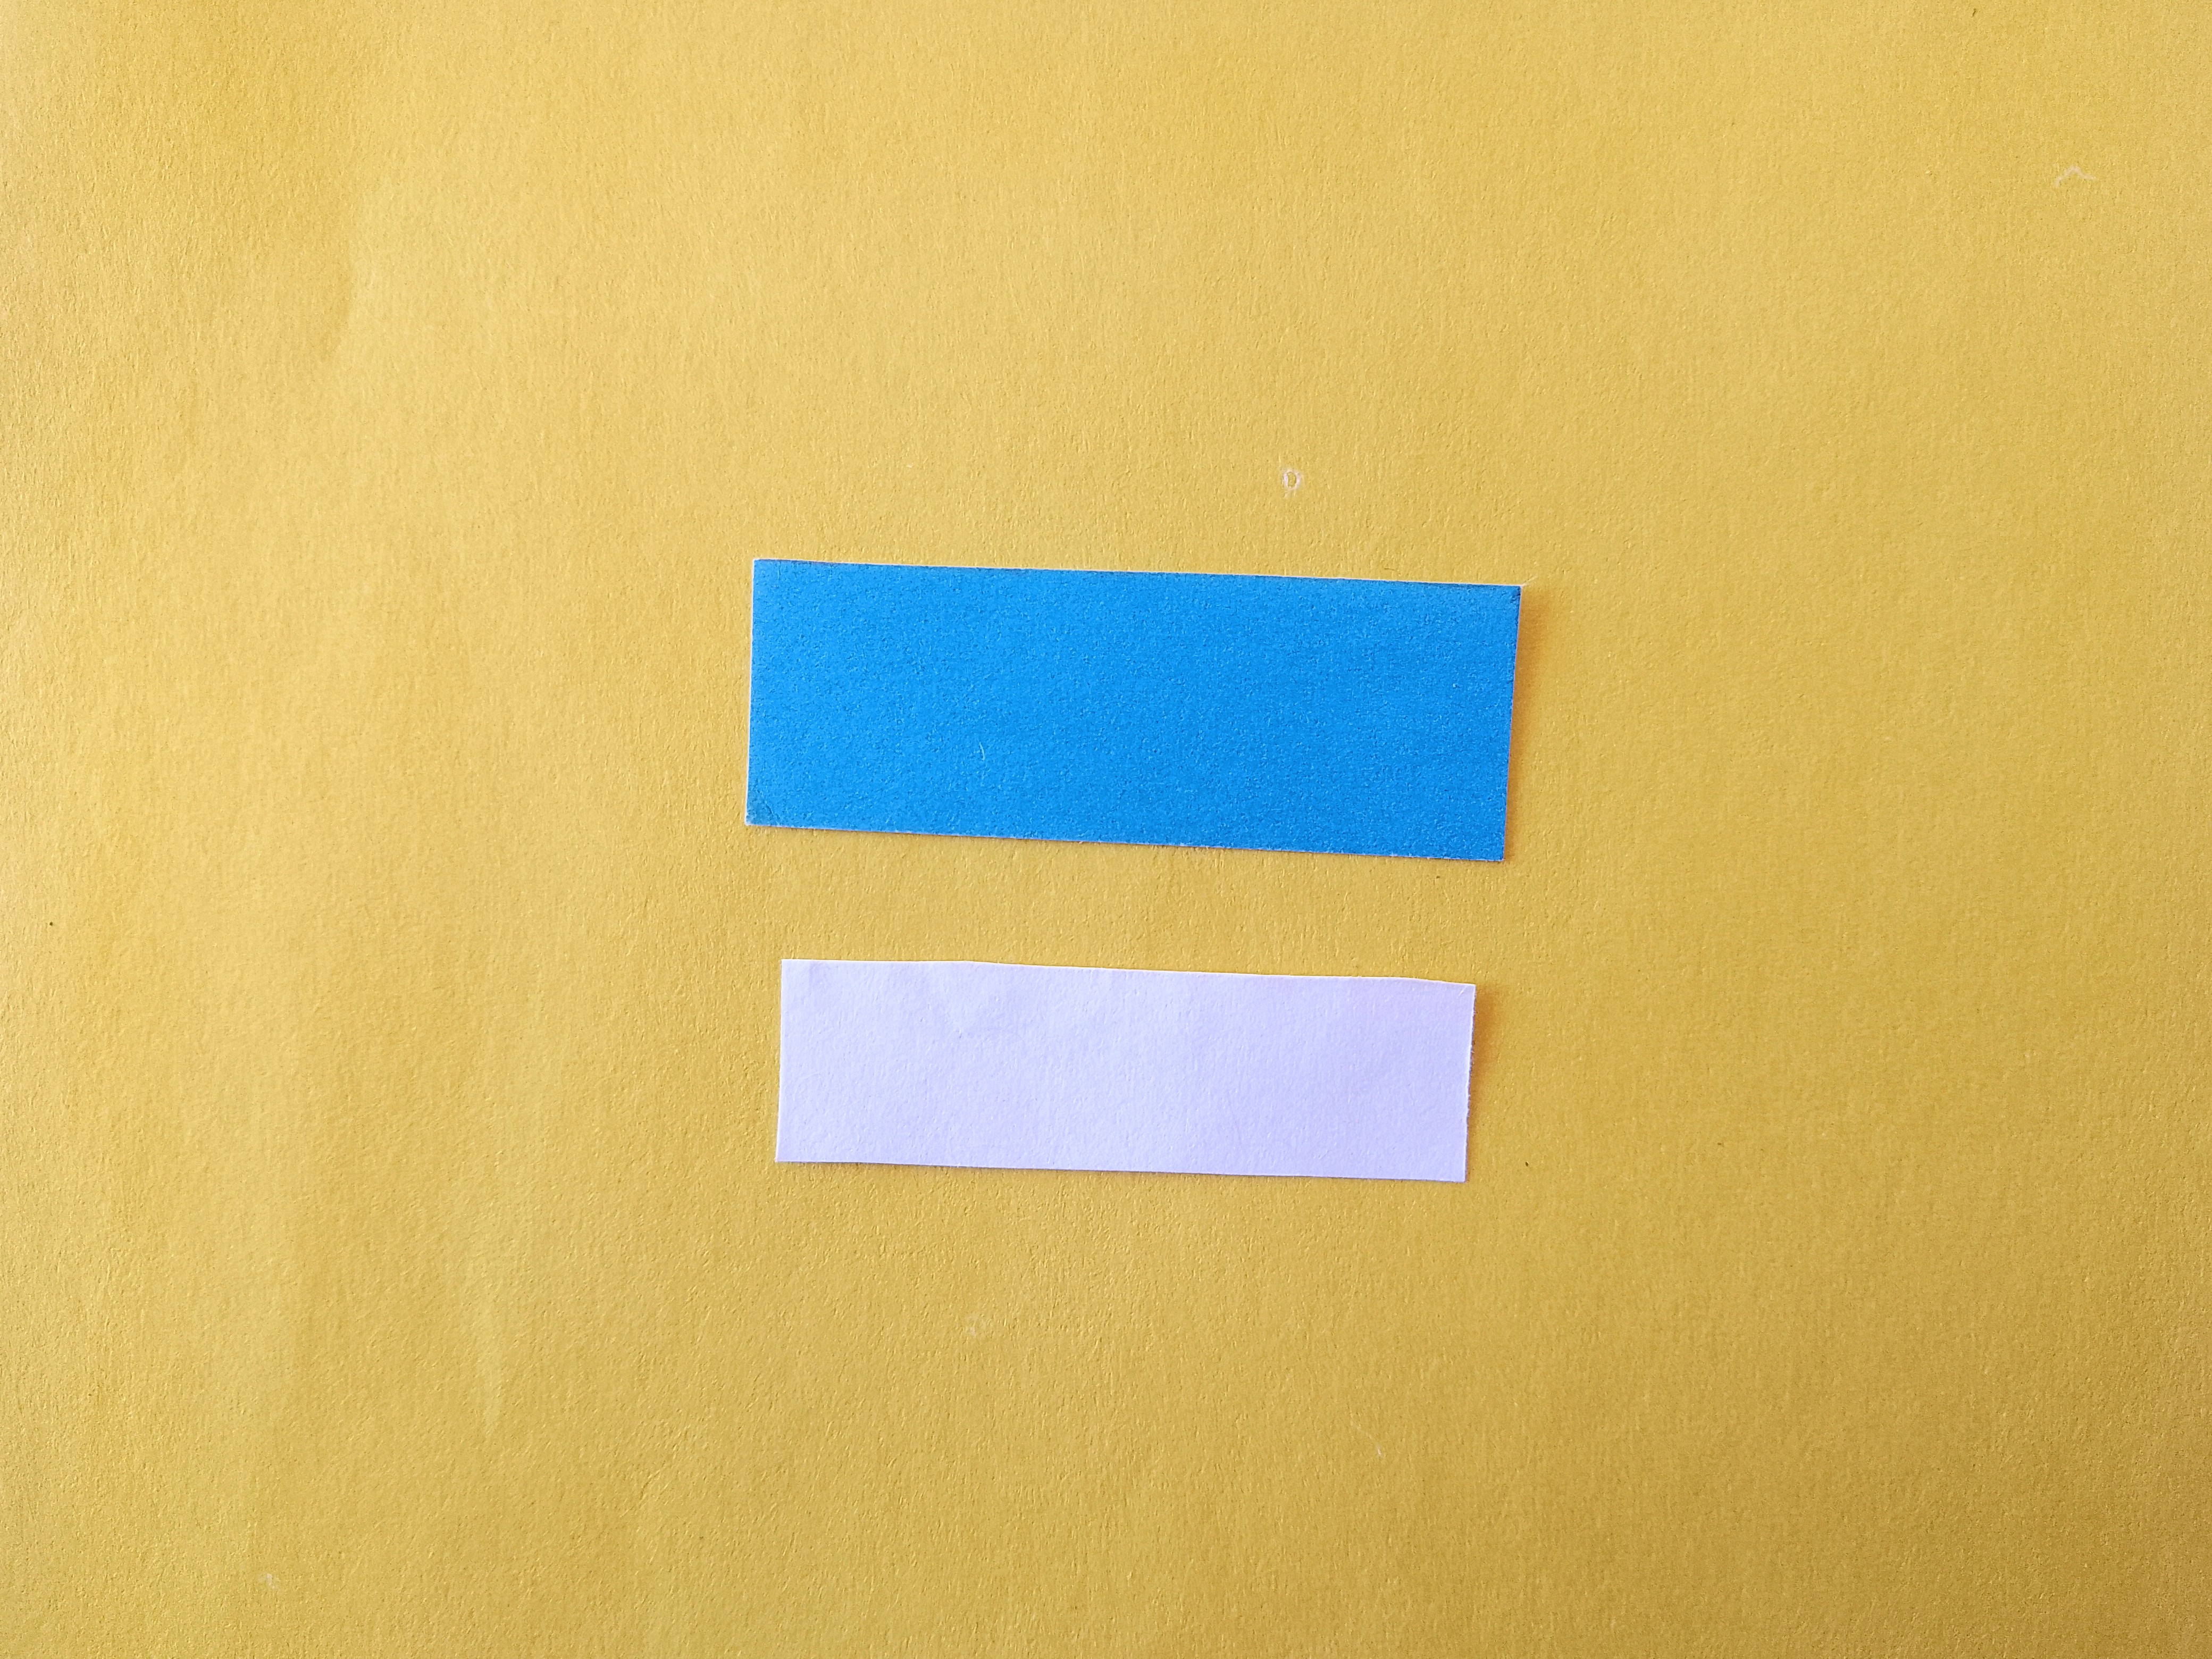
Then cut two rectangles , one white and one blue. Keep the blue one slightly wide & long and the white one a bit smaller and thinner compared to the blue as shown in the photo.
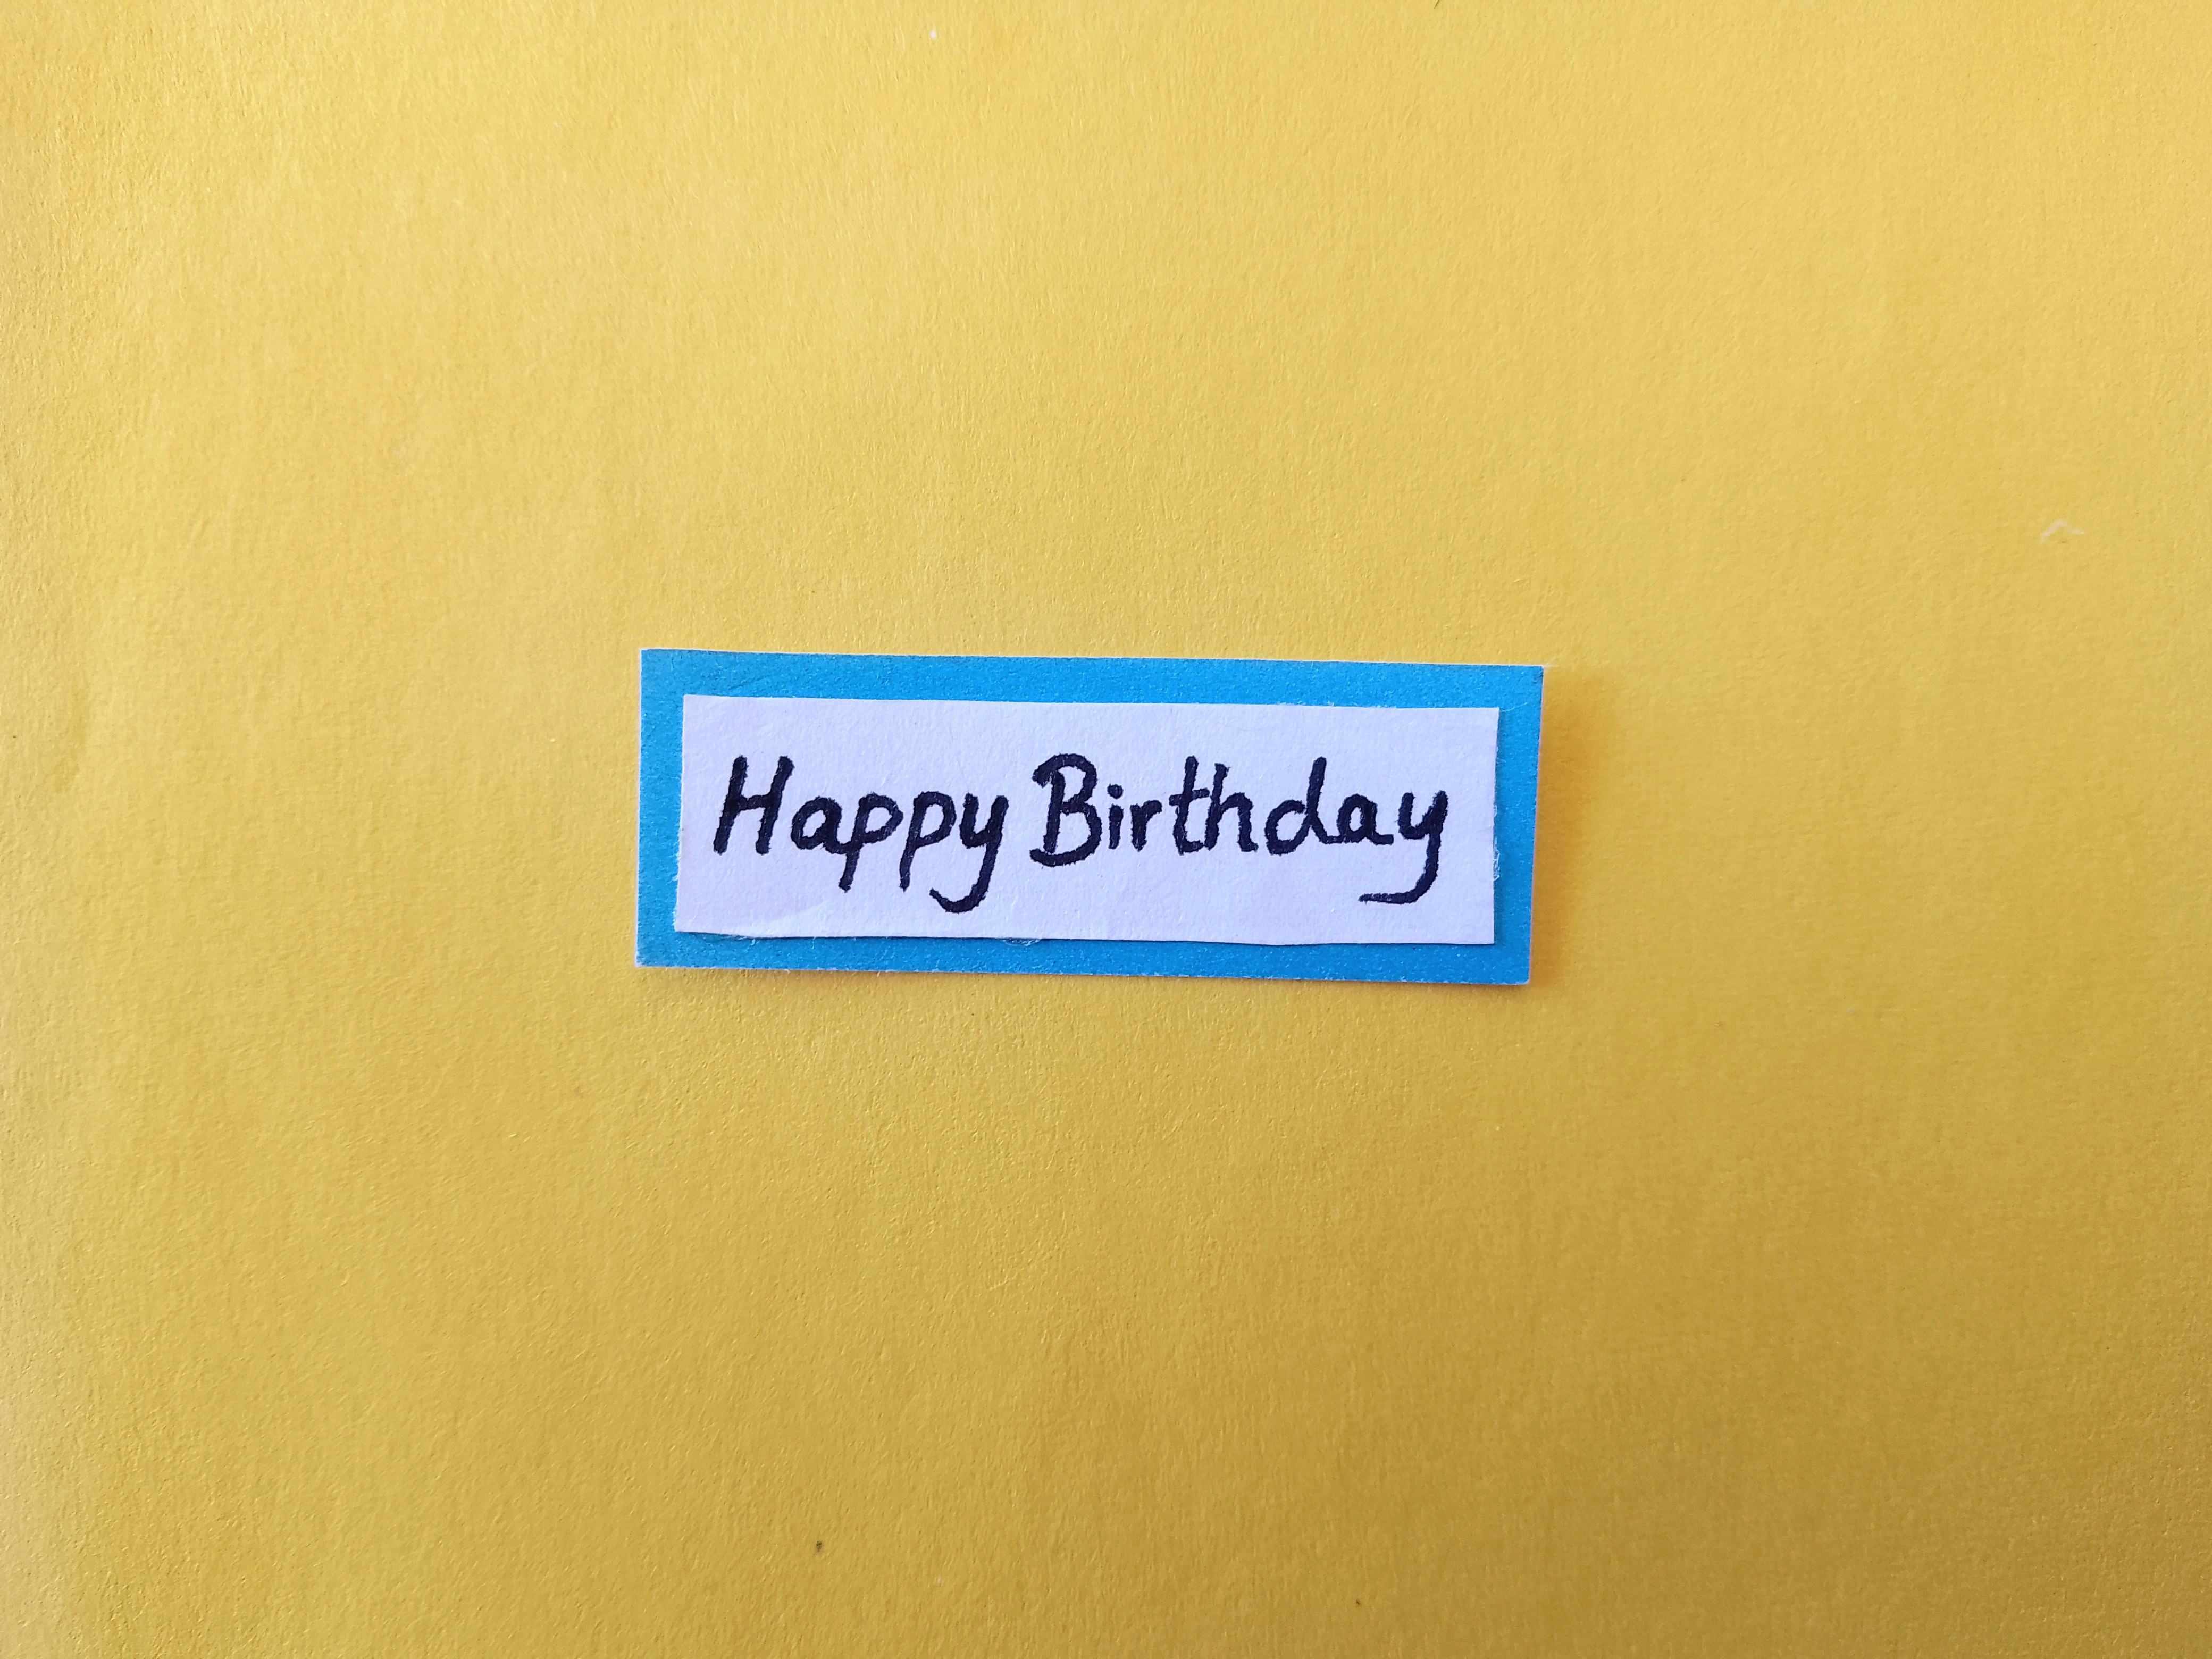
Write Happy Birthday on the white rectangular paper and then paste it on the blue rectangular paper as shown in the photo.
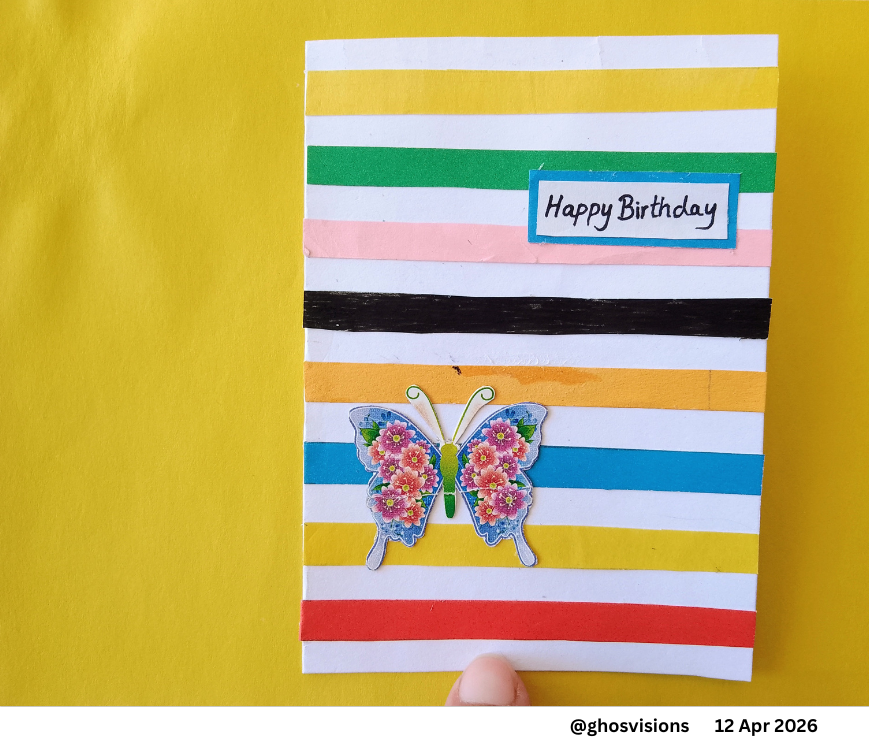
This is last step. Now paste that happy birthday tag between the strips on the right side of the upper part of the card, as shown in the photo.
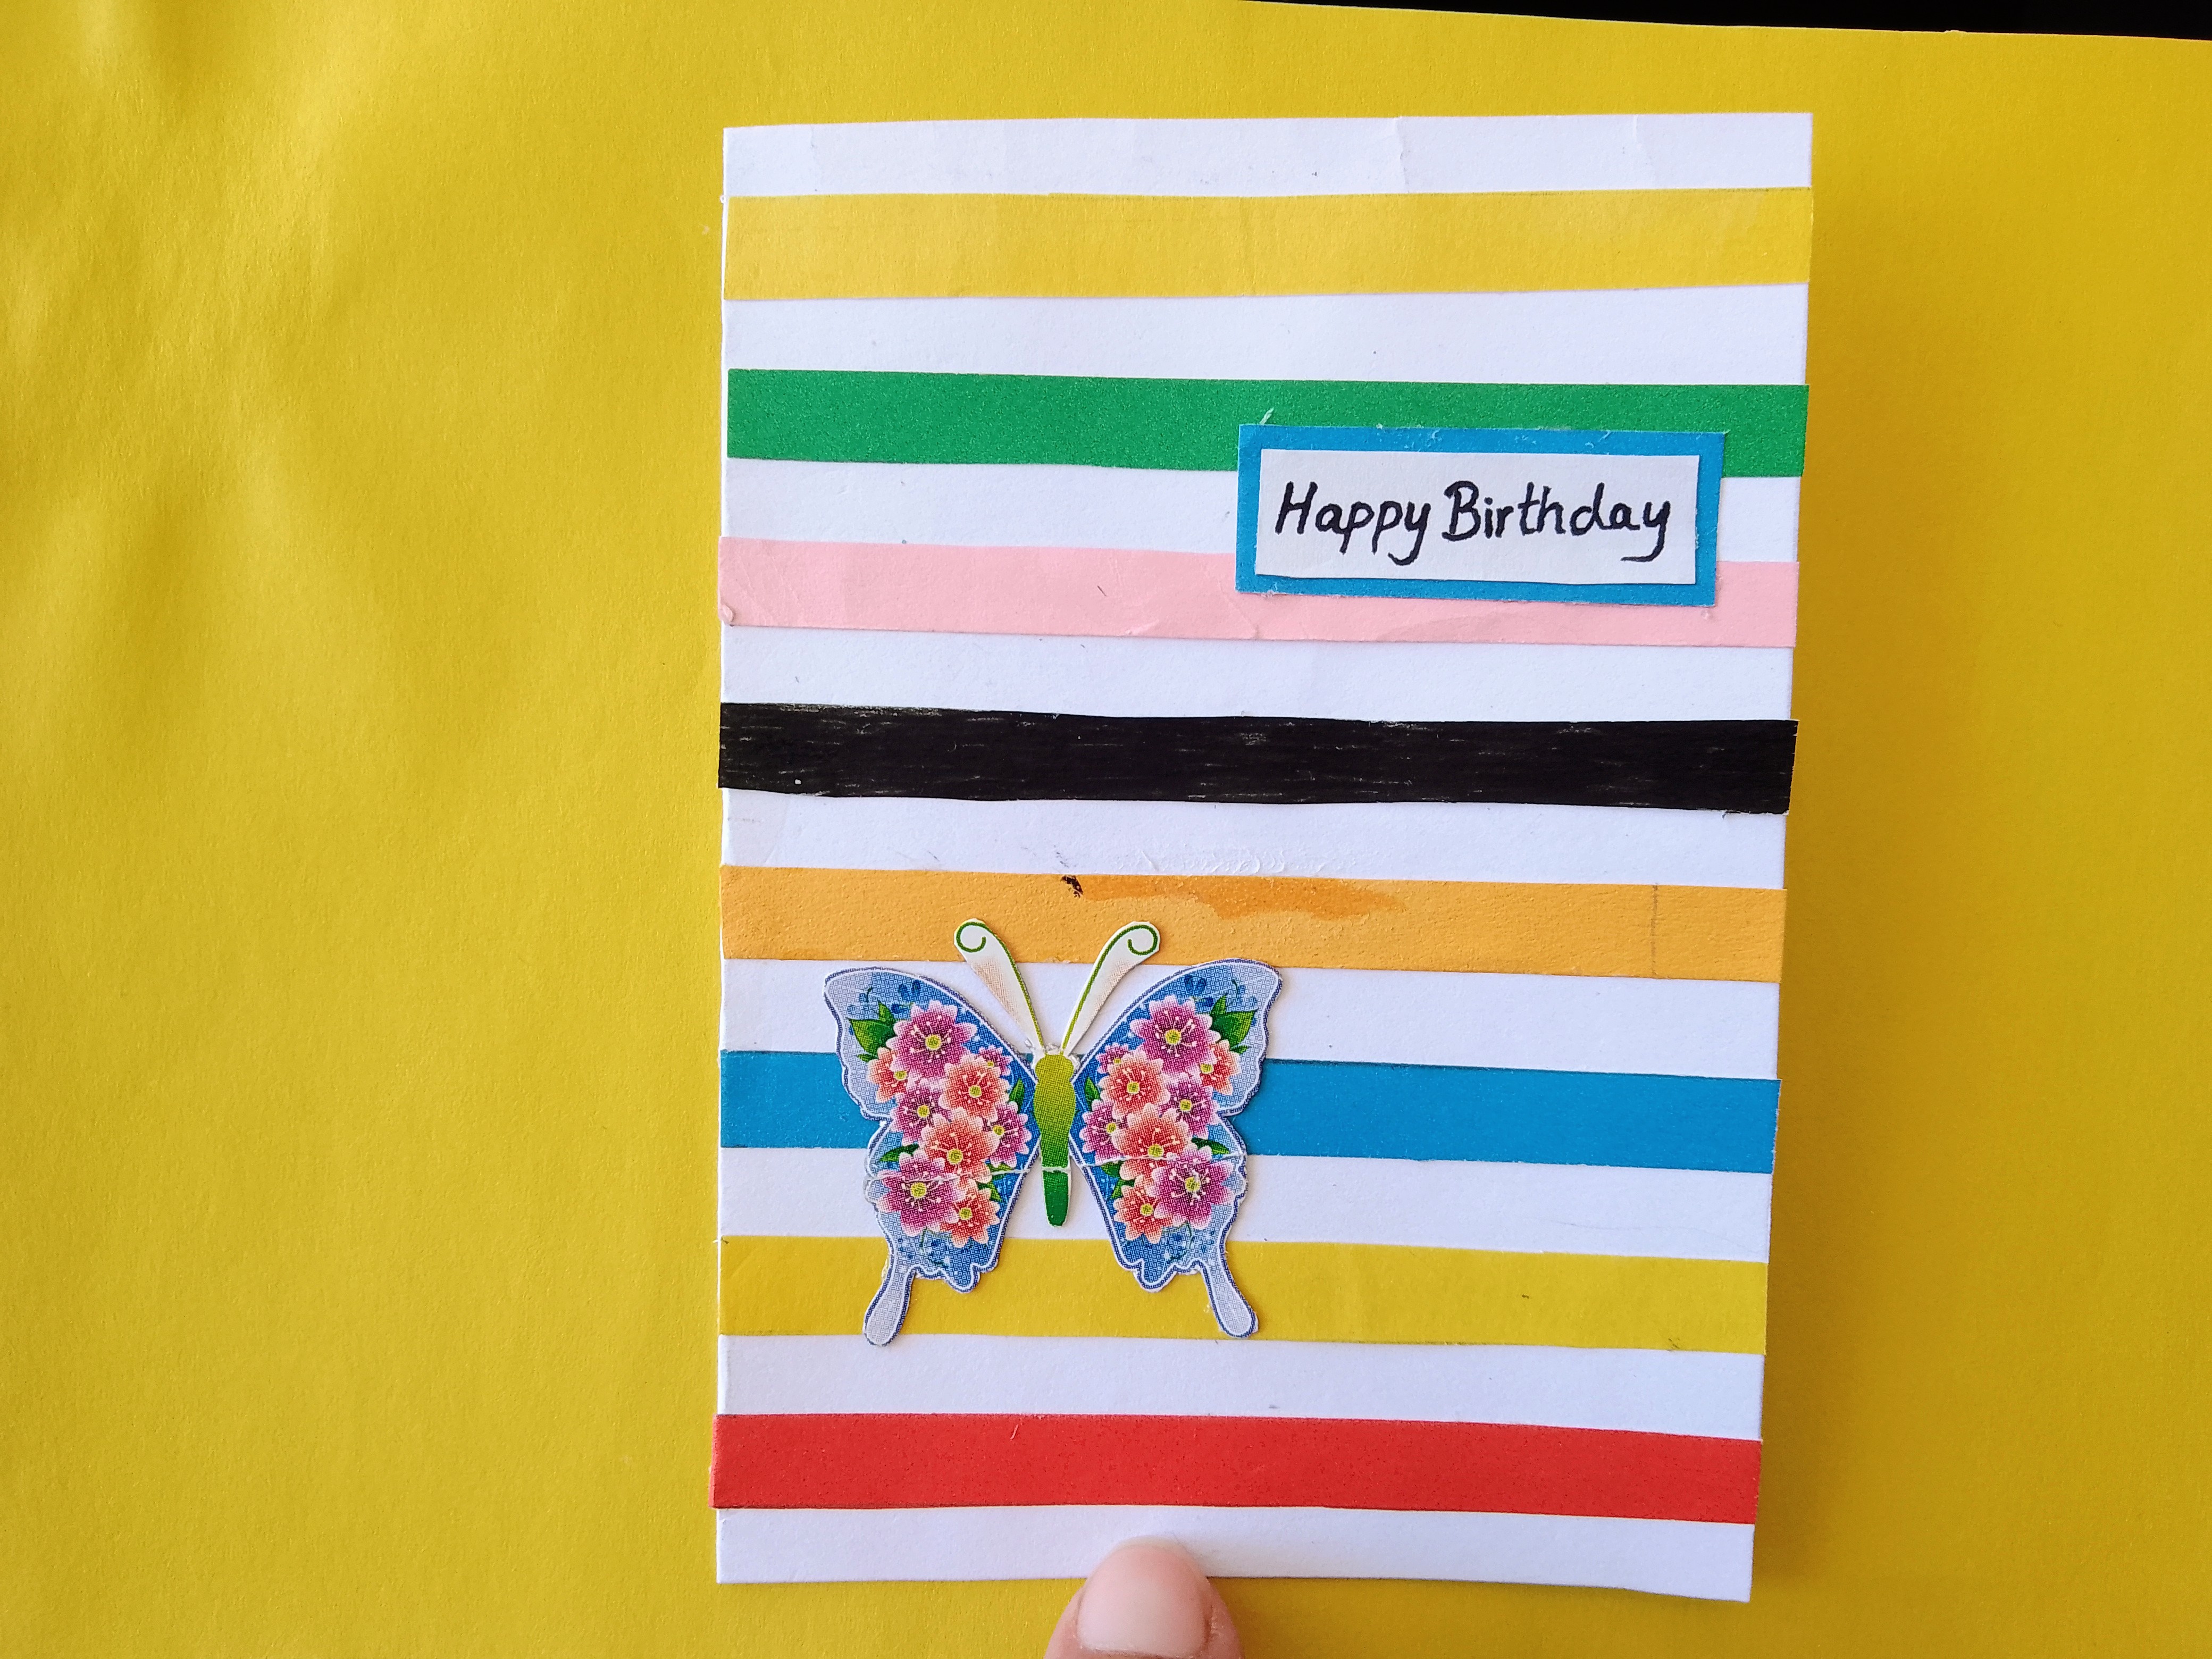
Finally our beautiful Handmade Birthday Card is ready. I wrote my username and today's date. Here is the final look:
I hope you liked and enjoyed this step-by-step tutorial of making a handmade birthday card. You can make this and give it to your loved ones.
That's all for today. Till the next post, Allah Hafiz
Curated by: @jyoti-thelight
Thank you 😊